

Quick answer#
GemIQ's Pro plan lets you add up to two team members to your account for shared cloud storage and collaboration. From the Members section, you can invite members, cancel pending invitations, remove members, and transfer account ownership.
Before you start#
You must be on a GemIQ Pro plan to add team members.
You can add a maximum of two team members (subaccounts).
Only the primary account holder can manage, remove, or transfer ownership.
Before a new member joins, confirm your main account has enough cloud storage to receive their media.
Steps#
Adding a Team Member#
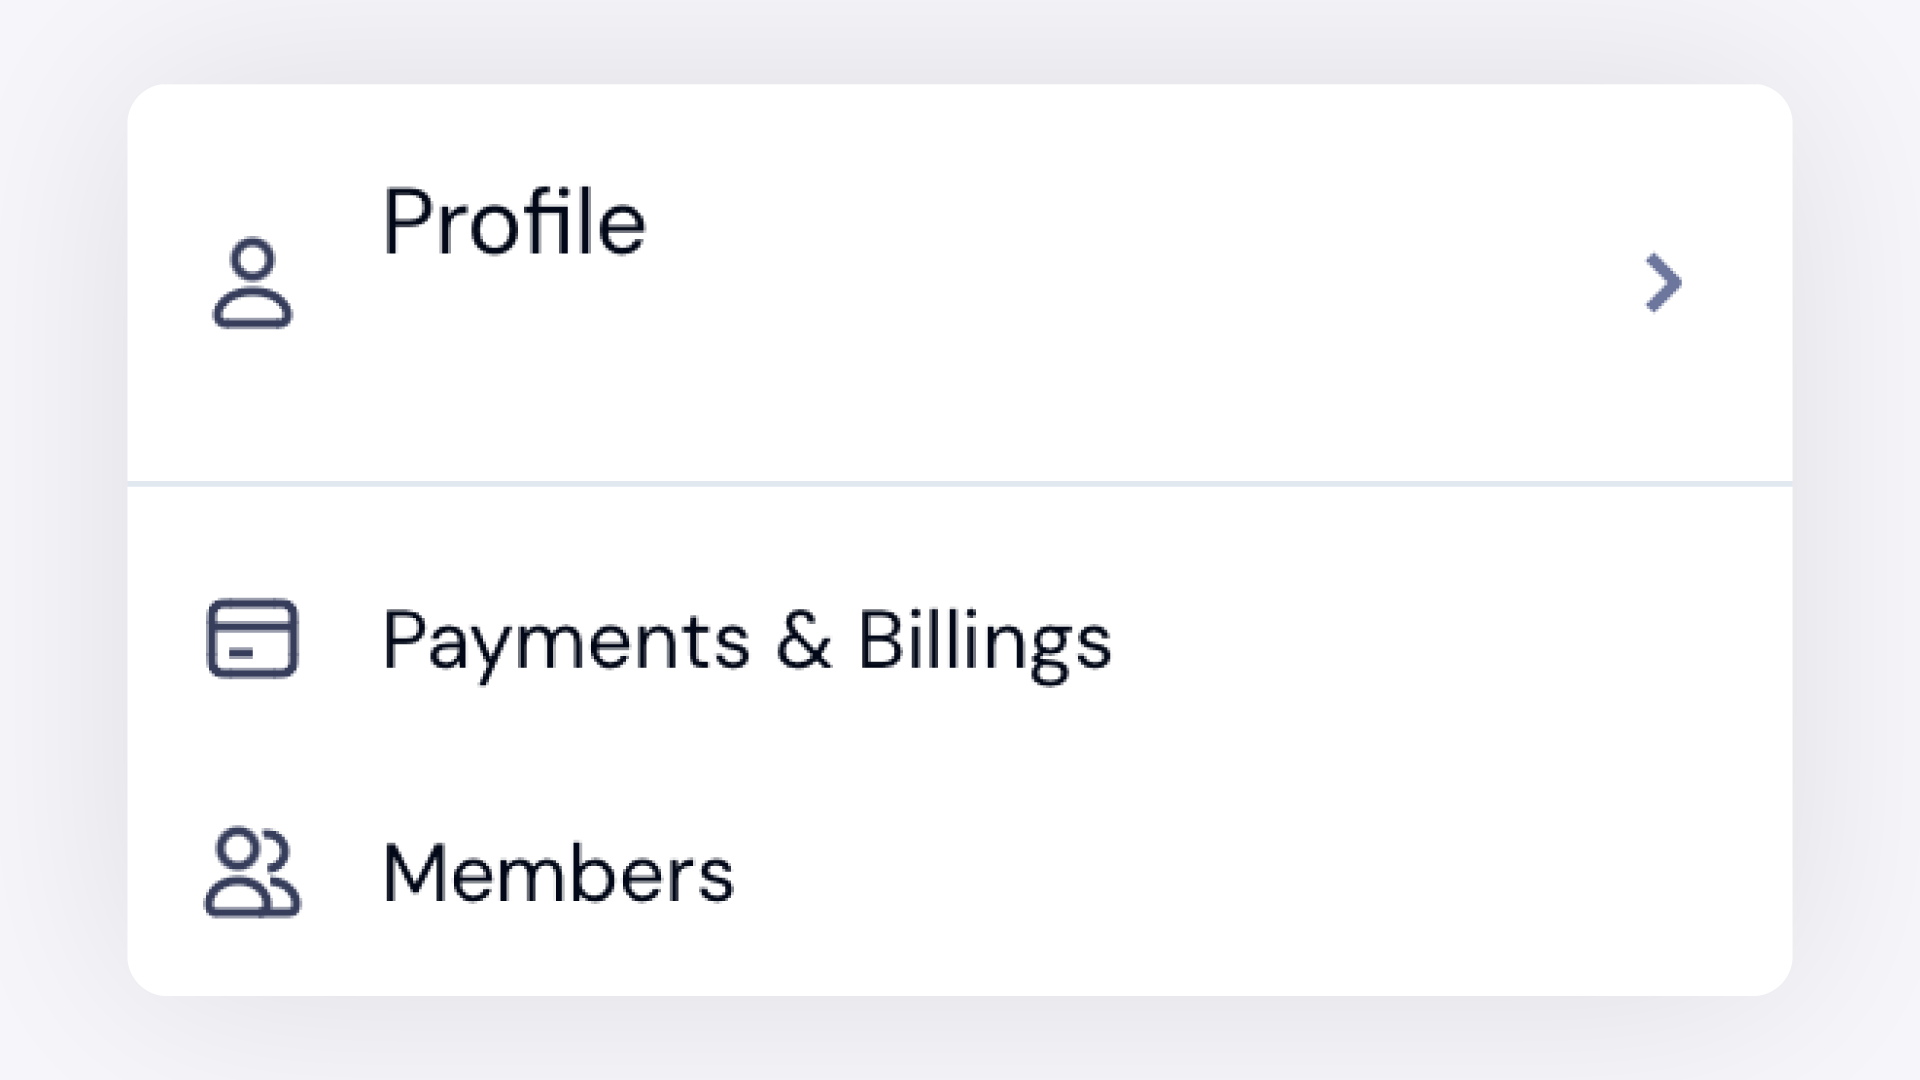
Log in to GemIQ and click the profile icon in the bottom-left corner.
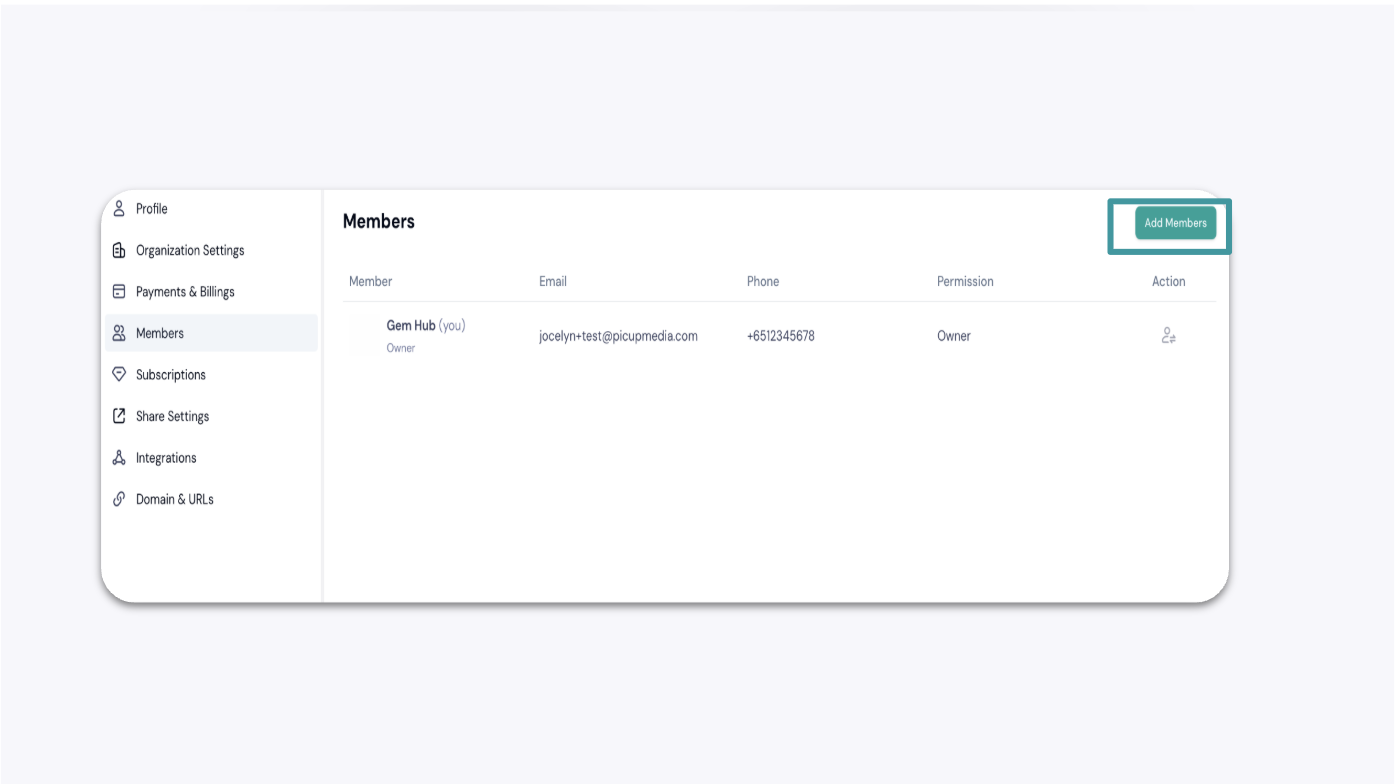
Navigate to Members.
Click Add Members.
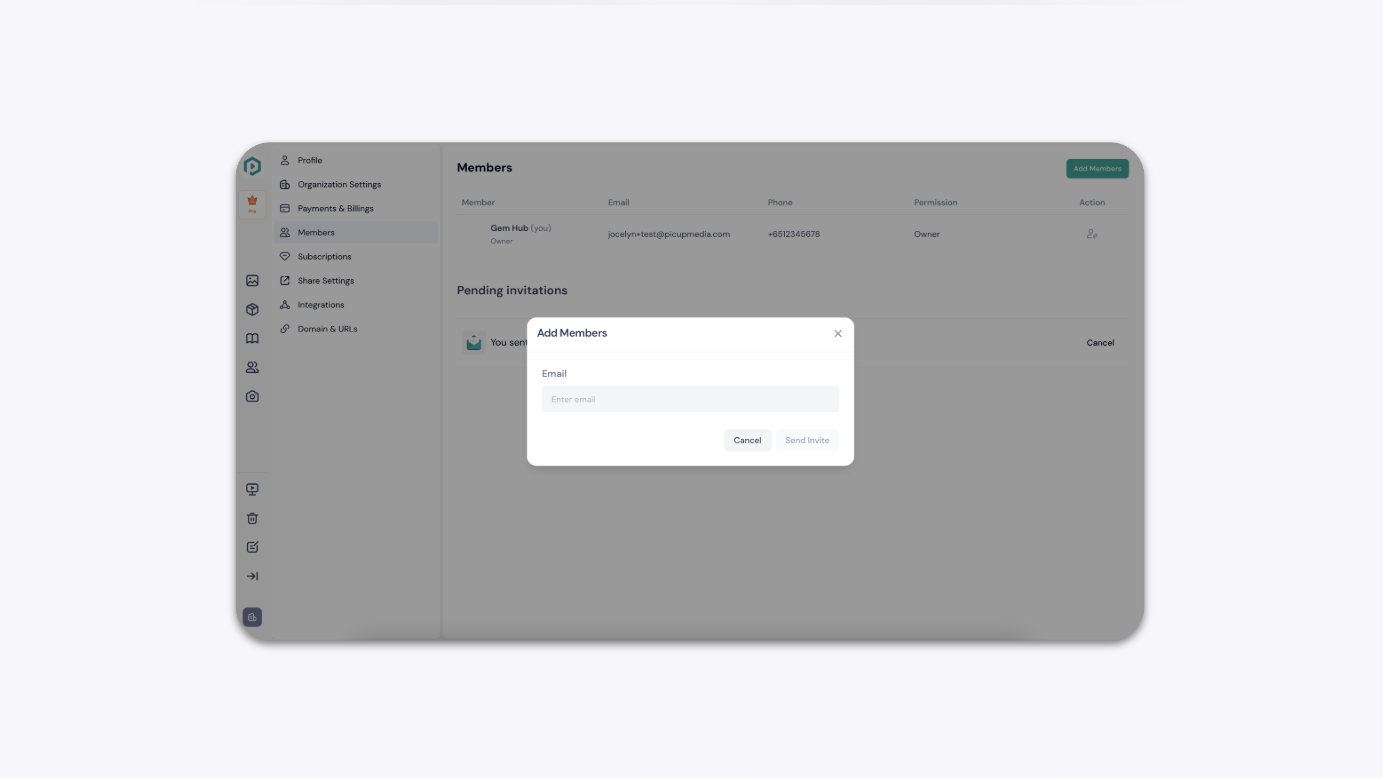
Enter the email address of the person you want to invite and click Send Invite.
The invitee will receive an email with a link to create or confirm their GemIQ account.
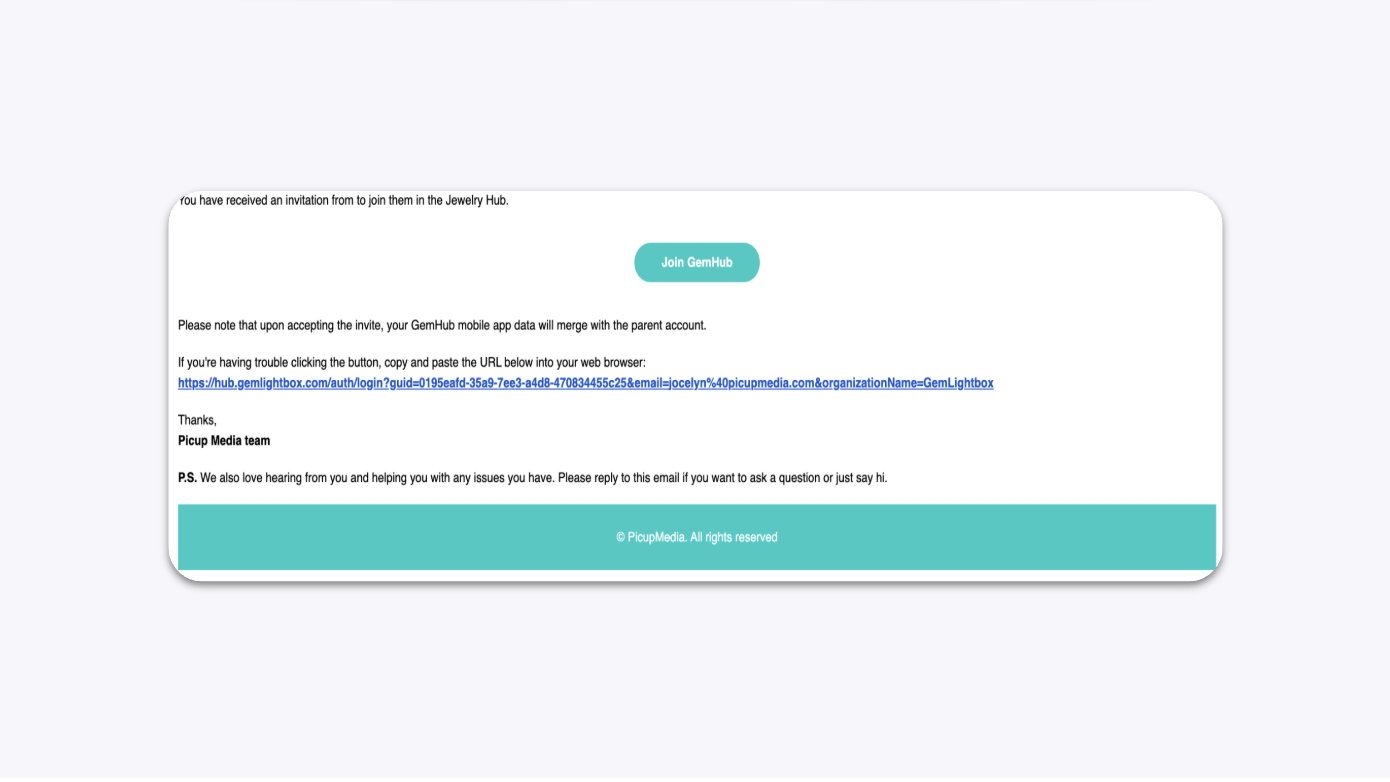
Note: If the invitee sees "The invitation has been deactivated," the link has already been used or has expired. Ask the account holder to send a new invitation.
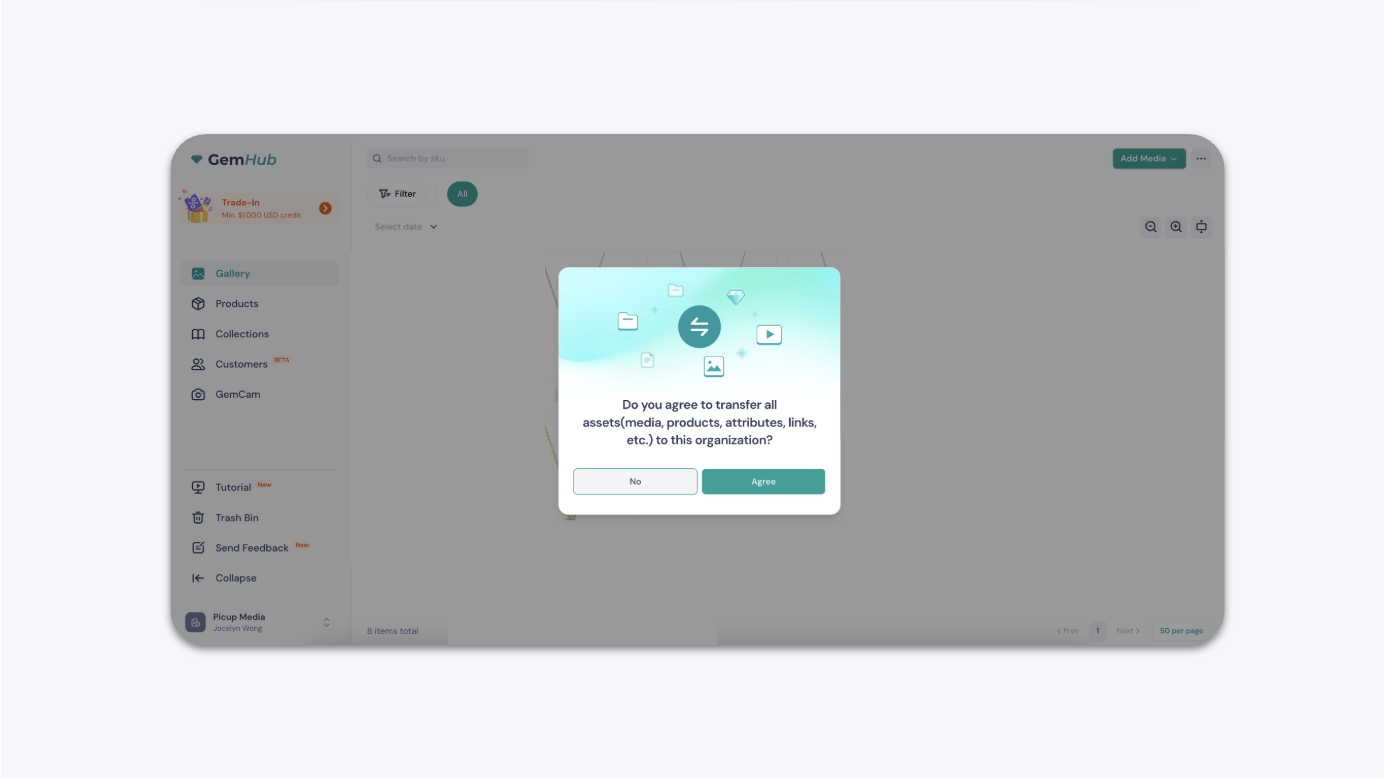
If the new member has existing media files, a prompt will appear asking whether to transfer them to the main account. Confirm your storage is sufficient before proceeding.
Canceling a Pending Invitation#
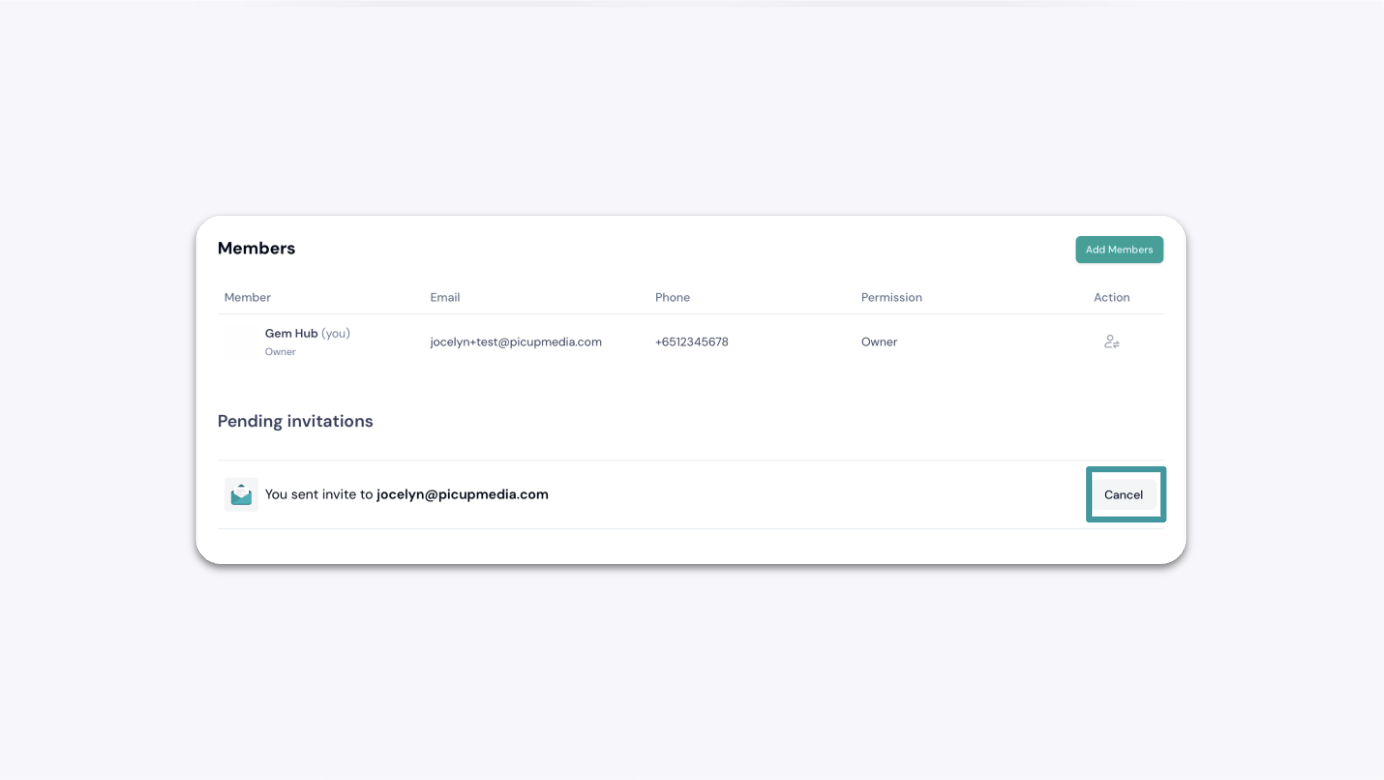
In the Members section, locate the pending invite you want to cancel and click the Cancel button next to it.
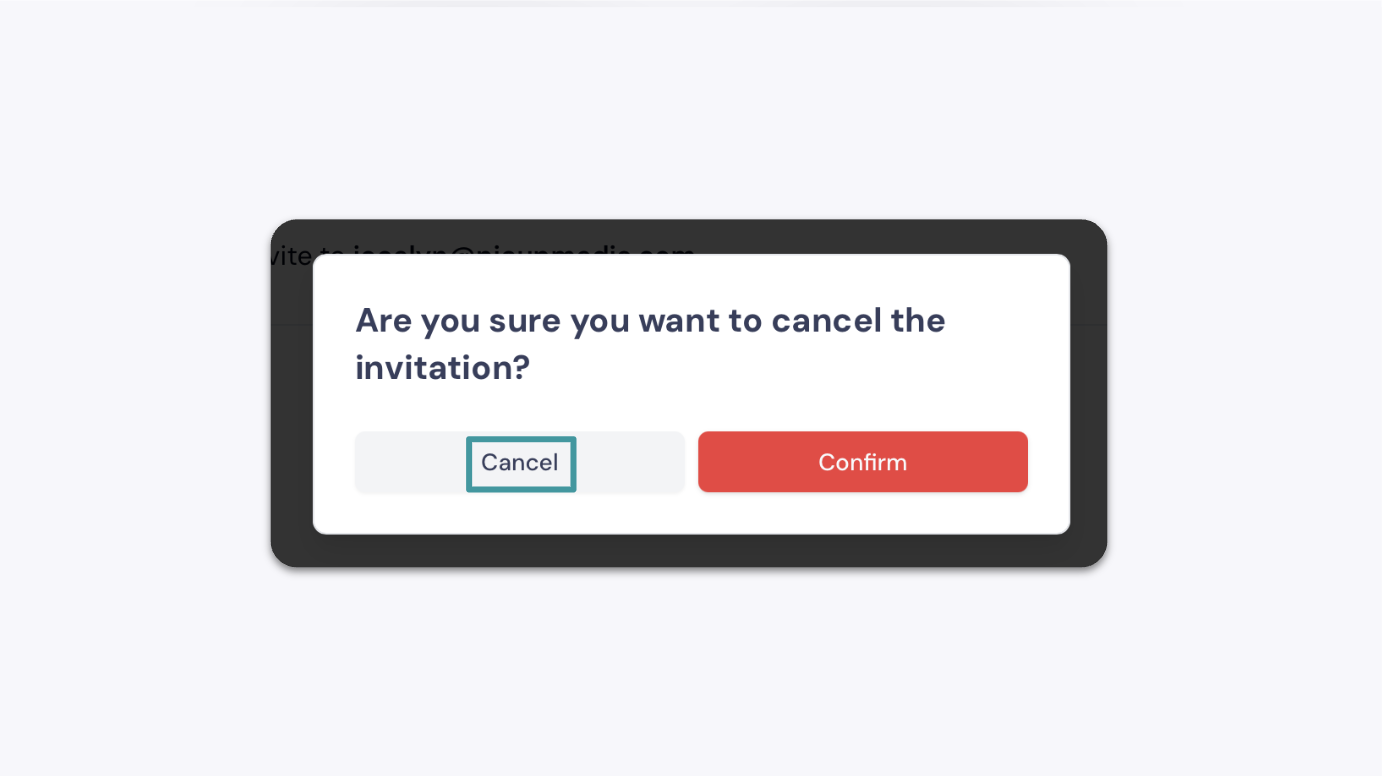
A confirmation notification will appear confirming the invitation has been canceled.
Removing a Team Member#
In the Members section, locate the member you want to remove and click the trash bin icon.
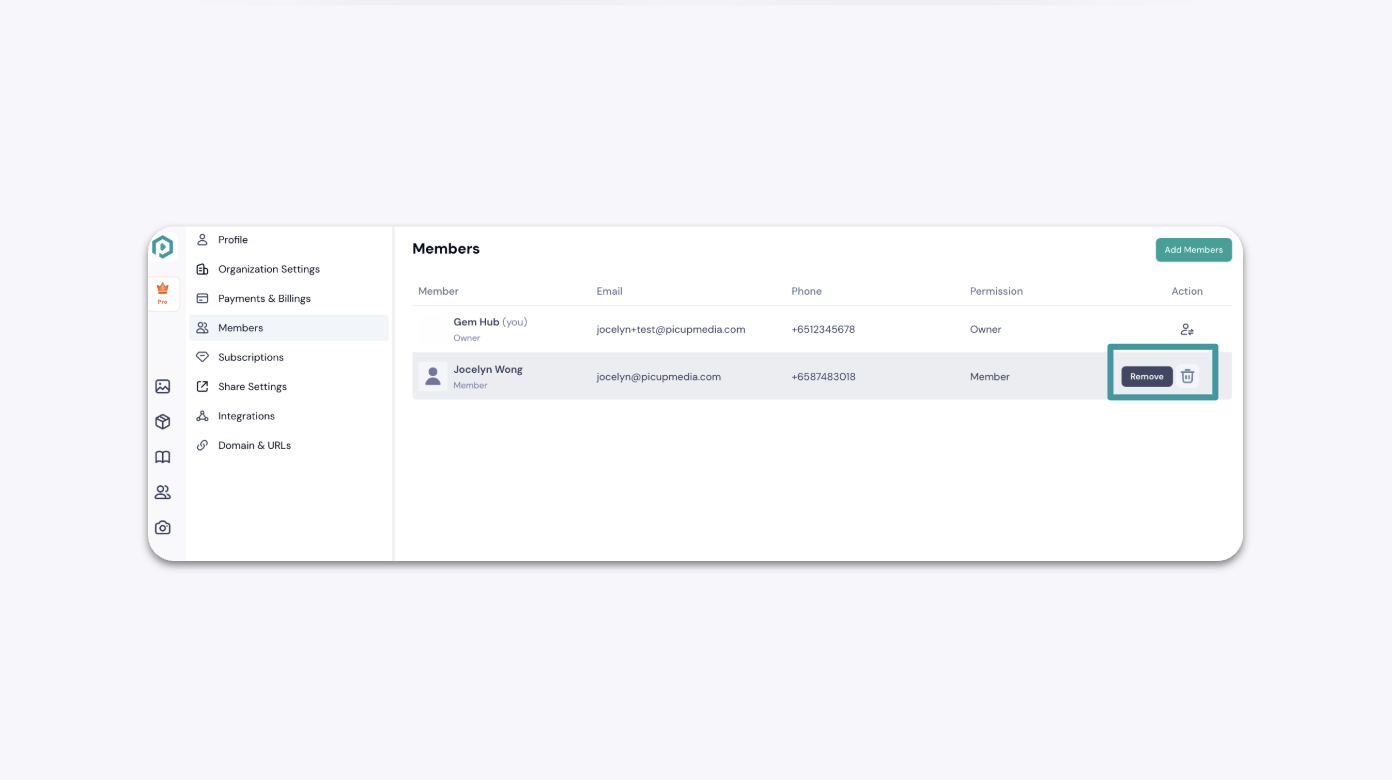
Confirm the removal. Any media and products that member uploaded will remain in the organization.
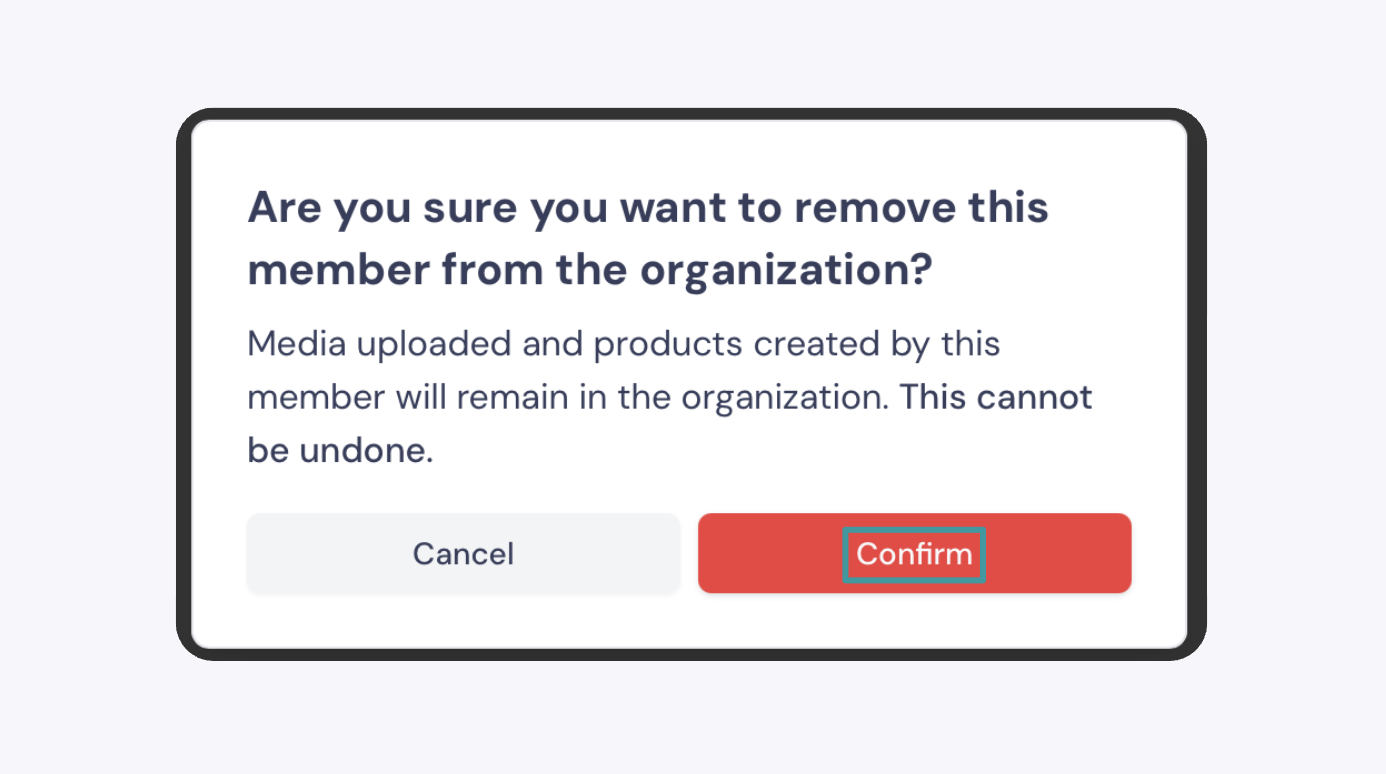
Note: This action cannot be undone. To add the same person back, the account holder must send a new invitation.
Transferring Account Ownership#
Use this when someone leaves your organization and you need to hand over the primary account to another member.
In the Members section, click Transfer Ownership on the main account.
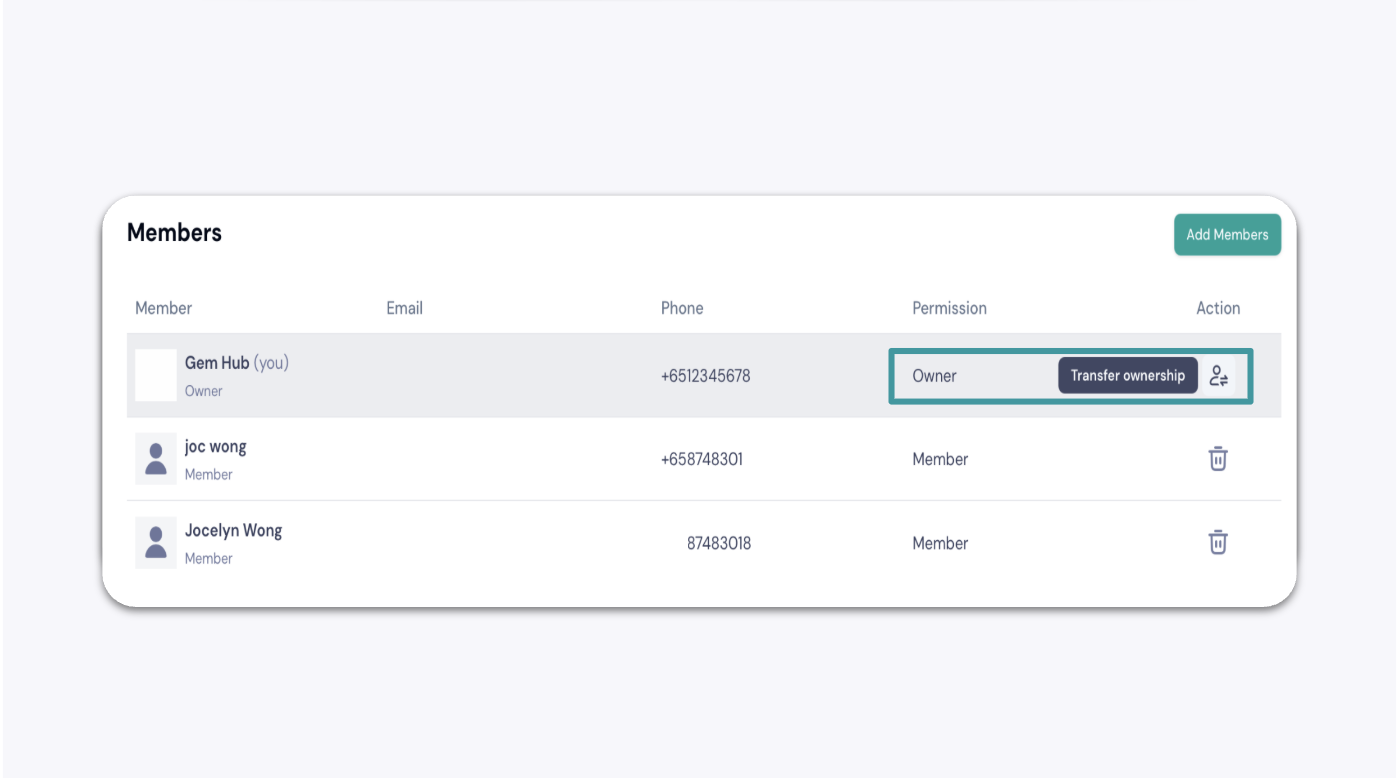
Select the member account you want to transfer ownership to.
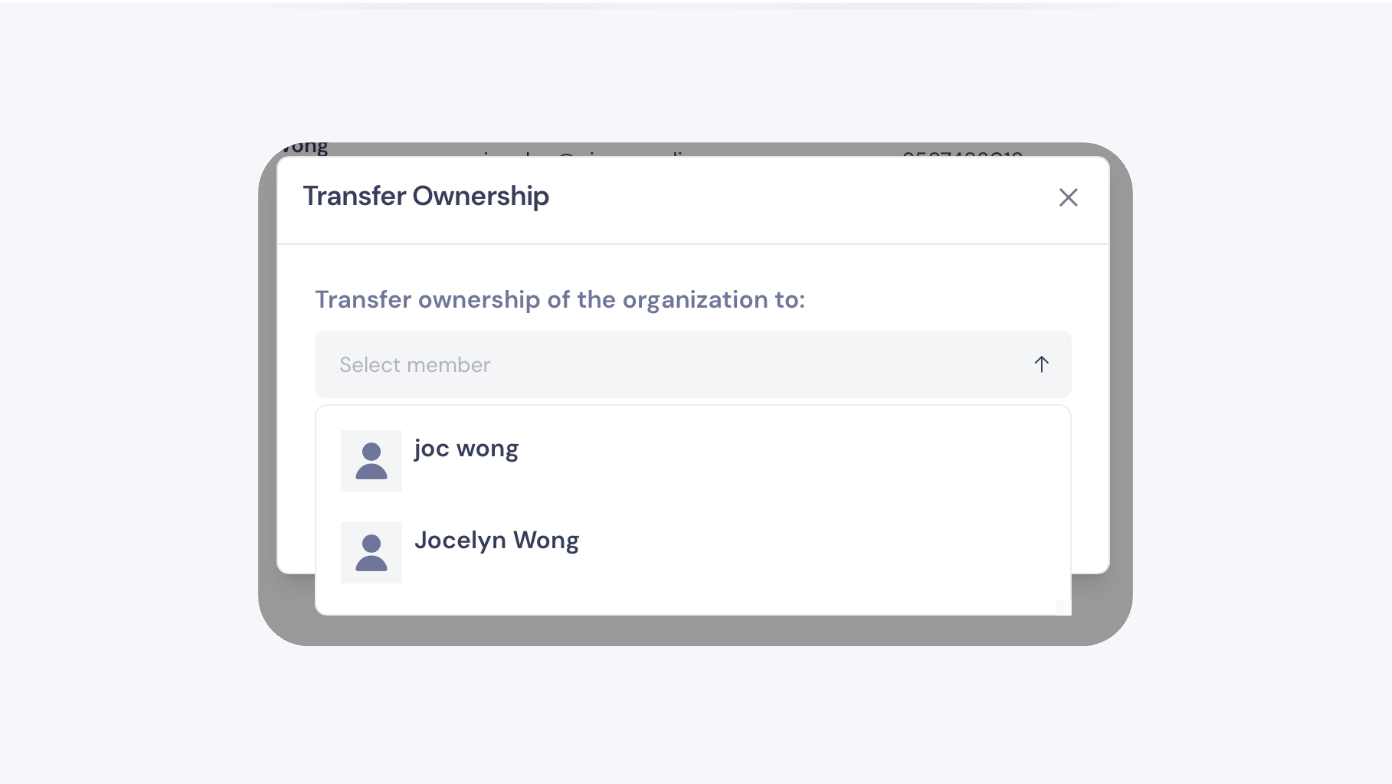
Once complete, your account becomes a member account. The subscription and all media ownership transfer to the new owner.
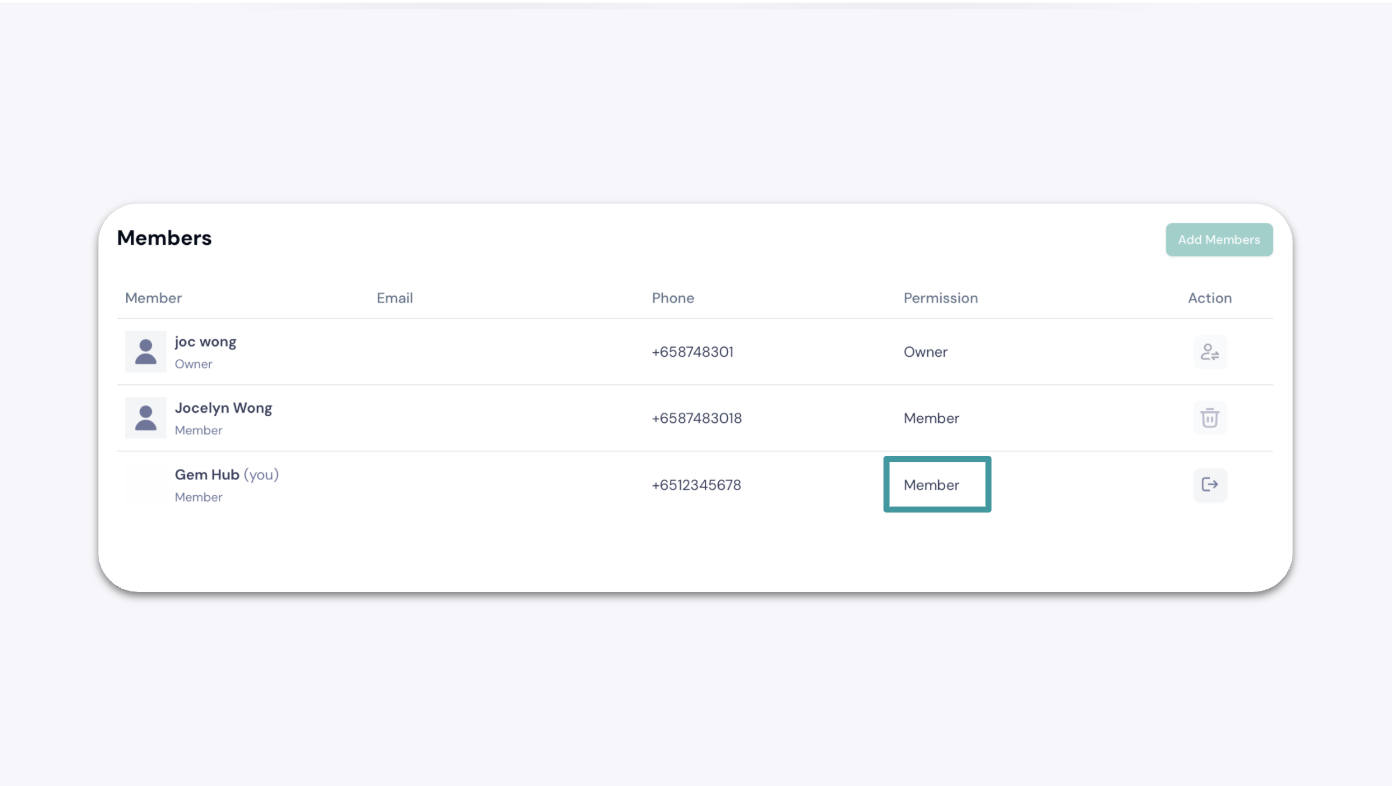
Important: This action is irreversible from your account. To transfer ownership back, the new owner must log in to their account and initiate the transfer.
Expected result#
After adding a member: Their gallery and products sync with the main account. Members can manage media, products, and catalogs, but cannot access the main account's profile, billing, or share settings.
After canceling an invitation: The invite link is deactivated and can no longer be used.
After removing a member: The member loses access to the shared account. Their uploaded media and products remain in the organization.
After transferring ownership: The new owner holds the subscription and all media. Your account becomes a member account.
If this does not work#
Invitation not received: Ask the invitee to check their spam or junk folder. Resend the invitation from the Members section if needed.
"Invitation has been deactivated" error: The link was already used or has expired. Resend a fresh invitation.
Cannot add a member: Confirm you are on the Pro plan. A maximum of two subaccounts are supported.
Media did not transfer after joining: Verify the main account had sufficient cloud storage before the member accepted the invite. Contact support if media is missing.
Trash bin icon is not visible: Only the primary account holder can remove members. Confirm you are logged in as the account owner.
Common mistakes#
Sending an invitation before checking available cloud storage — insufficient storage can cause media to fail to transfer when the member joins.
Assuming a removed member's content is also deleted — their uploaded media and products stay in the organization.
Trying to reverse an ownership transfer from the original account — you must log in as the new owner to transfer back.
Sharing an invitation link after it has already been accepted — each link is single-use. Resend a new invitation if needed.