

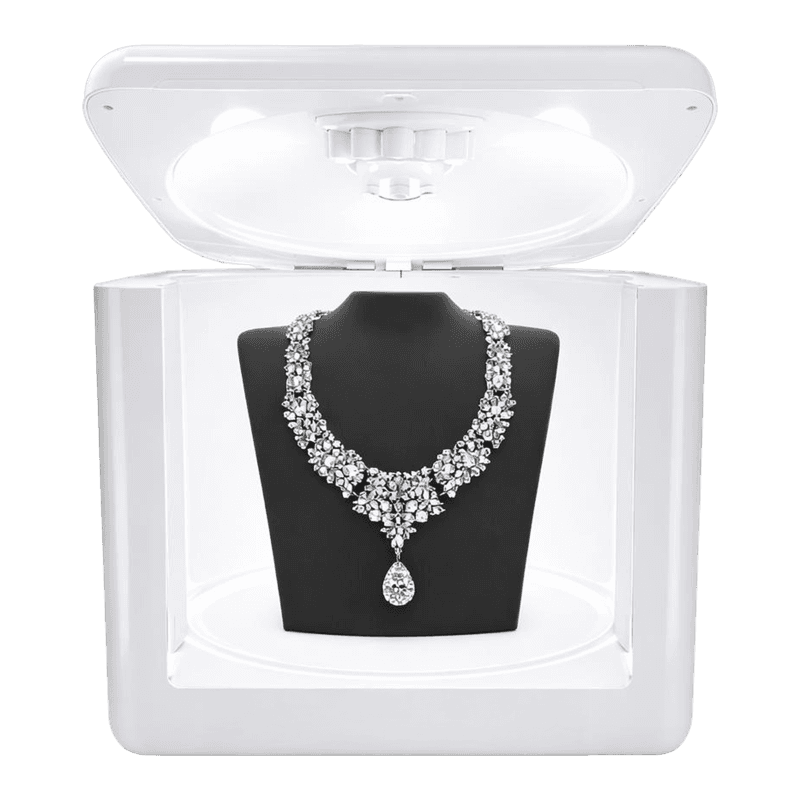
Welcome, you're in the right place. This guide walks you through setting up your GemLightbox Max, from powering it on to preparing content that helps you sell jewelry. No photography experience required.
What's in the Box#
Your GemLightbox Max ships with a modular set of accessories — mix, match, and use them the way that works best for you.
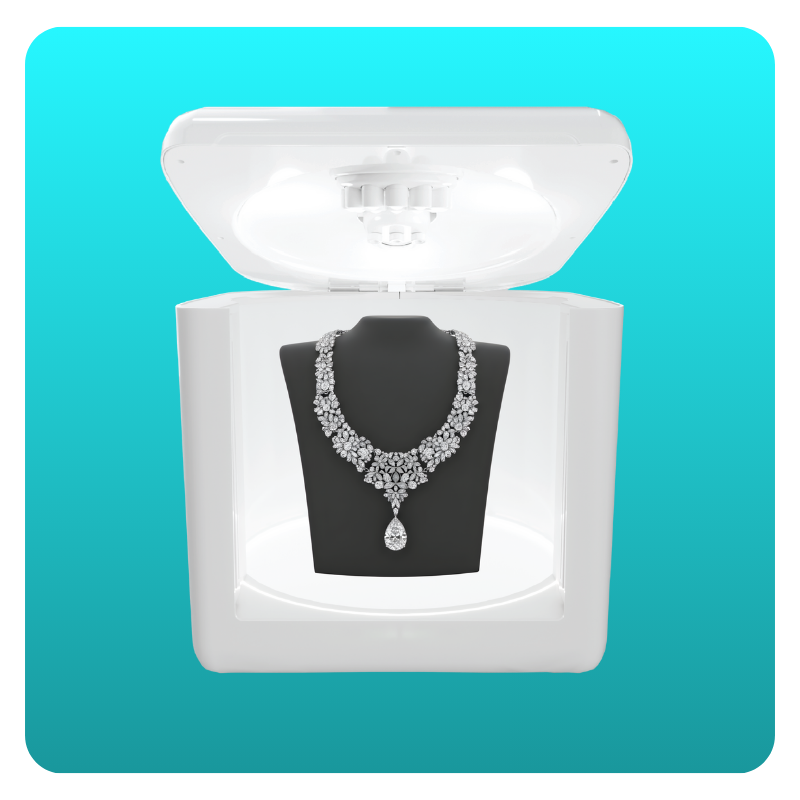
GemLightbox Max unit
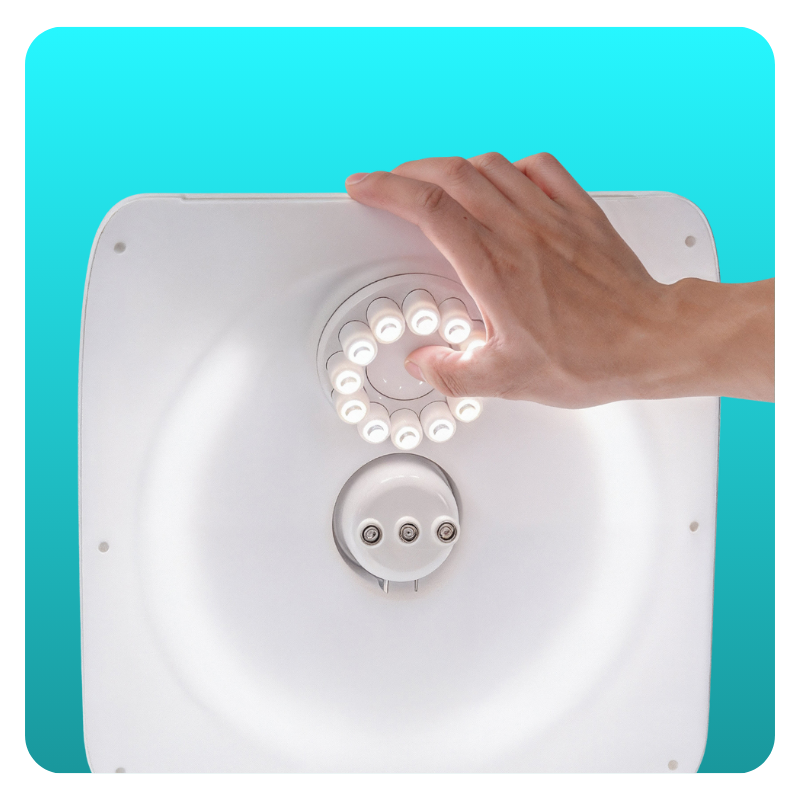
Rotating Lights System (6 yellow LEDs + 6 white LEDs)
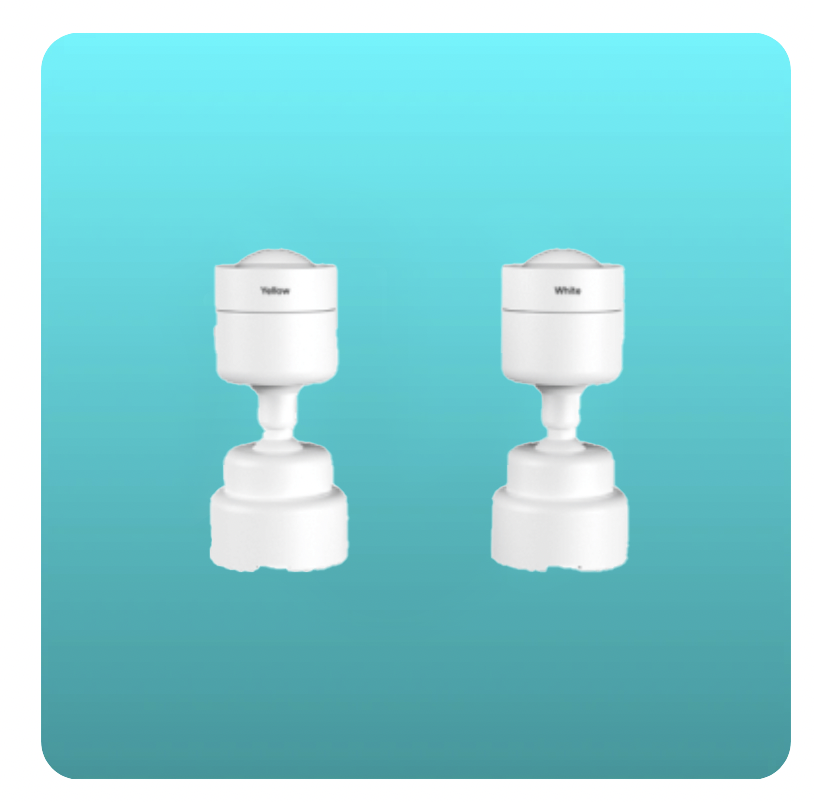
Magnetic Sparkle Lights (1 yellow, 1 white)
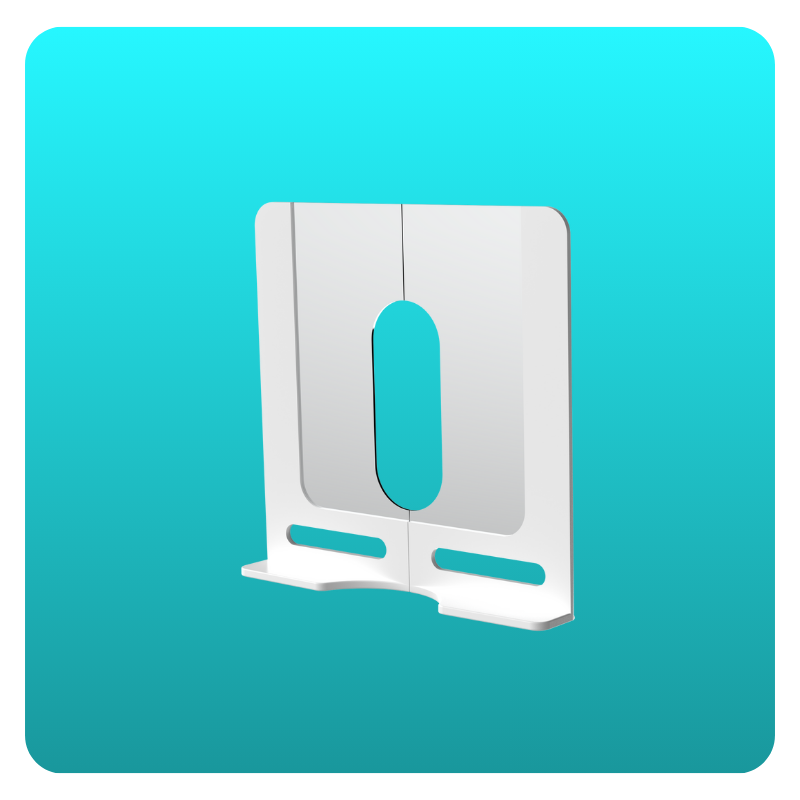
LumiPanels
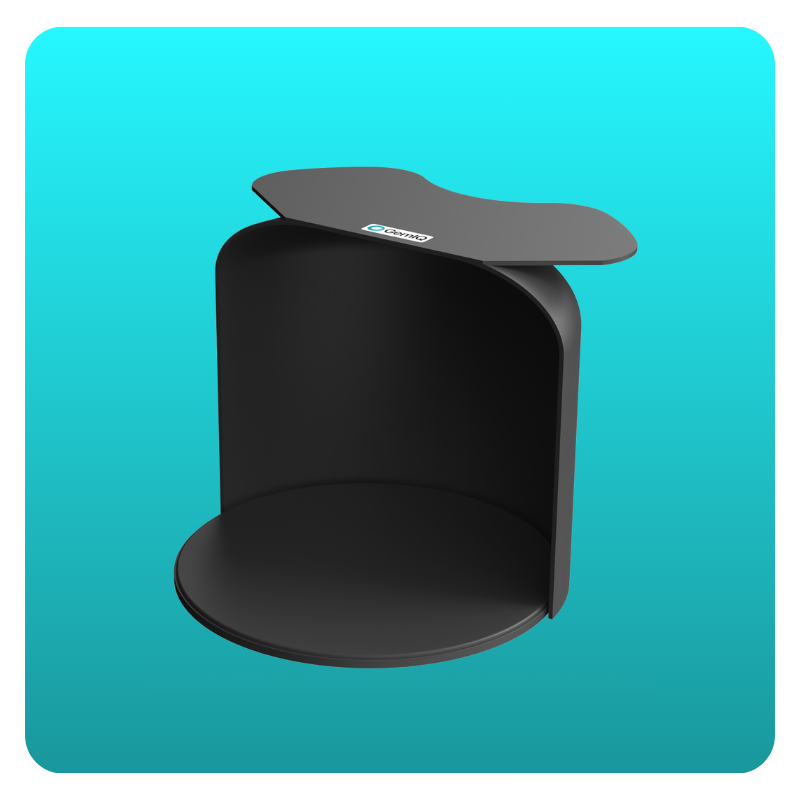
Eclipse (black background)
Black Mannequin
Watch Holder
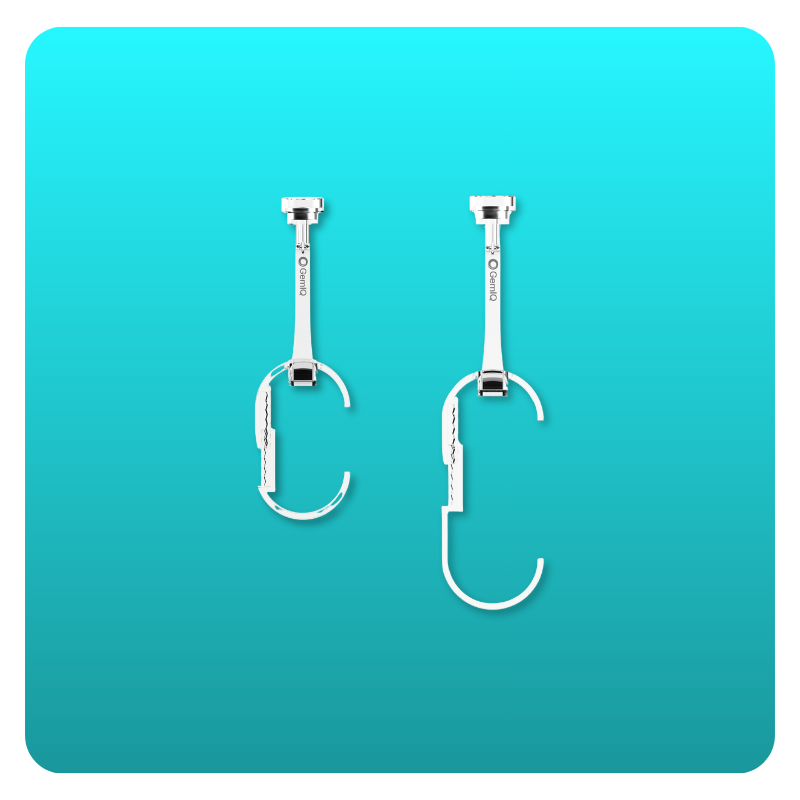
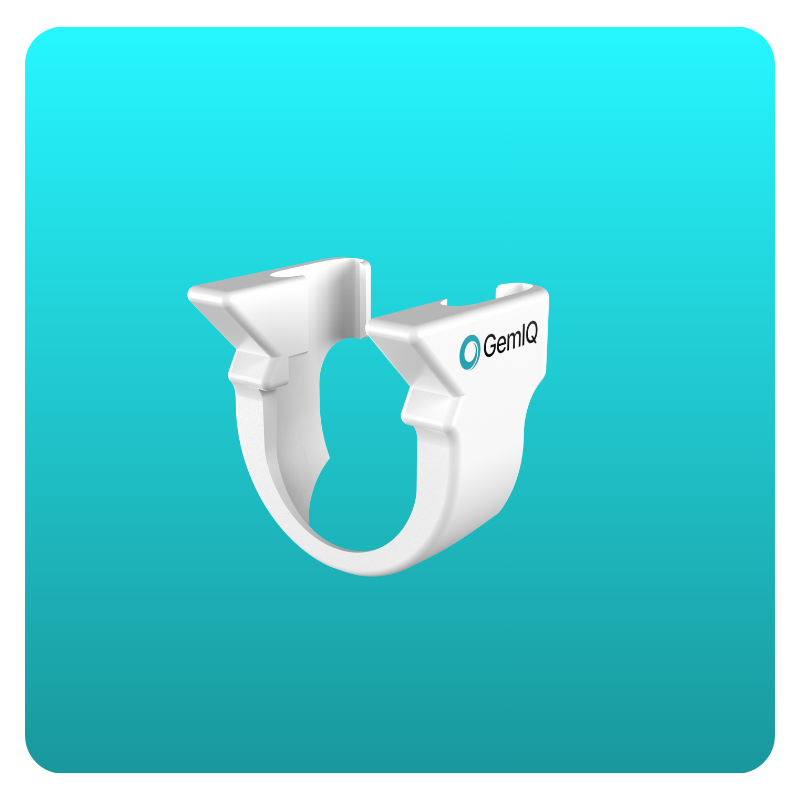
Ring Clips
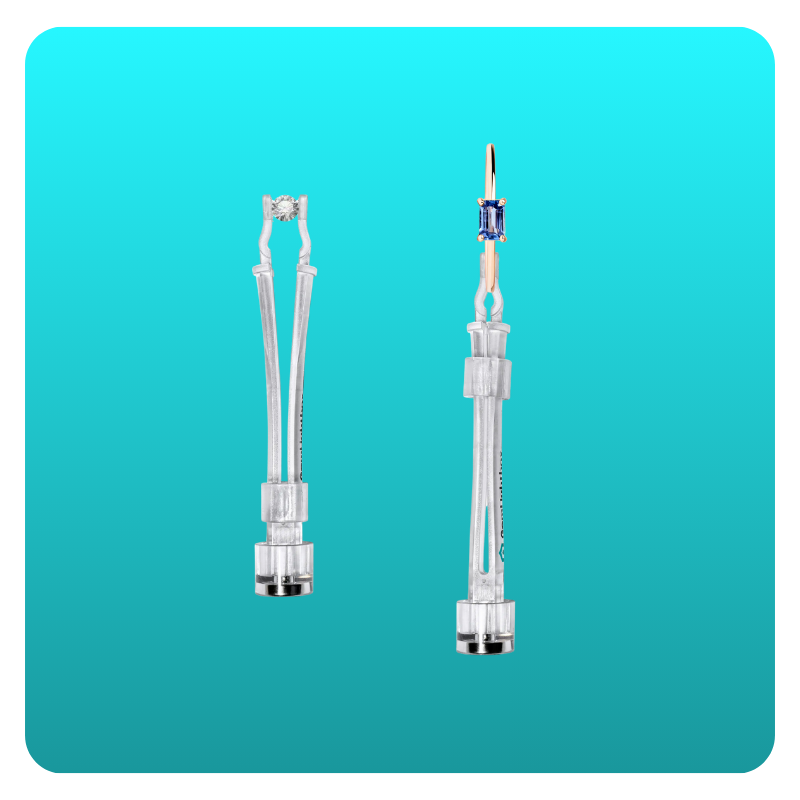
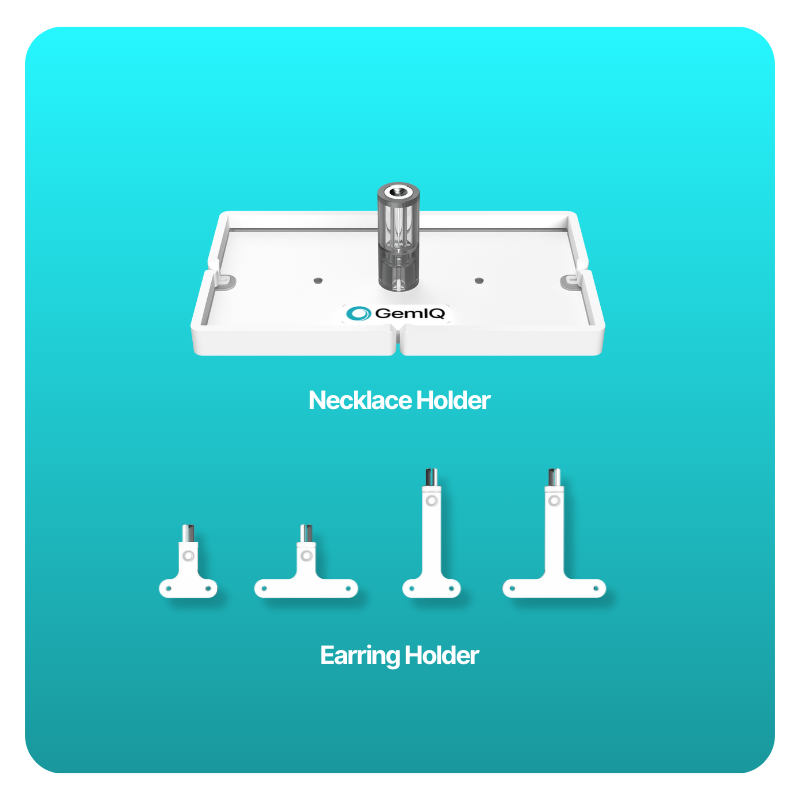
Earring & Necklace Holders
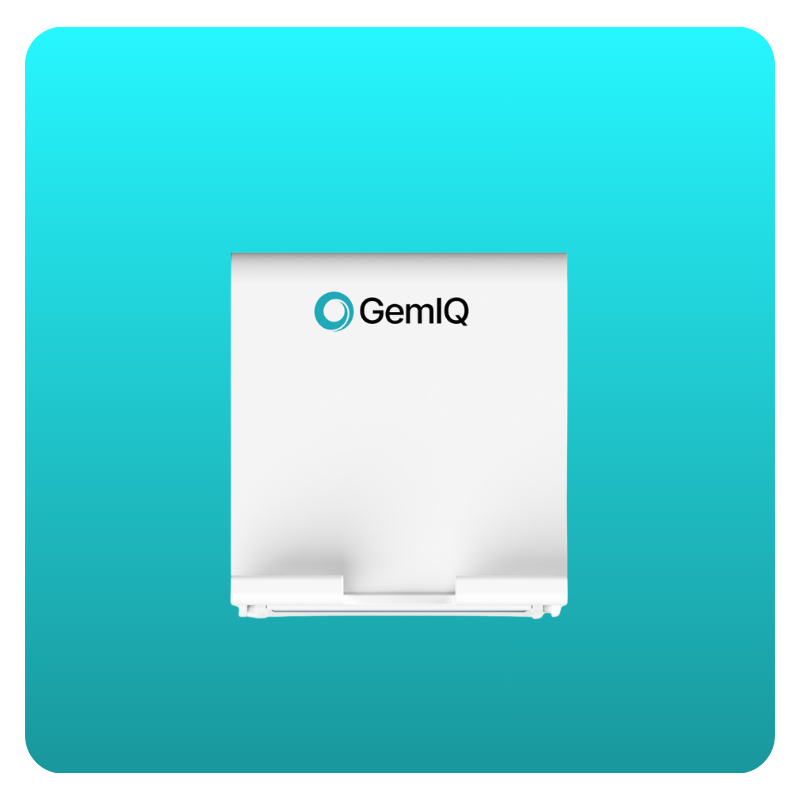
Phone Stand
USB-C Power Cable
GemIQ Software + 30GB Cloud Storage
Access our comprehensive usage guide for more details on these specialized tools.
Download the GemIQ App#
Install the GemIQ app before powering on — your hardware will appear there as soon as it’s ready to connect.
Power On Your GemLightbox Max#
Plug the USB-C power cable into the port at the back of the machine
Plug the other end into a wall outlet
Press the power button on top of the GemLightbox Max
Your GemLightbox Max is now powered on and ready to use.
Connect to the GemIQ App#
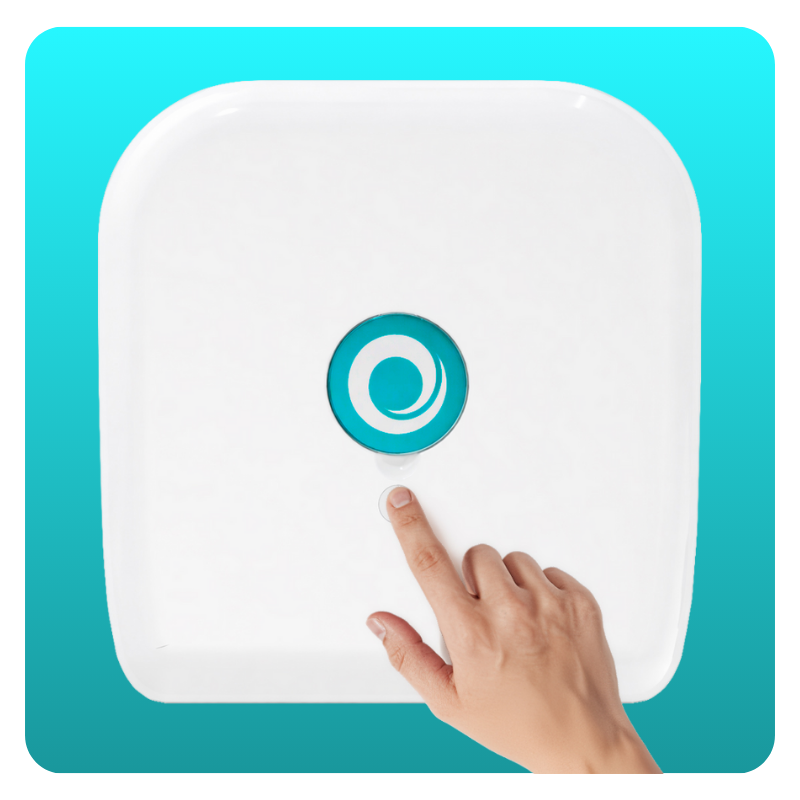
On your phone: Download the free GemIQ app (iOS or Android). Make sure Bluetooth is enabled on your phone, then open the app, tap Camera, tap Not Connected, and select your GemLightbox Max from the list to connect.
On desktop (without GemCam Pro): You can still log into the GemIQ desktop app using the same account you use on your phone. Everything you capture on your phone syncs automatically to the desktop app — images and videos are stored in your account, not on the device. This means you can access, edit, and export your content from your desktop. Unlock the full power of the desktop suite, providing you with exclusive tools like direct Shopify integration and advanced workflow management.
Note: Without the GemCam Pro, you won't be able to capture new photos or videos directly from the desktop app — that's what the GemCam Pro is for. Keep Bluetooth enabled on your computer, open the GemIQ desktop app, go to Capture in the top left, then navigate to the Control Panel on the right and click Connect Device. Your GemLightbox Max will appear in the popup — click Connect.
How to Use the Turntables#
The GemLightbox Max has two built-in turntables for different types of pieces.
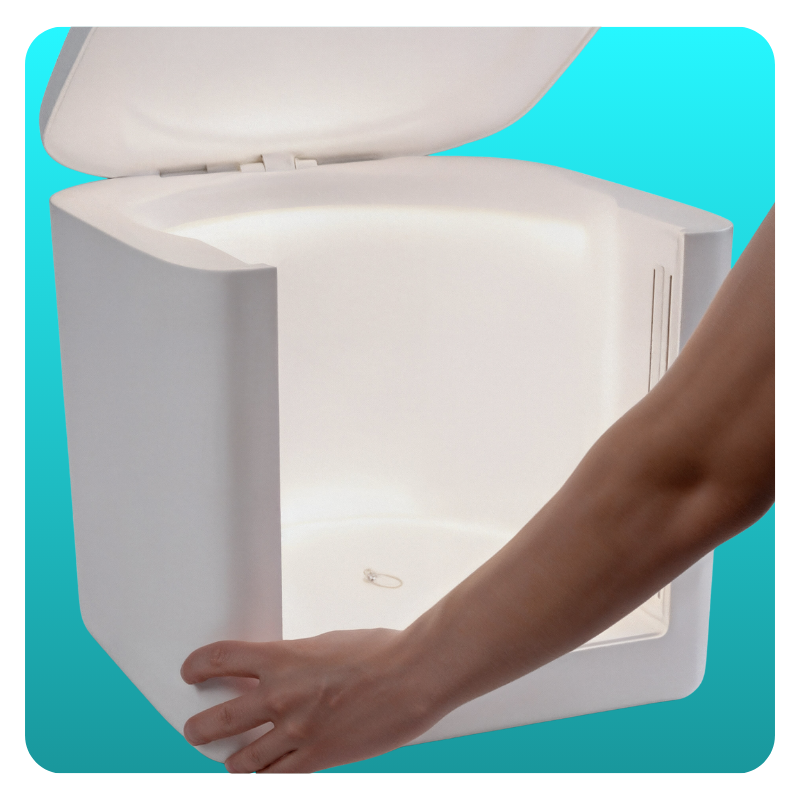
Bottom Turntable For flat or structured pieces — rings, bracelets, and necklace sets displayed on the mannequin. Place your jewelry centered on the turntable. To find the center point, open the lid and look from the top — there's a small dot that can be hard to see from the front.
Top Turntables For dangling or hanging pieces — earrings, pendants, and watches. Attach the appropriate holder to the top turntable and secure your piece before shooting. The top turntable has three magnetic attachment points — one in the center for accessories like earring and necklace holders, and one on each side where you can attach GemClips to hold your jewelry.
To activate the turntables, simply press record on your GemIQ app.
Setting Up Your Rotating Sparkle Lights#
Attach your magnetic Sparkle Lights to the ceiling of the GemLightbox Max in seconds. Just snap them onto the rotating sparkle light holder — the magnetic connection makes setup effortless.Use them to add motion-driven brilliance — ideal for diamonds, gemstones, and any piece you'd shoot in video.
Taking Photos and Videos#
Use your phone if you want:
Fast, everyday setup
Social media content
Quick daily shooting
Use GemCam Pro if you want:
High-resolution catalog images
Detailed close-ups
Consistent results across large collections
In the GemIQ app, select your Scene Preset, place your piece, and tap capture.
-1.png)
GemLightbox Max in Action#
Next Steps#
Open GemIQ and capture your first piece — most users are up and running in under 5 minutes
Try GemStudio to turn your captures into AI model and lifestyle images without a photoshoot
Join the Digital Jewelers Community to connect with 20,000+ jewelers worldwide
Common Questions#
How do I turn on the GemLightbox Max?
Plug the USB-C power cable into the port on the back of the unit, plug the other end into a wall outlet, then press the power button on top of the GemLightbox Max. It's now powered on and ready to use.
Do I need to install the GemIQ app before powering on the GemLightbox Max?#
Yes, install it first so the hardware appears and connects as soon as it's powered on.
What's the difference between the bottom and top turntable?#
The bottom turntable is for flat or structured pieces like rings, bracelets, and necklace sets on the mannequin. The top turntable is for dangling or hanging pieces like earrings, pendants, and watches, using the magnetic attachment points and holders.
How do I start the turntable rotating?#
Press record in the capture mode in GemIQ app, that's what activates the turntables.
Can I capture photos and videos without a GemCam Pro?#
Yes, you can use your phone for fast, everyday shooting and social content. GemCam Pro is for high-resolution catalog images and consistent results across larger collections, but without it you can't capture directly from the desktop app.
How do I attach the Sparkle Lights?#
Snap them onto the rotating sparkle light holder on the ceiling of the GemLightbox Max — the magnetic connection makes it quick to attach.
What do I do if I can't connect my GemLightbox Max to the GemIQ app?#
Make sure Bluetooth is enabled on your phone or computer, then in the app tap Camera (mobile) or go to Capture > Connect Device, and select your GemLightbox Max from the list.
Need Help?#
Book a 1:1 onboarding call Email us anytime at support@gemiq.com — support is available 24 hours a day, 5 days a week.