
Quick Answer#
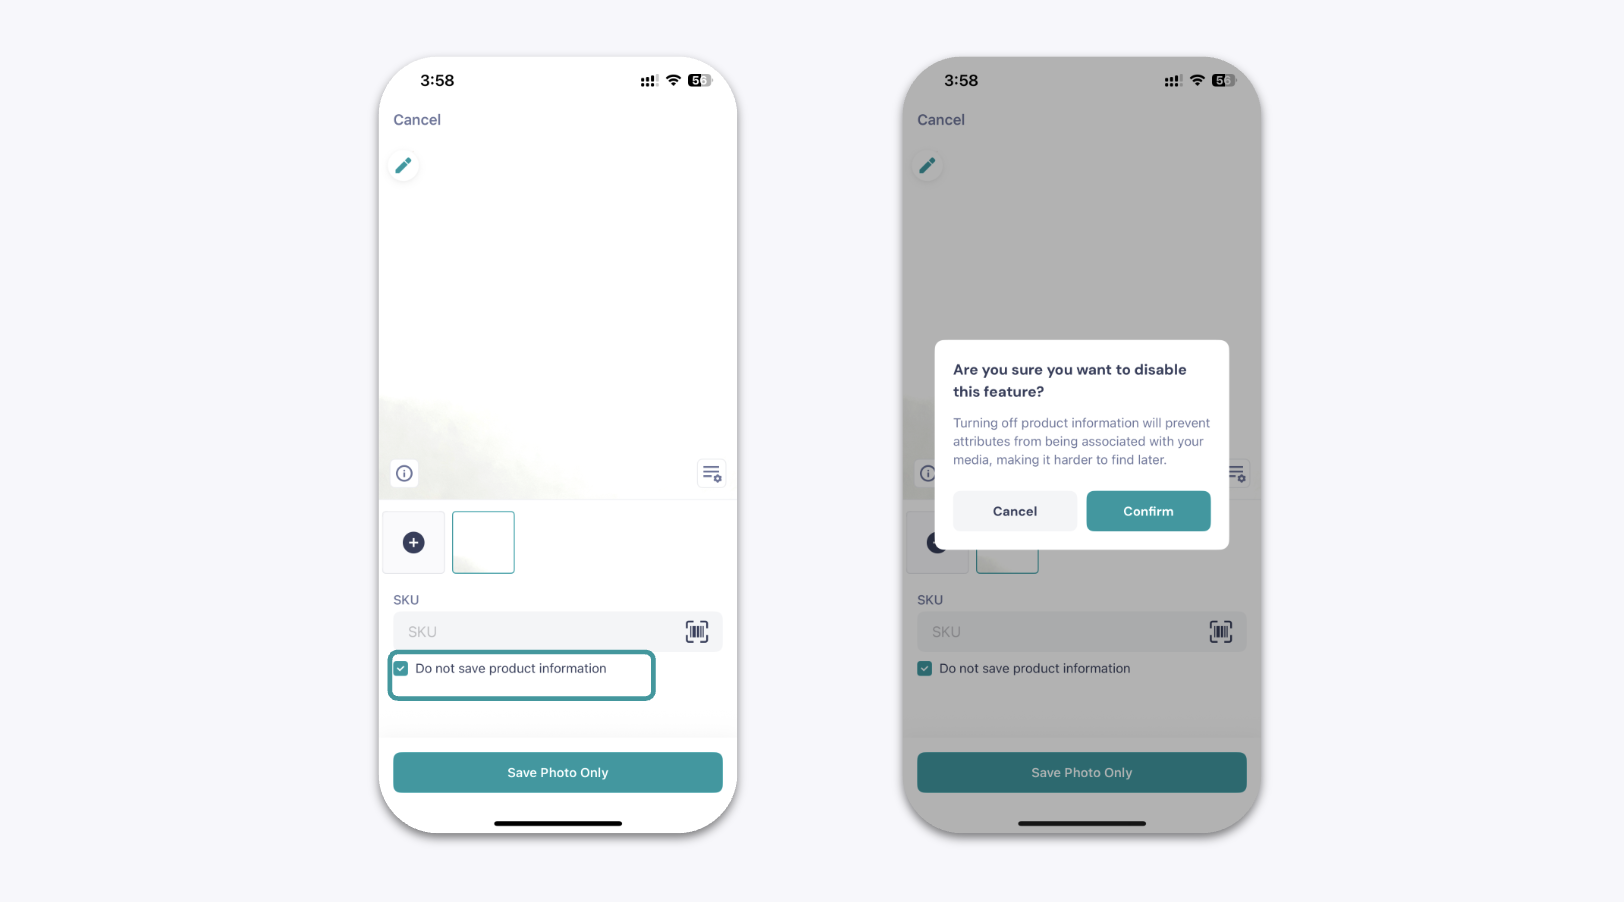
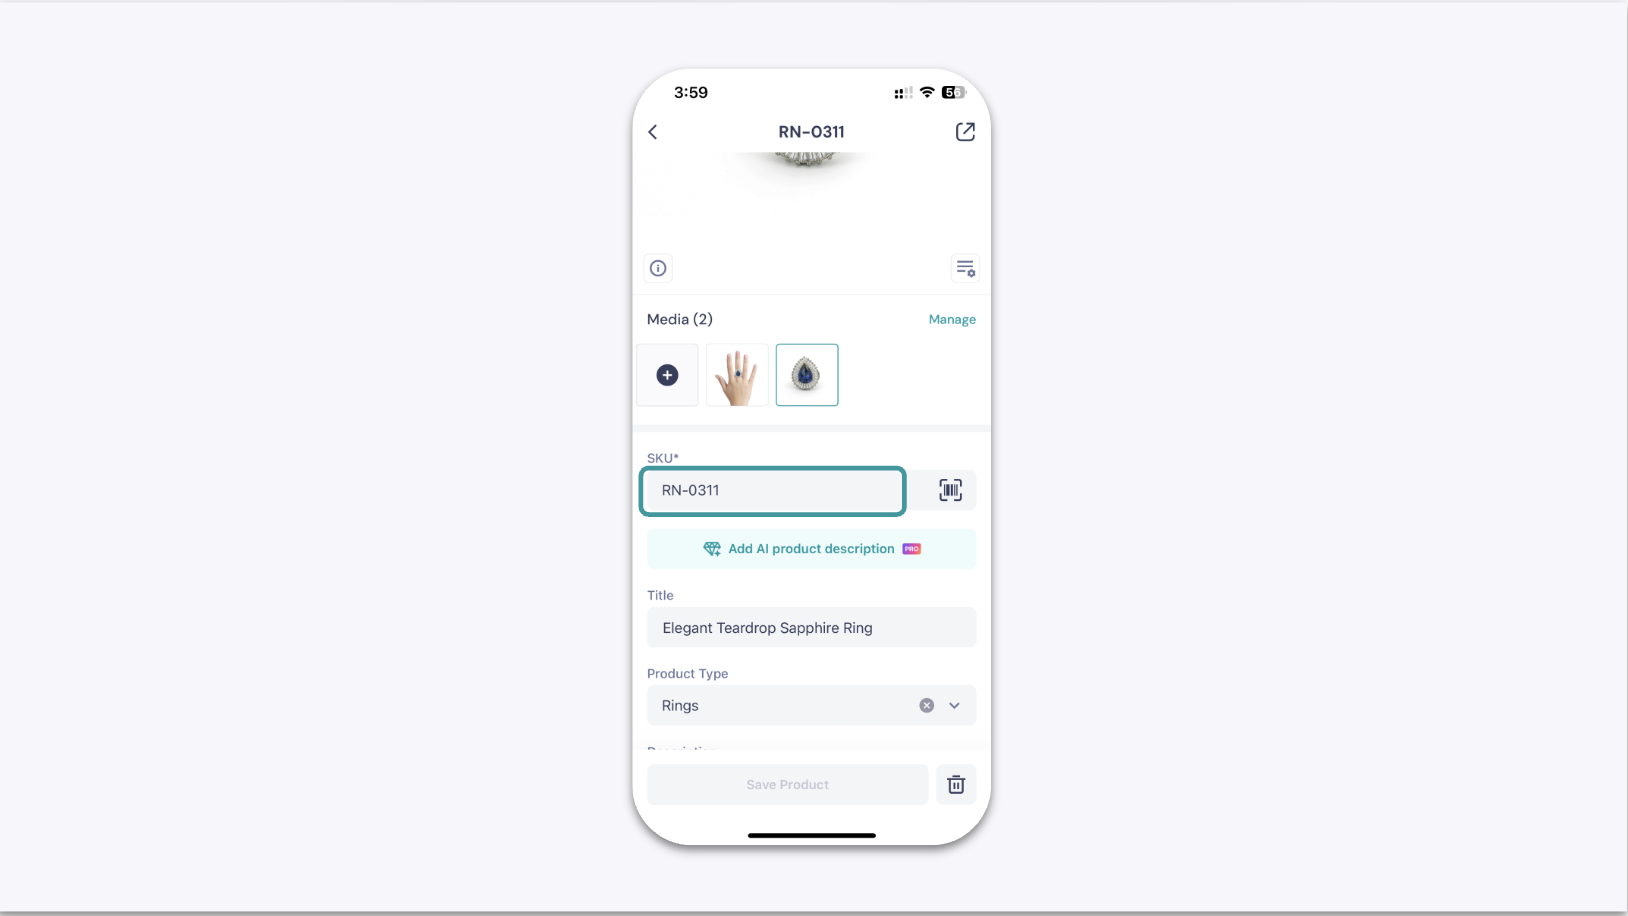
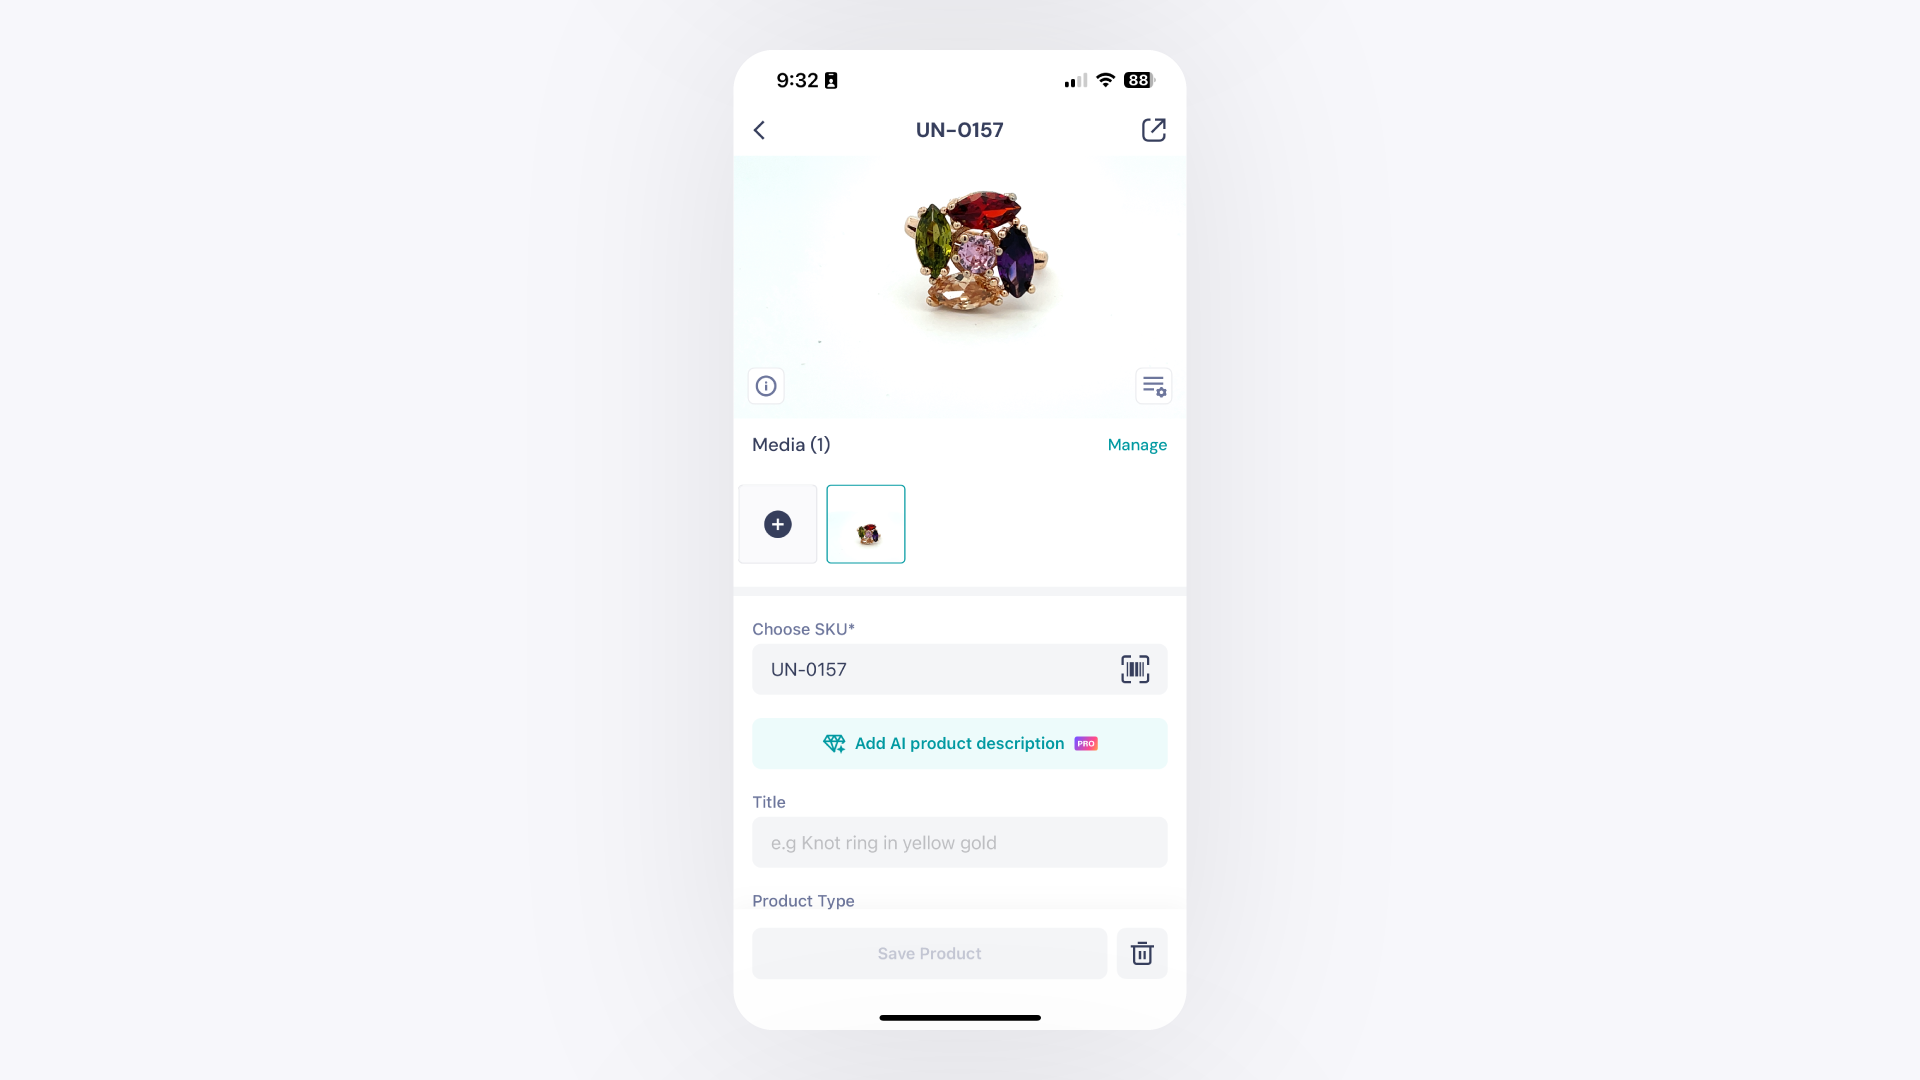
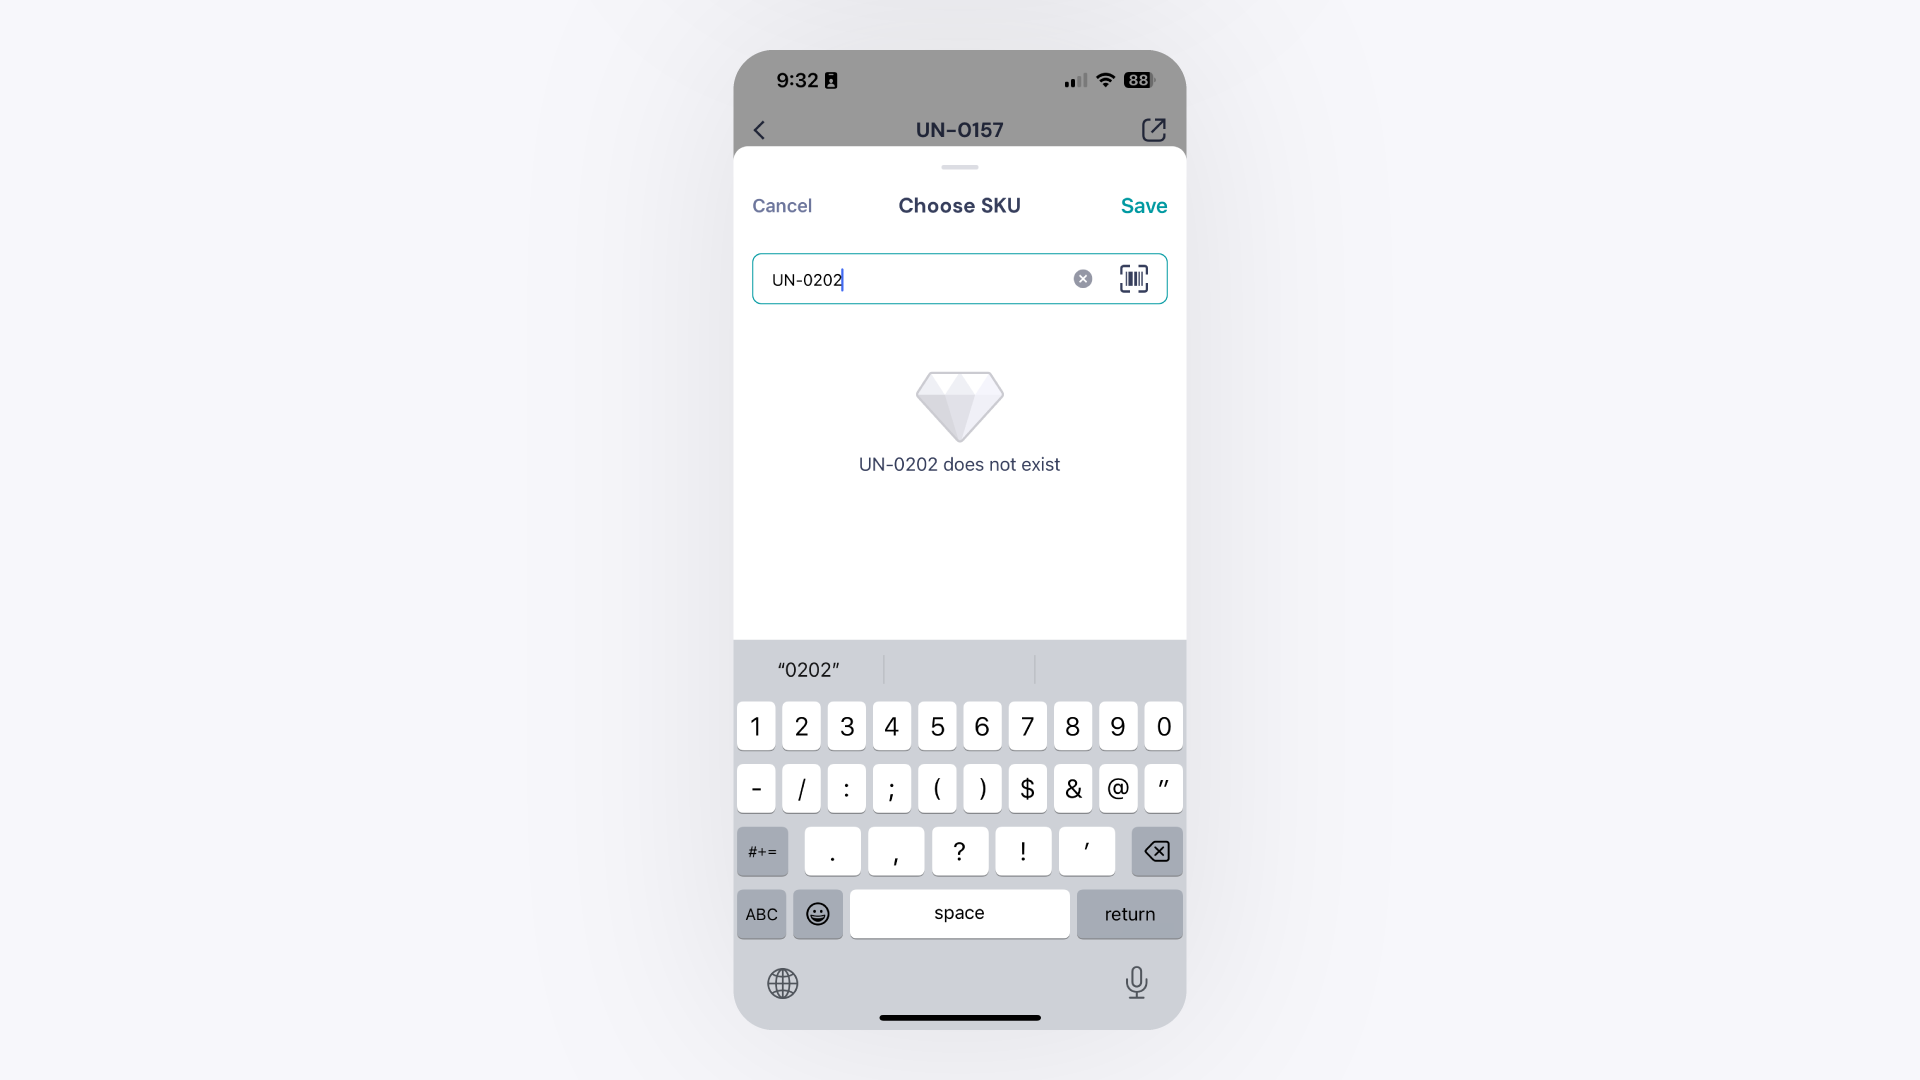
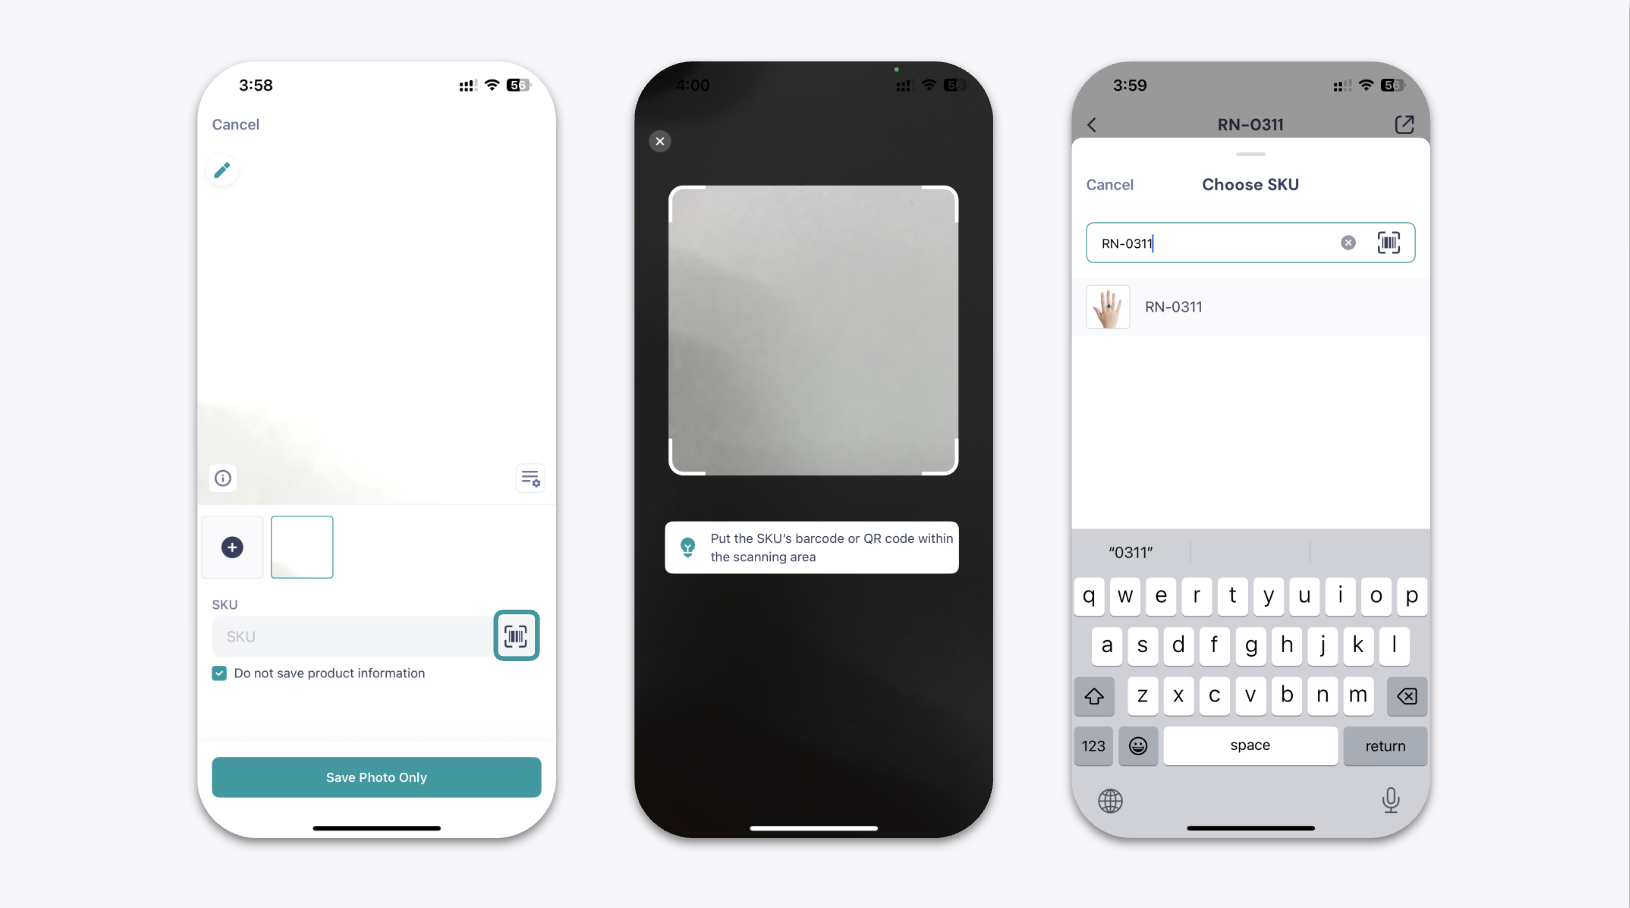
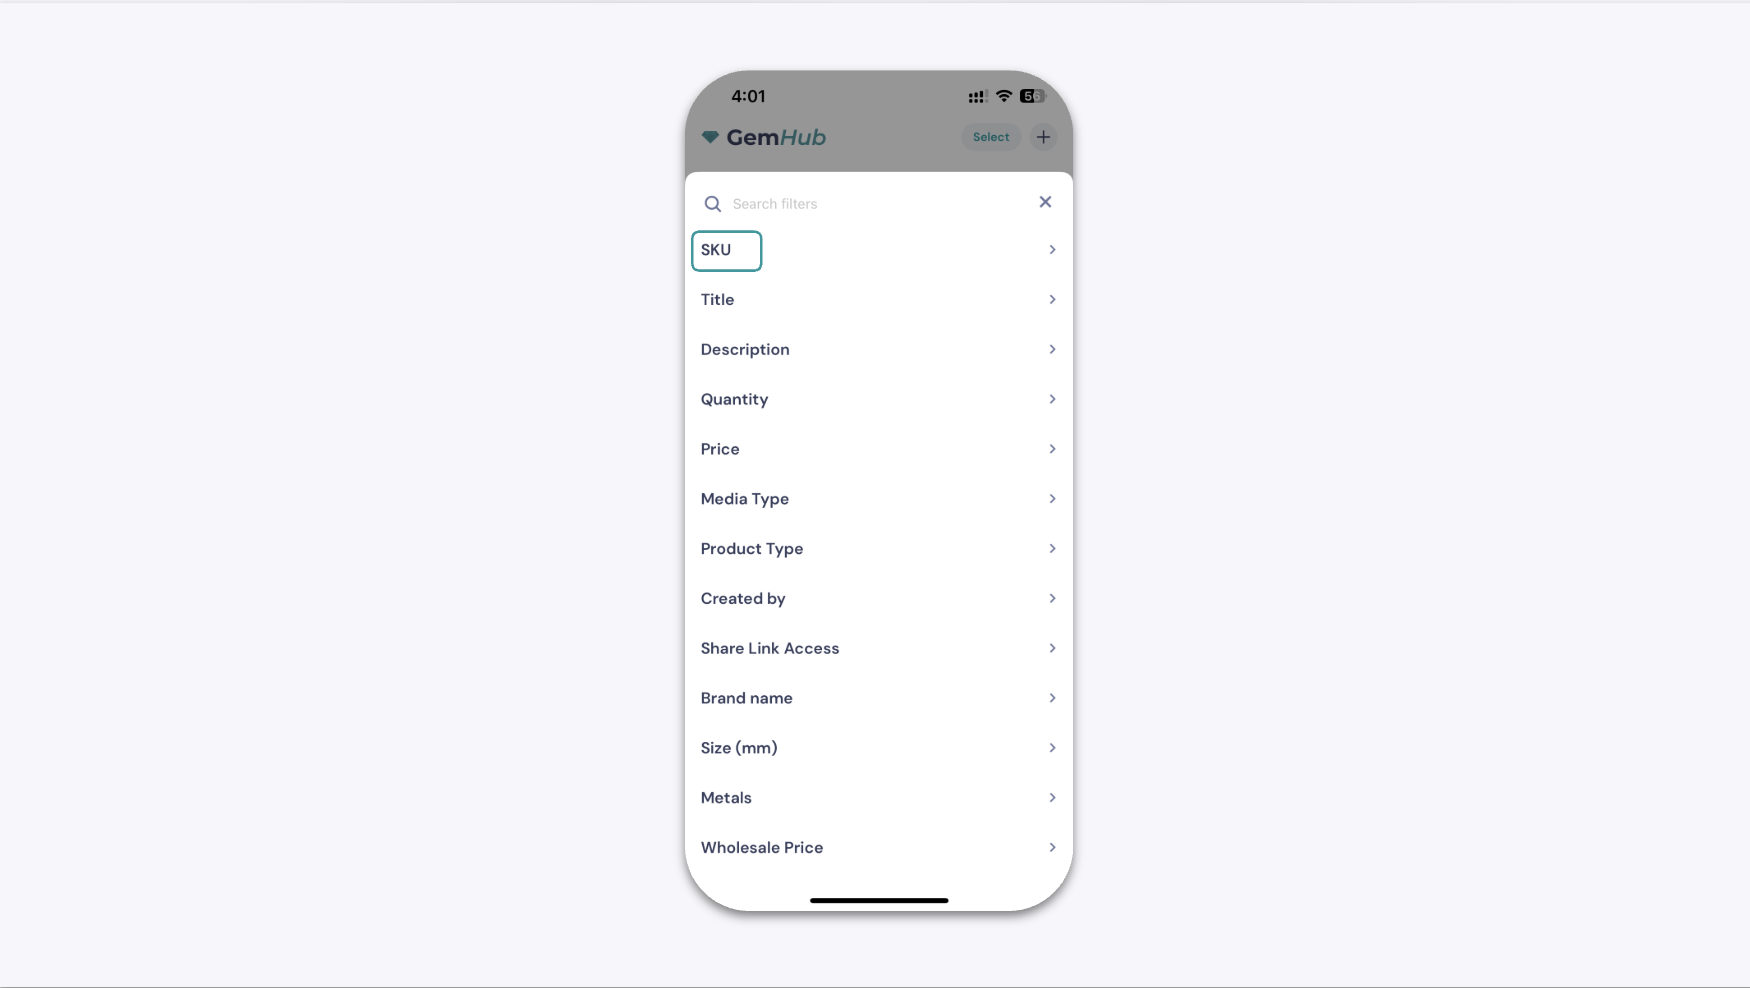
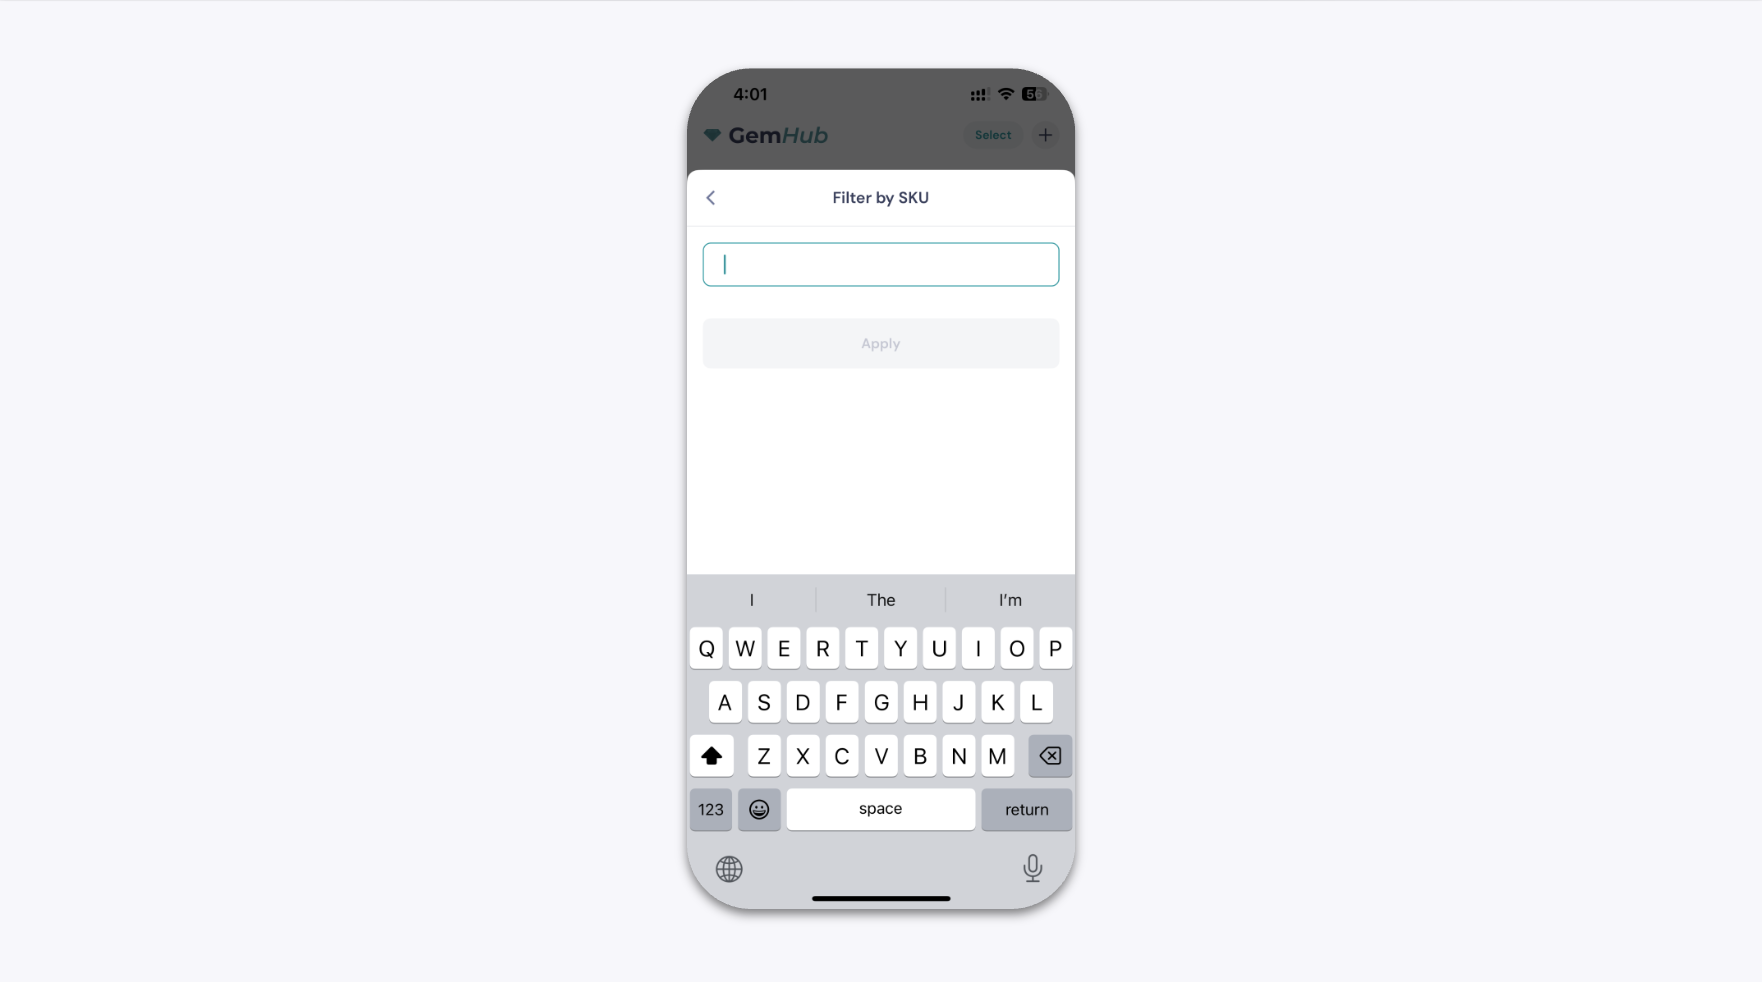
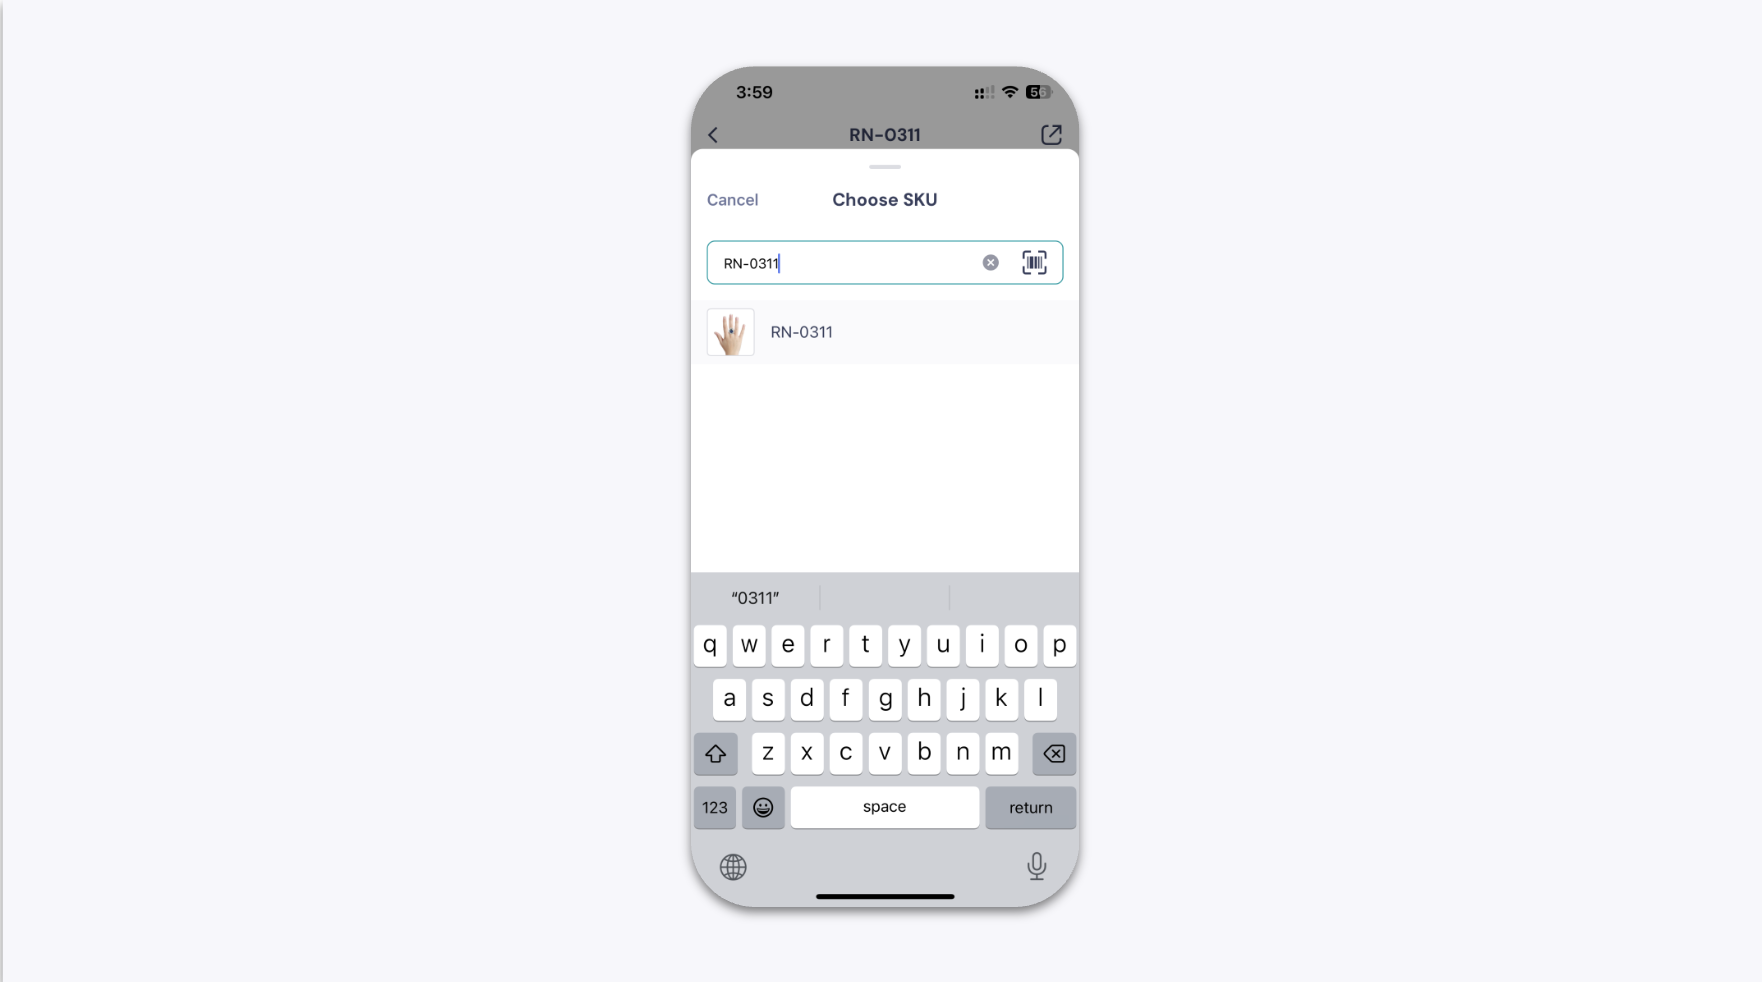
The GemIQ Mobile App gives you three ways to assign a SKU to a product: automatic generation after capture, manual entry on the preview screen, or editing directly inside your library. You can also use the built-in barcode scanner to fill the SKU field instantly from any product tag.
Before You Start#
GemIQ Mobile App installed and signed in
At least one product photo or video captured, or ready to capture
Steps#
Option 1 — Auto-Generate a SKU#
This is the fastest option. GemIQ creates a SKU for you after every capture.
Capture your image or video.
Tap Save Product. GemIQ saves the image with an automatically generated SKU.