

Quick Answer#
The GemCam control panel in the GemIQ gives you full control over every aspect of your shoot — turntable movement, focus, zoom, lighting scenarios, color adjustments, AI processing, watermarks, and file saving. This article explains every setting and what it does.
Turntable Controls#
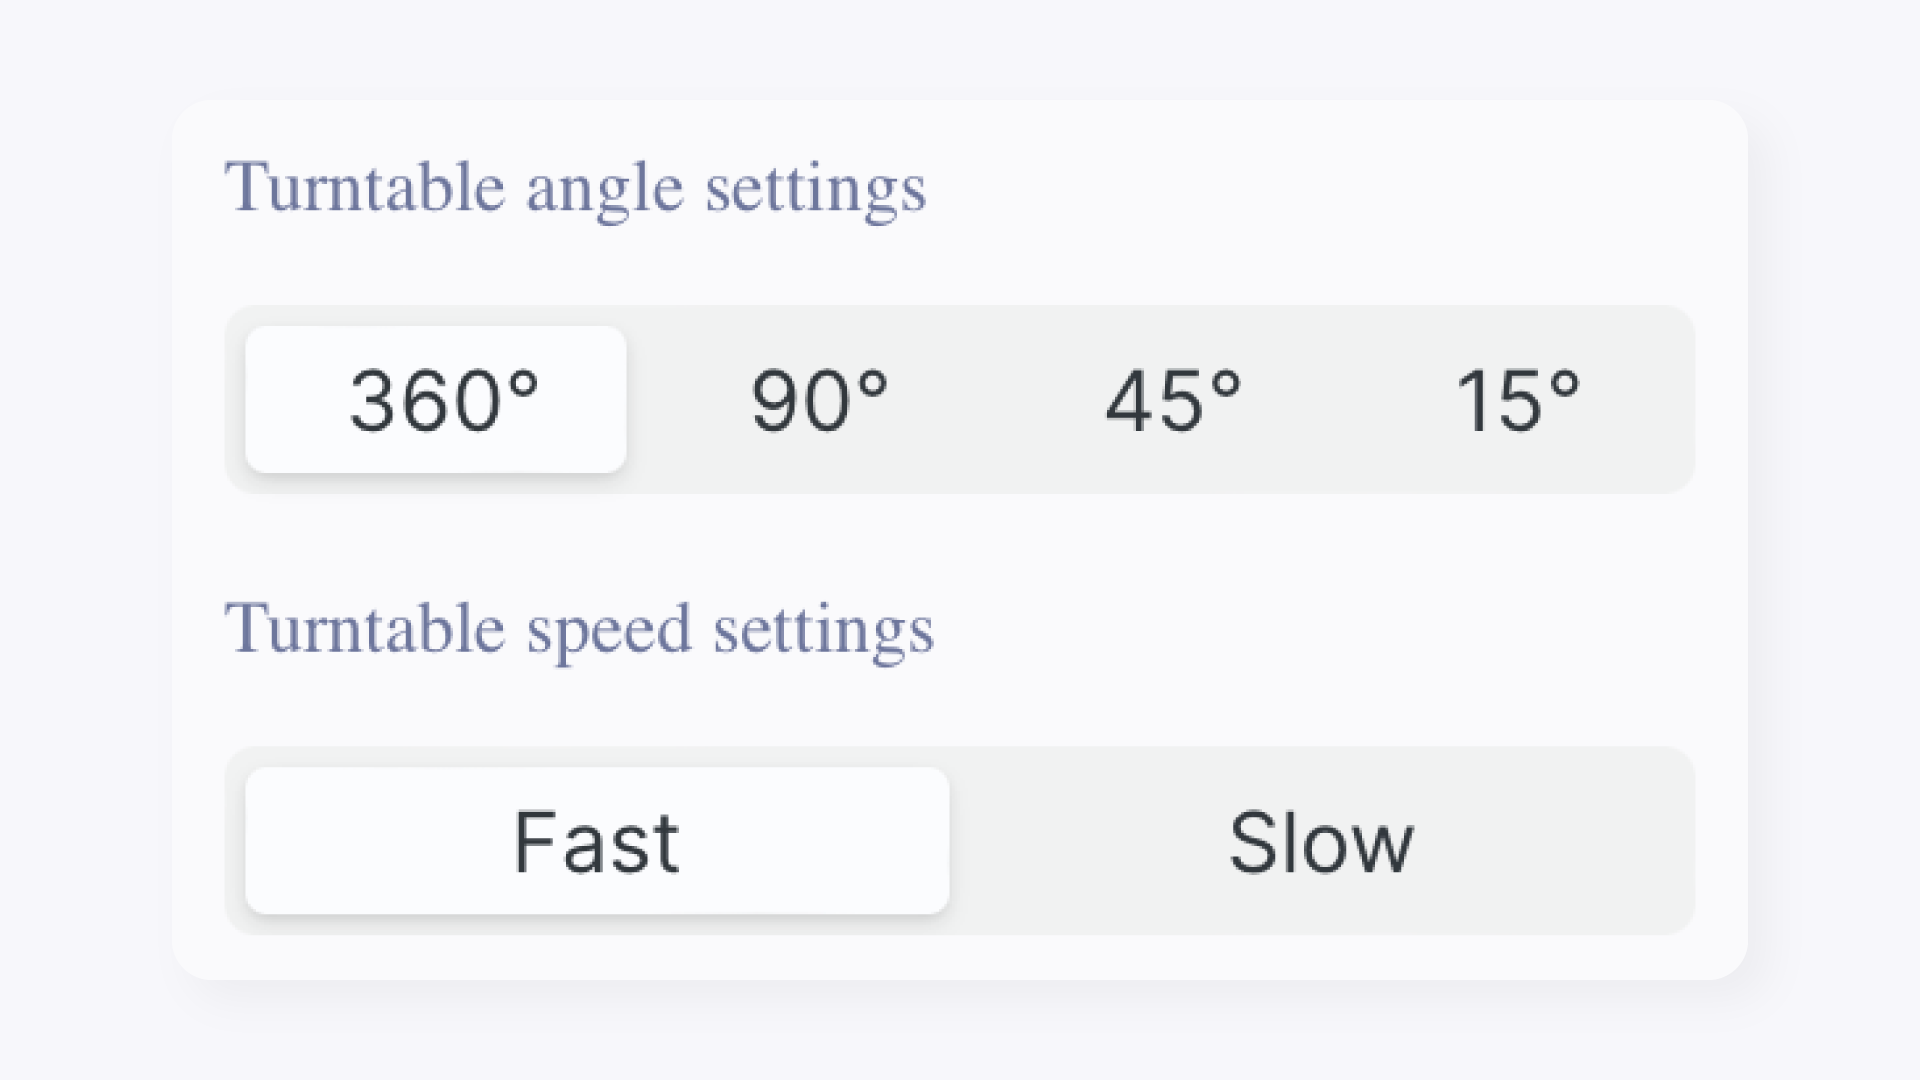
Turntable Angle and Speed#
Set the rotation angle and speed of the GemLightbox Pro's turntable before you start shooting.
Directional Arrows#
When a turntable is connected, directional arrows appear in the control panel. Use them to manually rotate the turntable and position your piece before shooting.
Camera Controls#
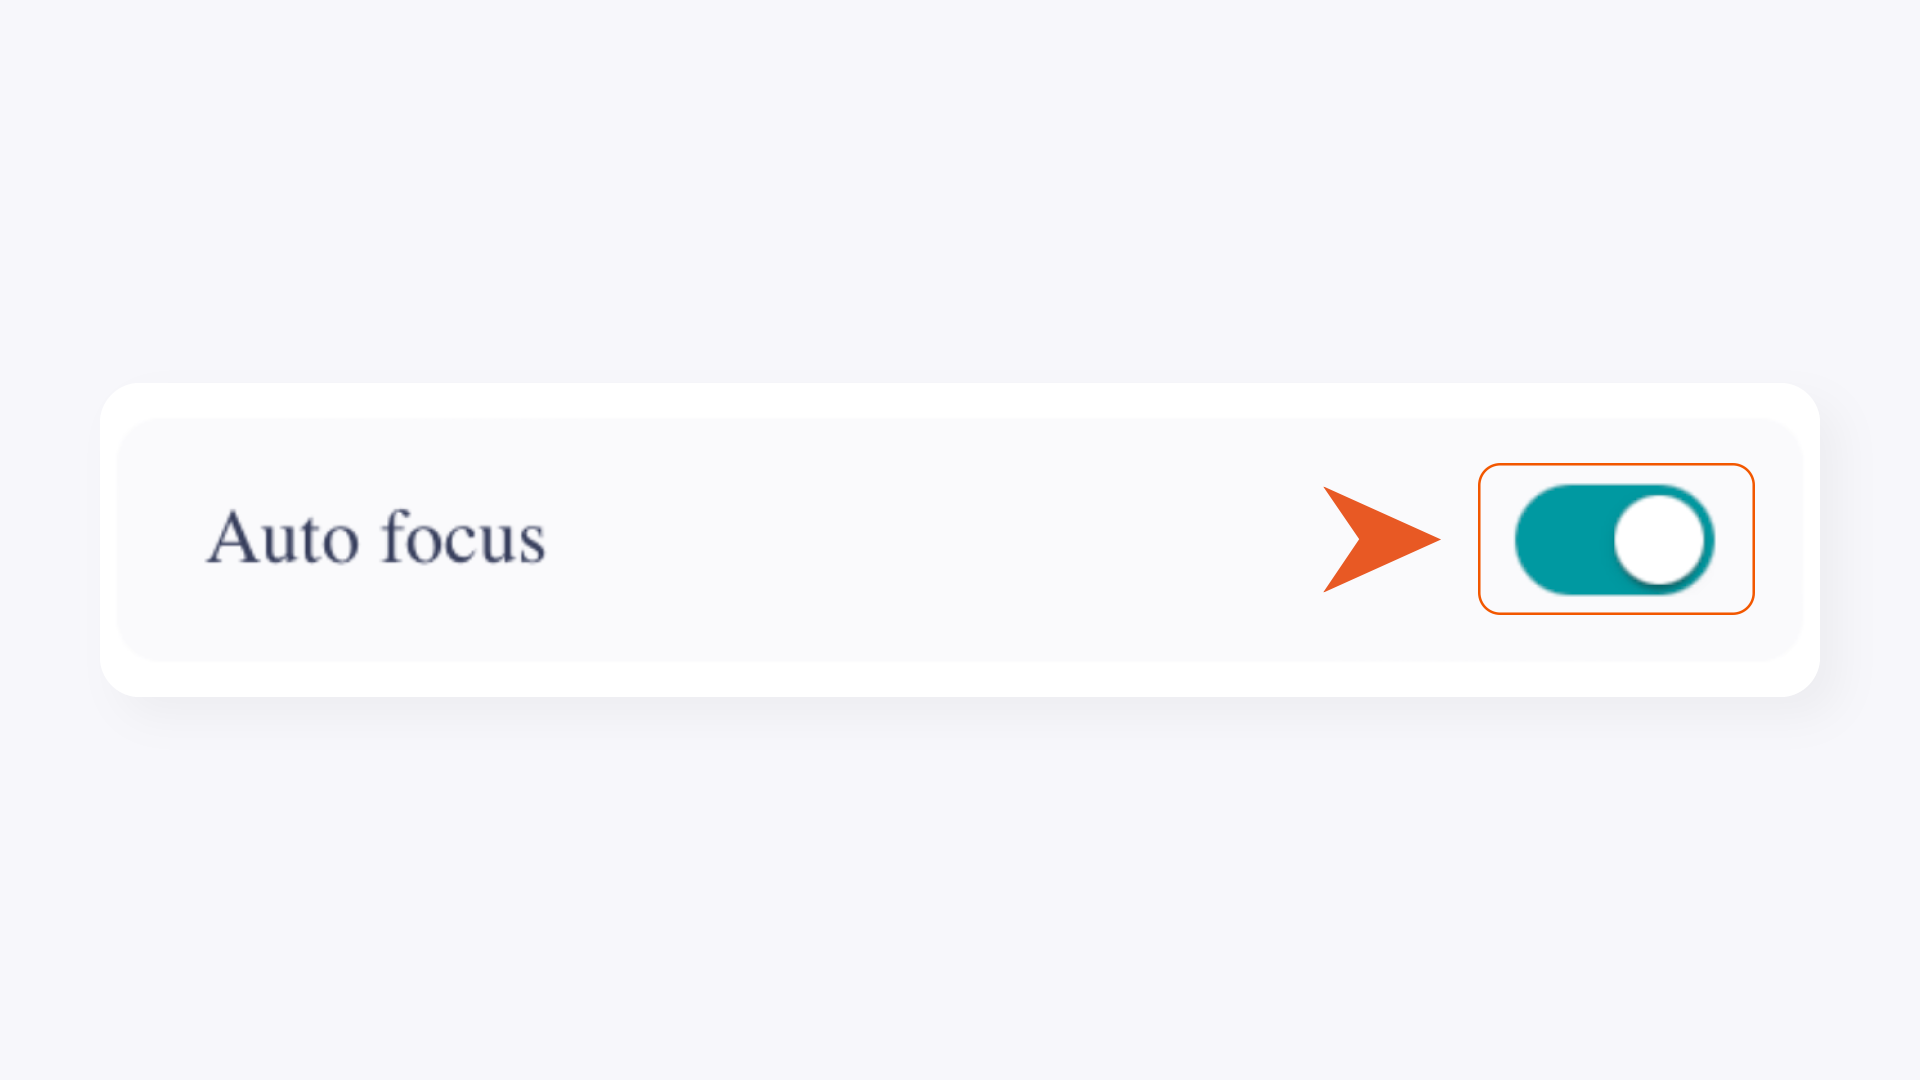
Auto Focus#
Automatically adjusts the camera to focus sharply on your jewelry piece.
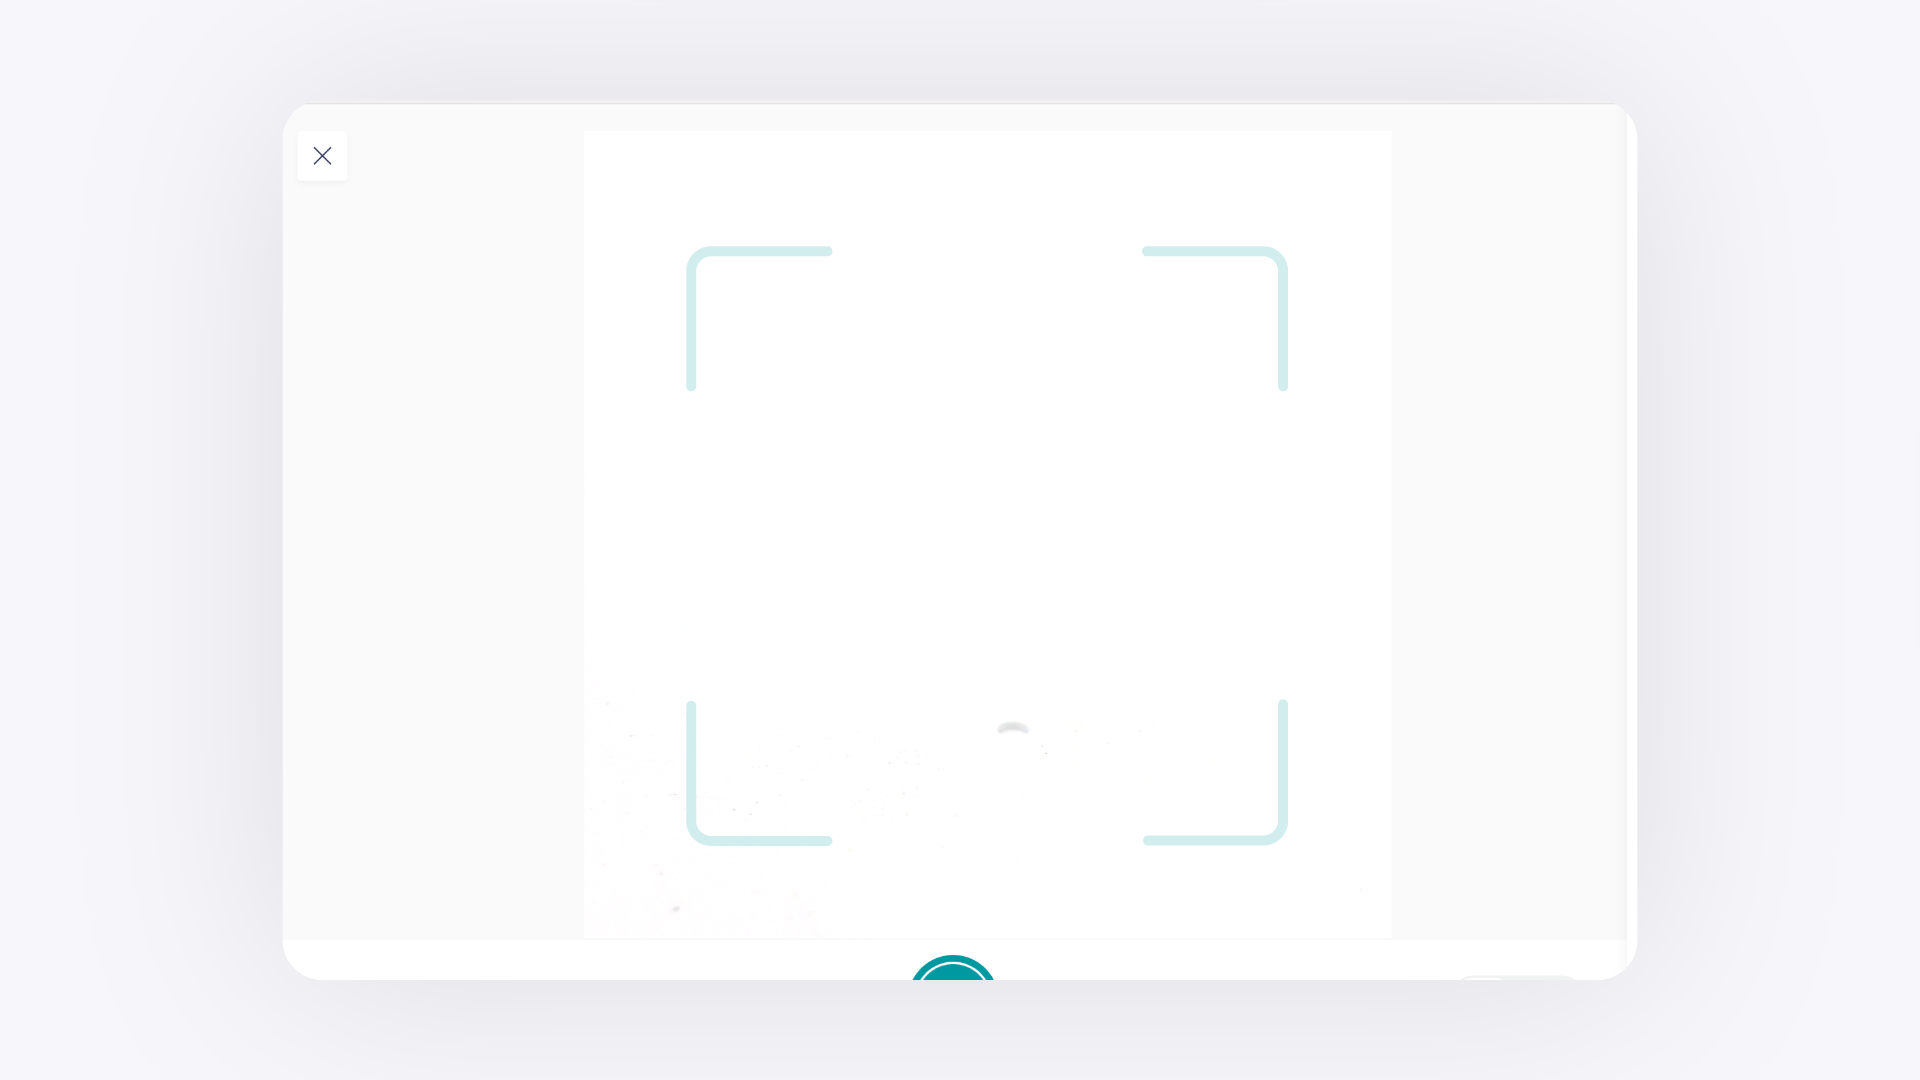
Capture Frame Guide#
Displays a framing guide overlay so you can center your piece precisely before capturing.
Zoom#
Magnifies the live view before you capture. Useful for close-up detail or filling the frame with smaller pieces.
Auto Photography#
Automatically captures still images at set intervals while a video is recording.
Camera and Video Mode#
Switch between still image capture and video recording mode.
GemAI (Pro Plan)#
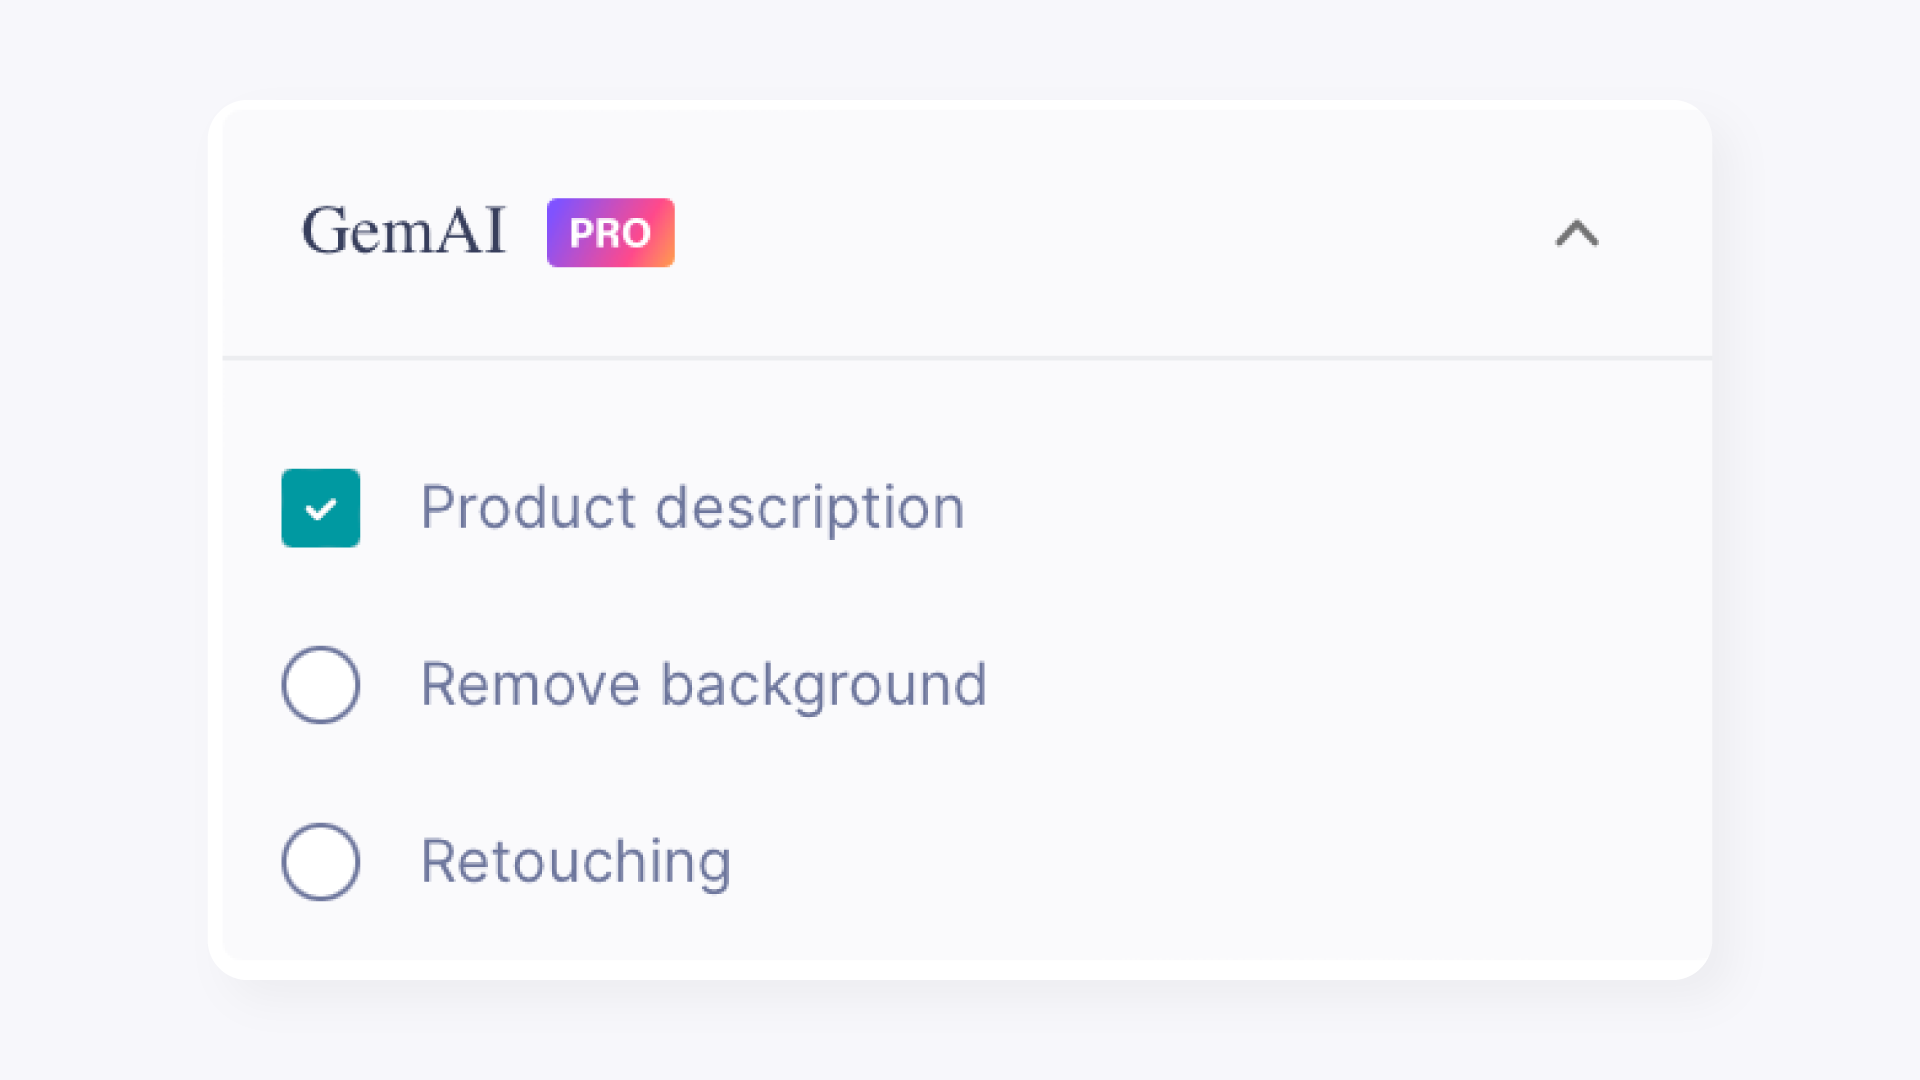
GemAI applies AI enhancements automatically to images at the point of capture, before saving to the Gallery. Requires a Pro plan subscription.
Feature What It Does Product Description Automatically generates a written product description for the captured piece Remove Background Places your jewelry on a clean white background after capture Retouching Automatically enhances image quality using AI after capture
Free plan users must upgrade to Pro to access GemAI.
Lighting and Scene Adjustments#
Eclipse Mode#
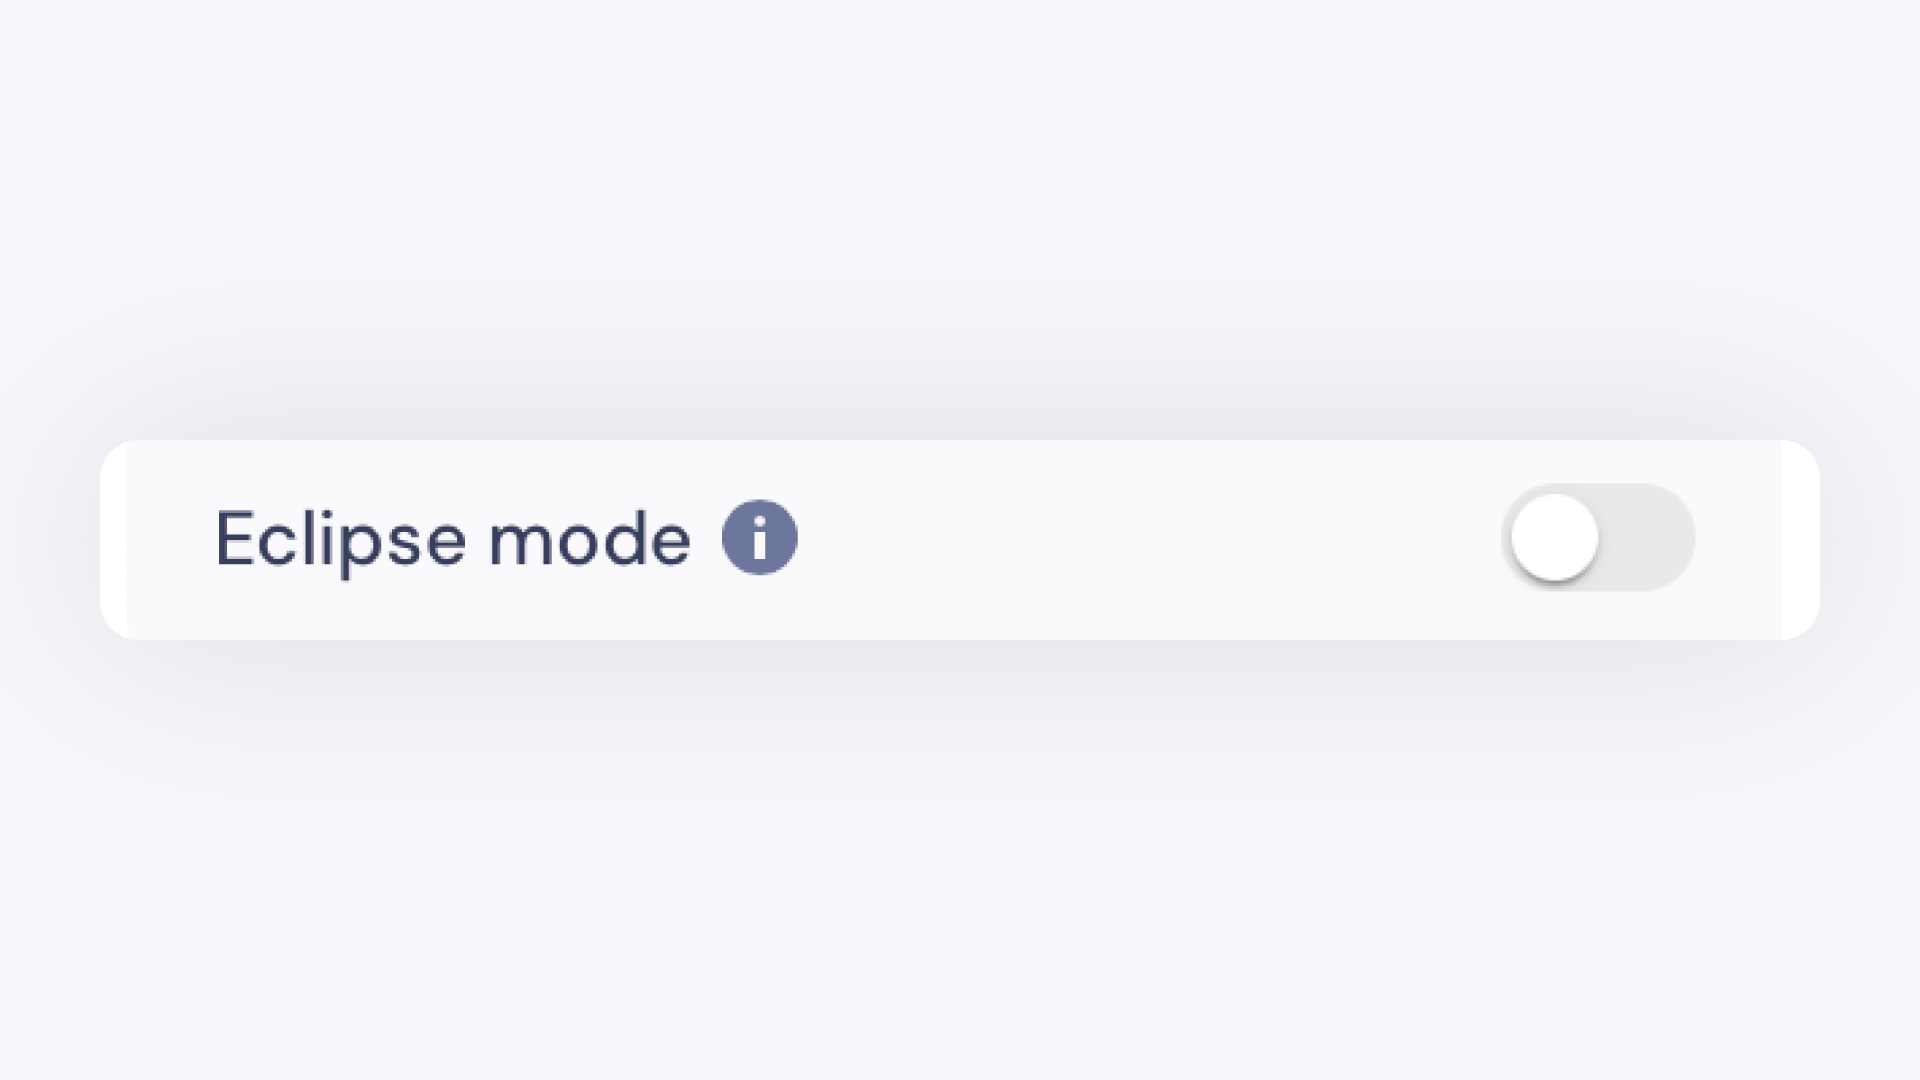
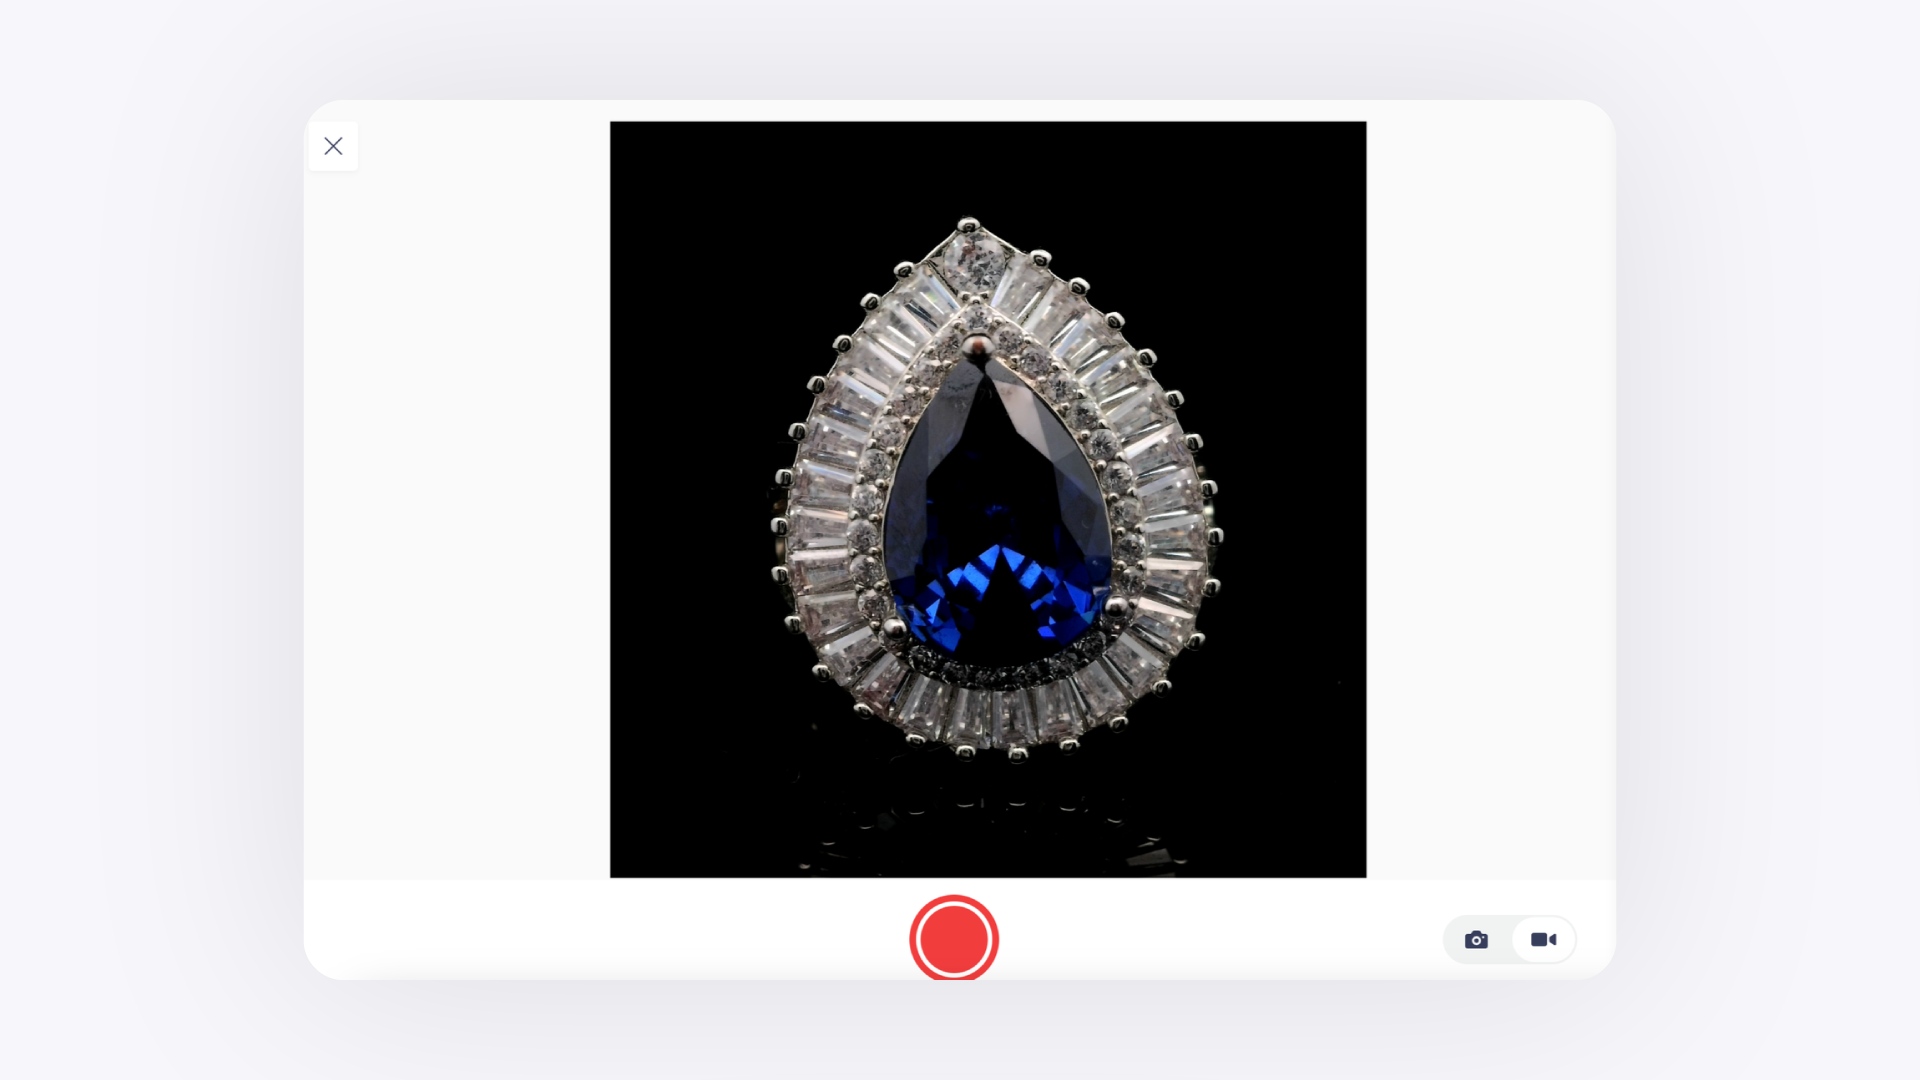
Enable Eclipse Mode when shooting with the GemLightbox Pro Eclipse. Sets your images and videos against a solid black background.
If you notice overexposure in your images, try reconnecting or swapping the USB-C cable, or restart GemIQ to recalibrate the GemCam.
Scenario#
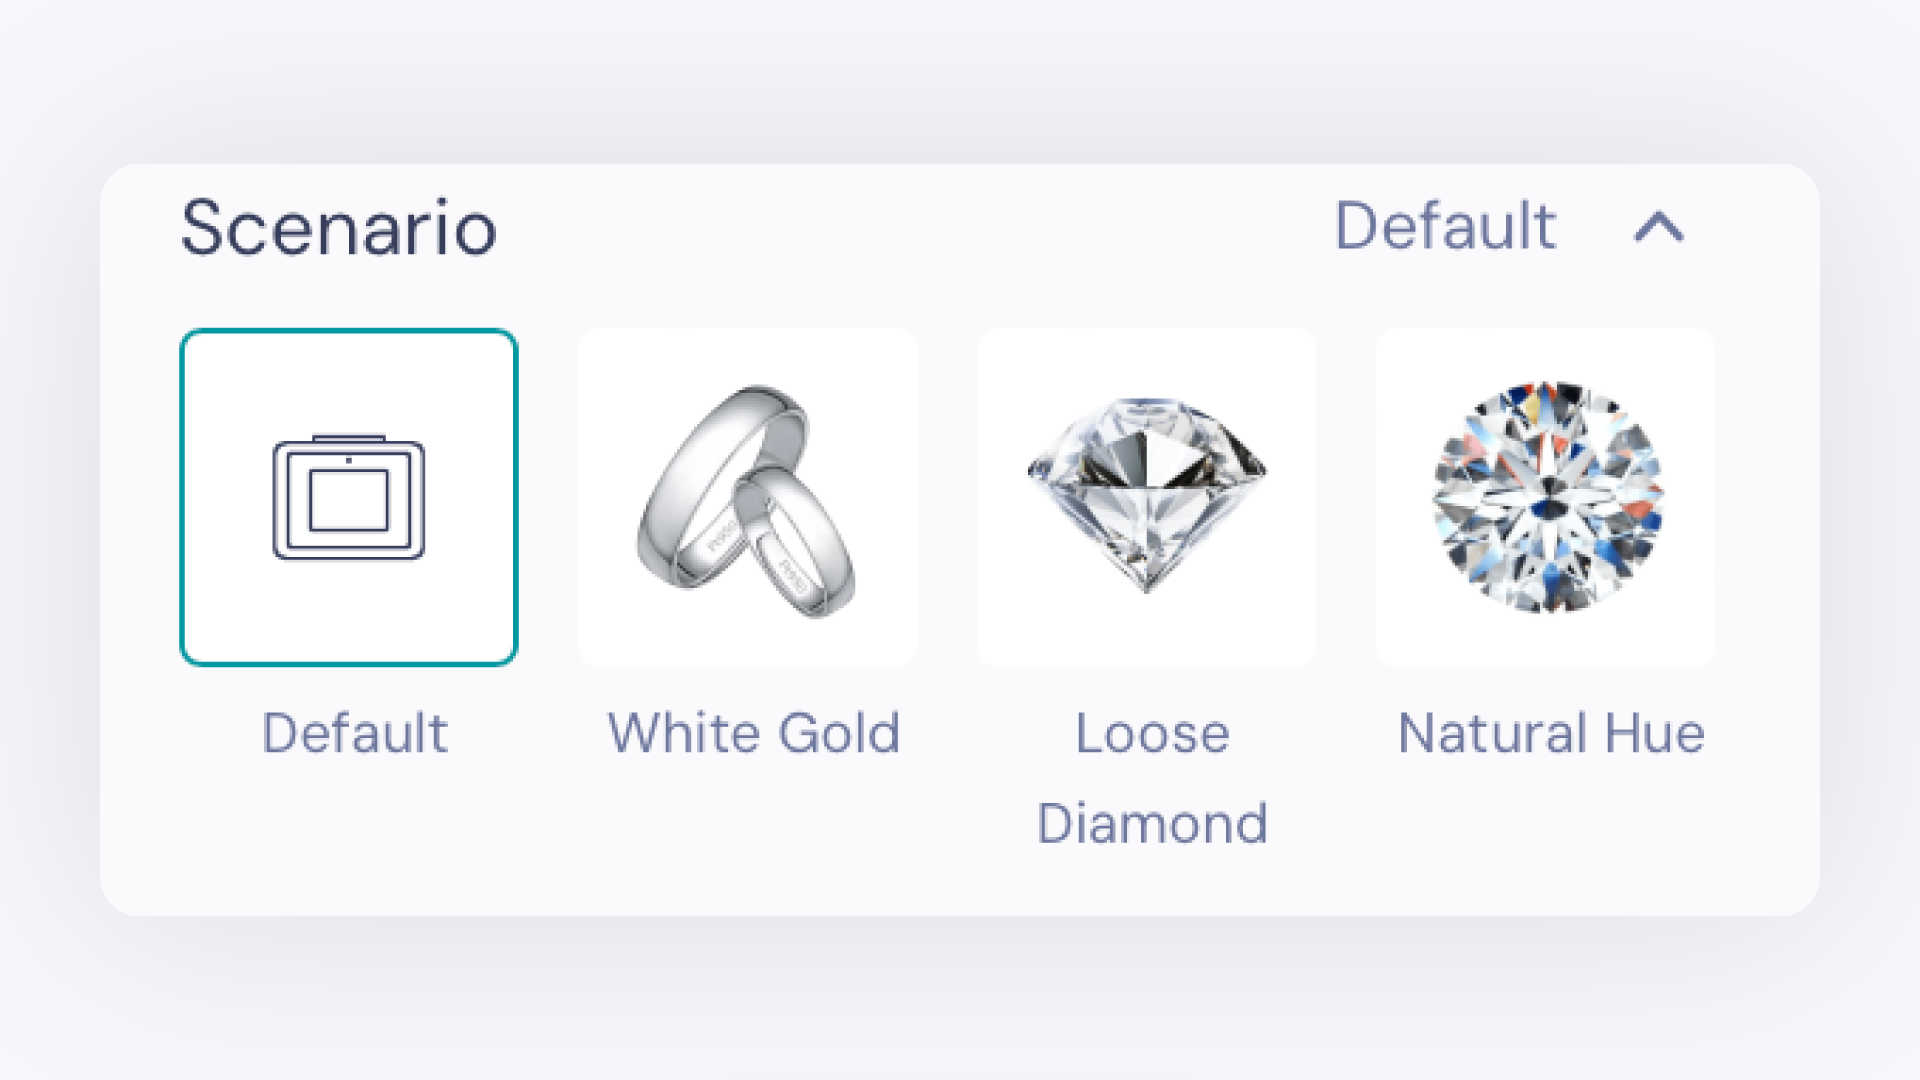
Select a preset scenario to apply recommended camera settings for your jewelry type.
Scenario Best For Default Standard preset for the selected device White Gold White gold jewelry Loose Diamond Loose diamonds Natural Hue Pieces where accurate natural color rendering is the priority
Color Correction#
Automatically adjusts background colors, corrects color imbalances, and improves contrast for a more consistent, professional result.
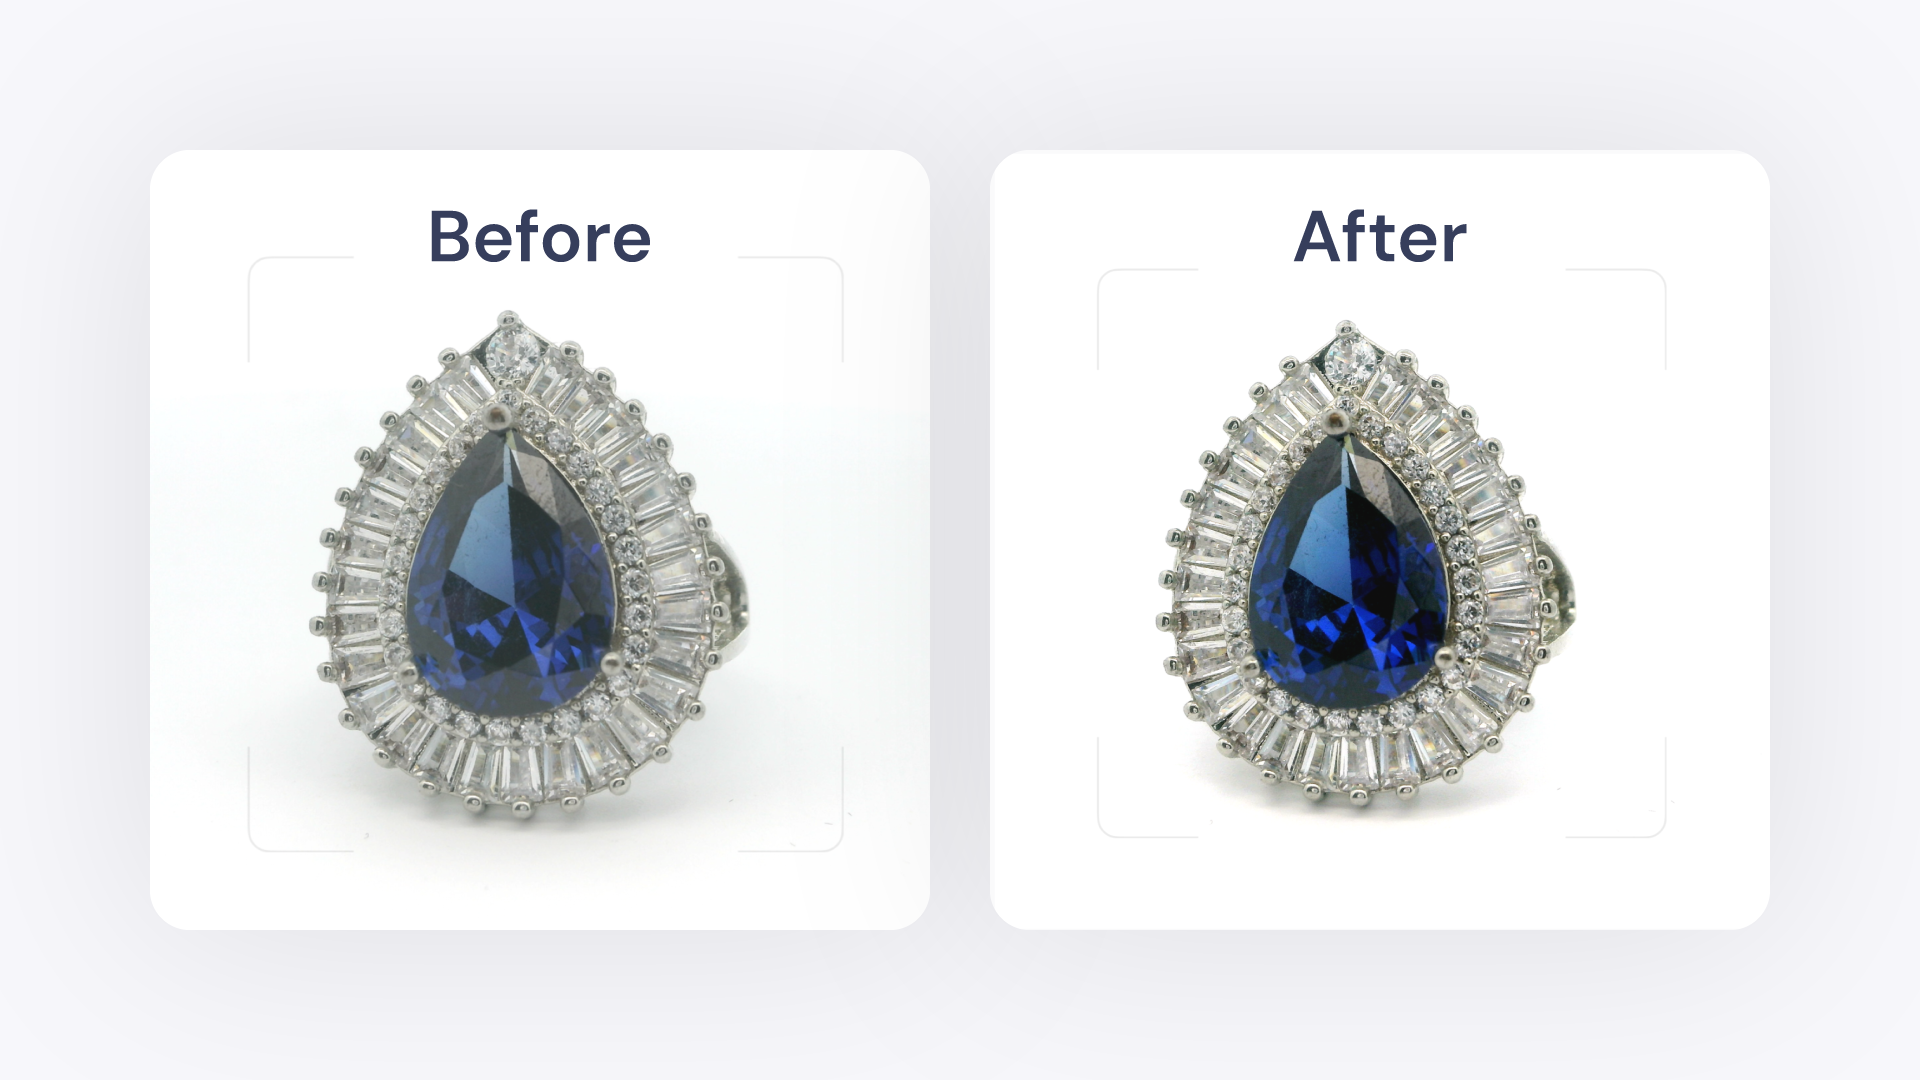
For best results: - Ensure your monitor is properly calibrated - Turn off any additional lighting in the room - Remove the mirrored cover to improve focus alignment and image clarity - Do not apply additional filters
Image Processing Parameters#
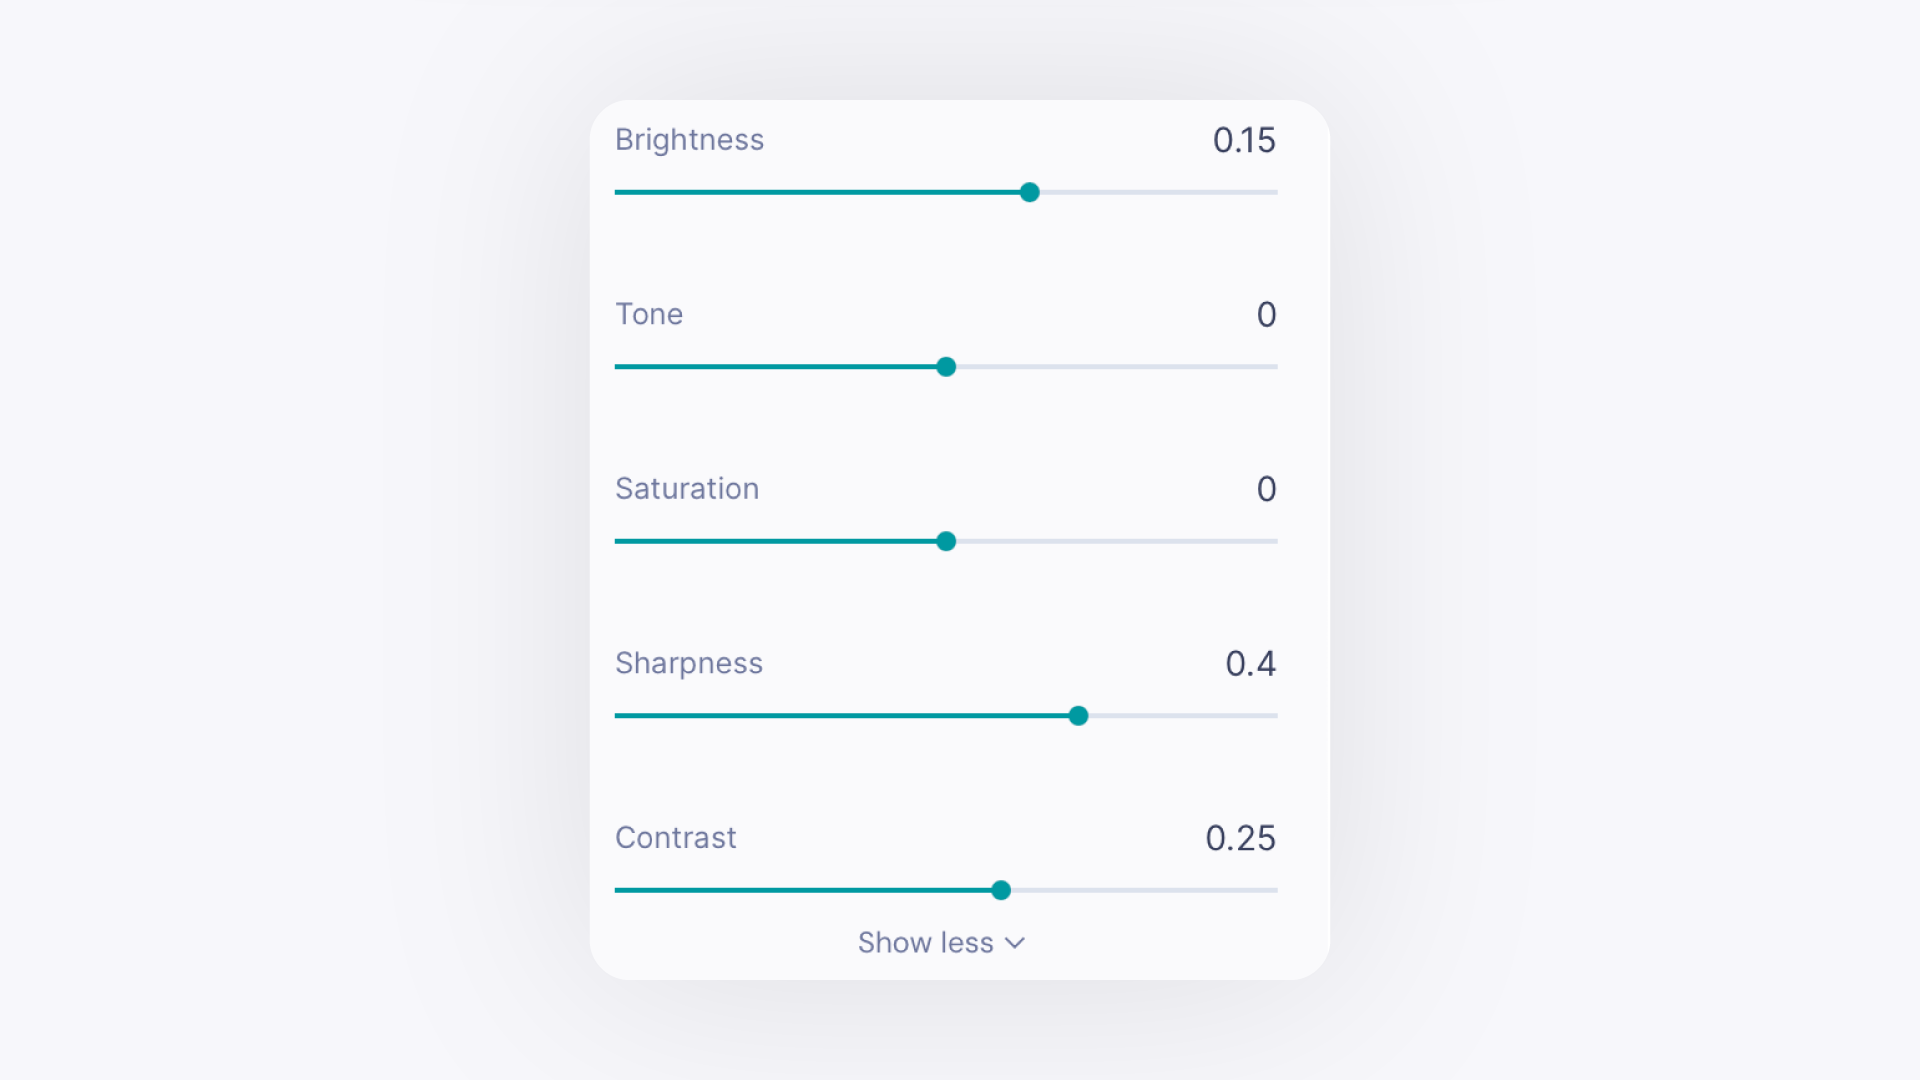
Fine-tune the look of your images using these sliders. Use keyboard arrow keys for more precise slider control.
Parameter What It Controls Brightness Lightens or darkens the entire image uniformly Tone Shifts between warmer and cooler color temperatures Saturation Enhances or mutes color intensity Sharpness Defines or softens edges and fine detail Contrast Increases or decreases the distinction between light and dark areas
Output and Saving Settings#
Aspect Ratio#
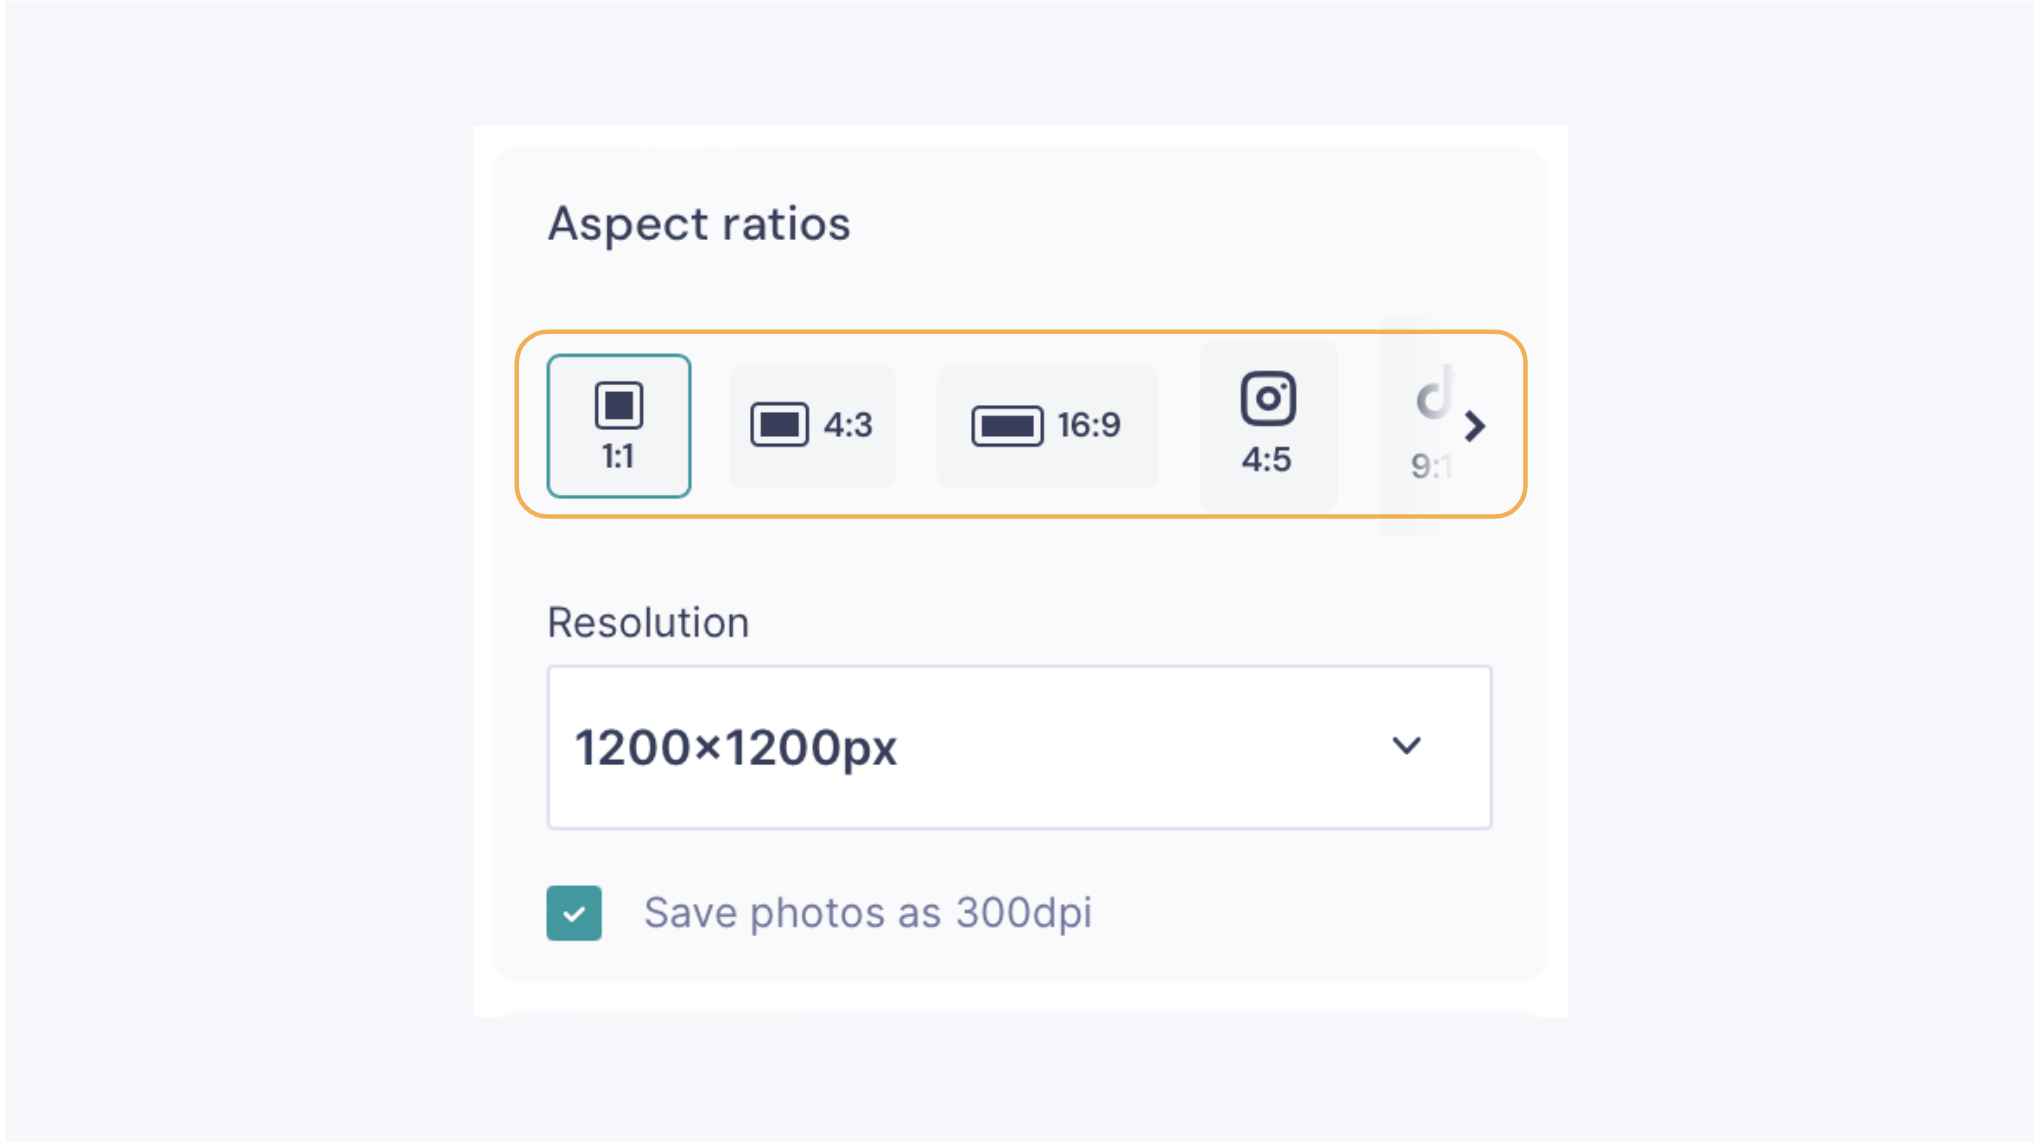
Choose the aspect ratio that matches your platform or intended use.
Aspect Ratio Best For 1:1 E-commerce platforms (Shopify) and Instagram posts 4:3 Wider frame for larger pieces 16:9 Wider frame for larger pieces and landscape video 4:5 Vertical images on Instagram 9:16 TikTok, Instagram and Facebook Stories and Reels 1.91:1 Horizontal images on X (Twitter)
Each aspect ratio includes resolution options suited to your device. On computers with limited screen size support, GemIQ automatically recommends the maximum supported resolution.
Maximum capture resolution: - Video: 2160 × 2160 - Images: 3840 × 2160
Save Photos as 300 DPI#
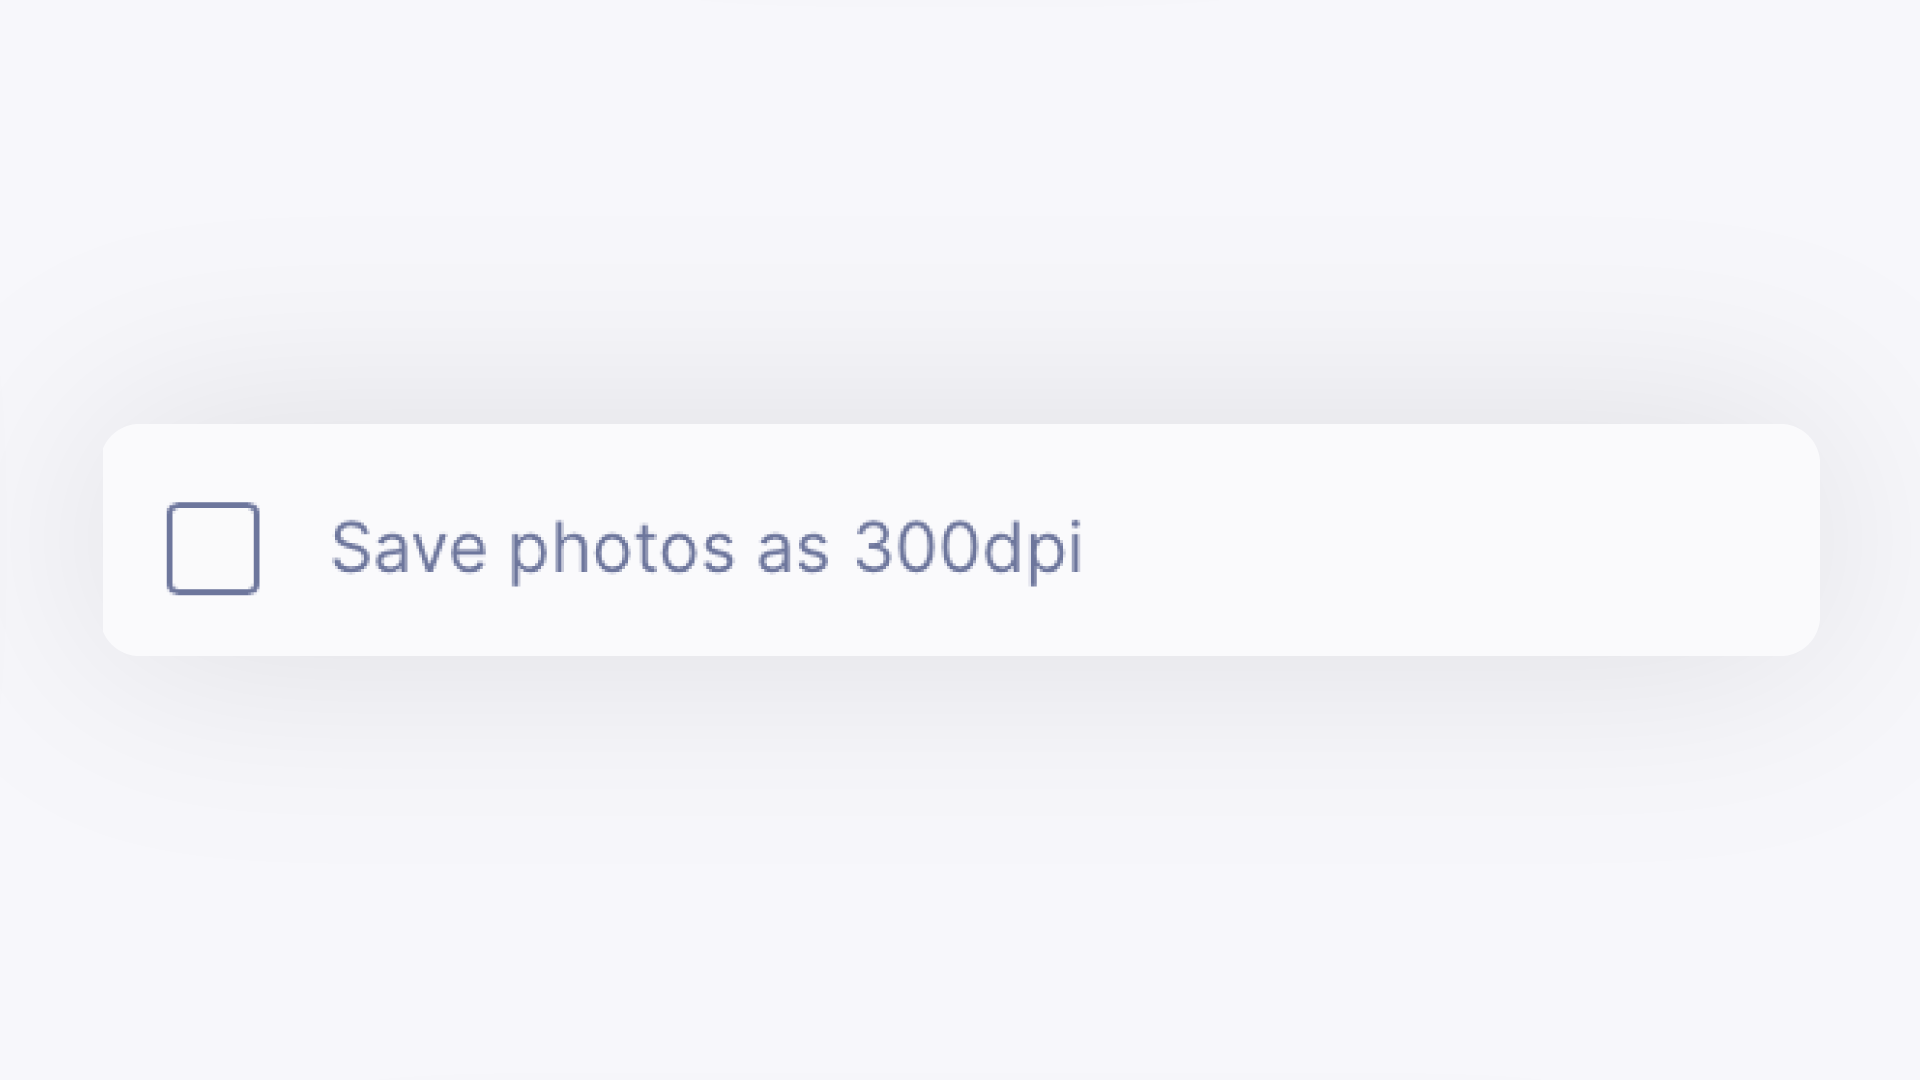
When enabled, images are saved at 300 DPI — the standard resolution for print-quality output.
Logo Watermark#
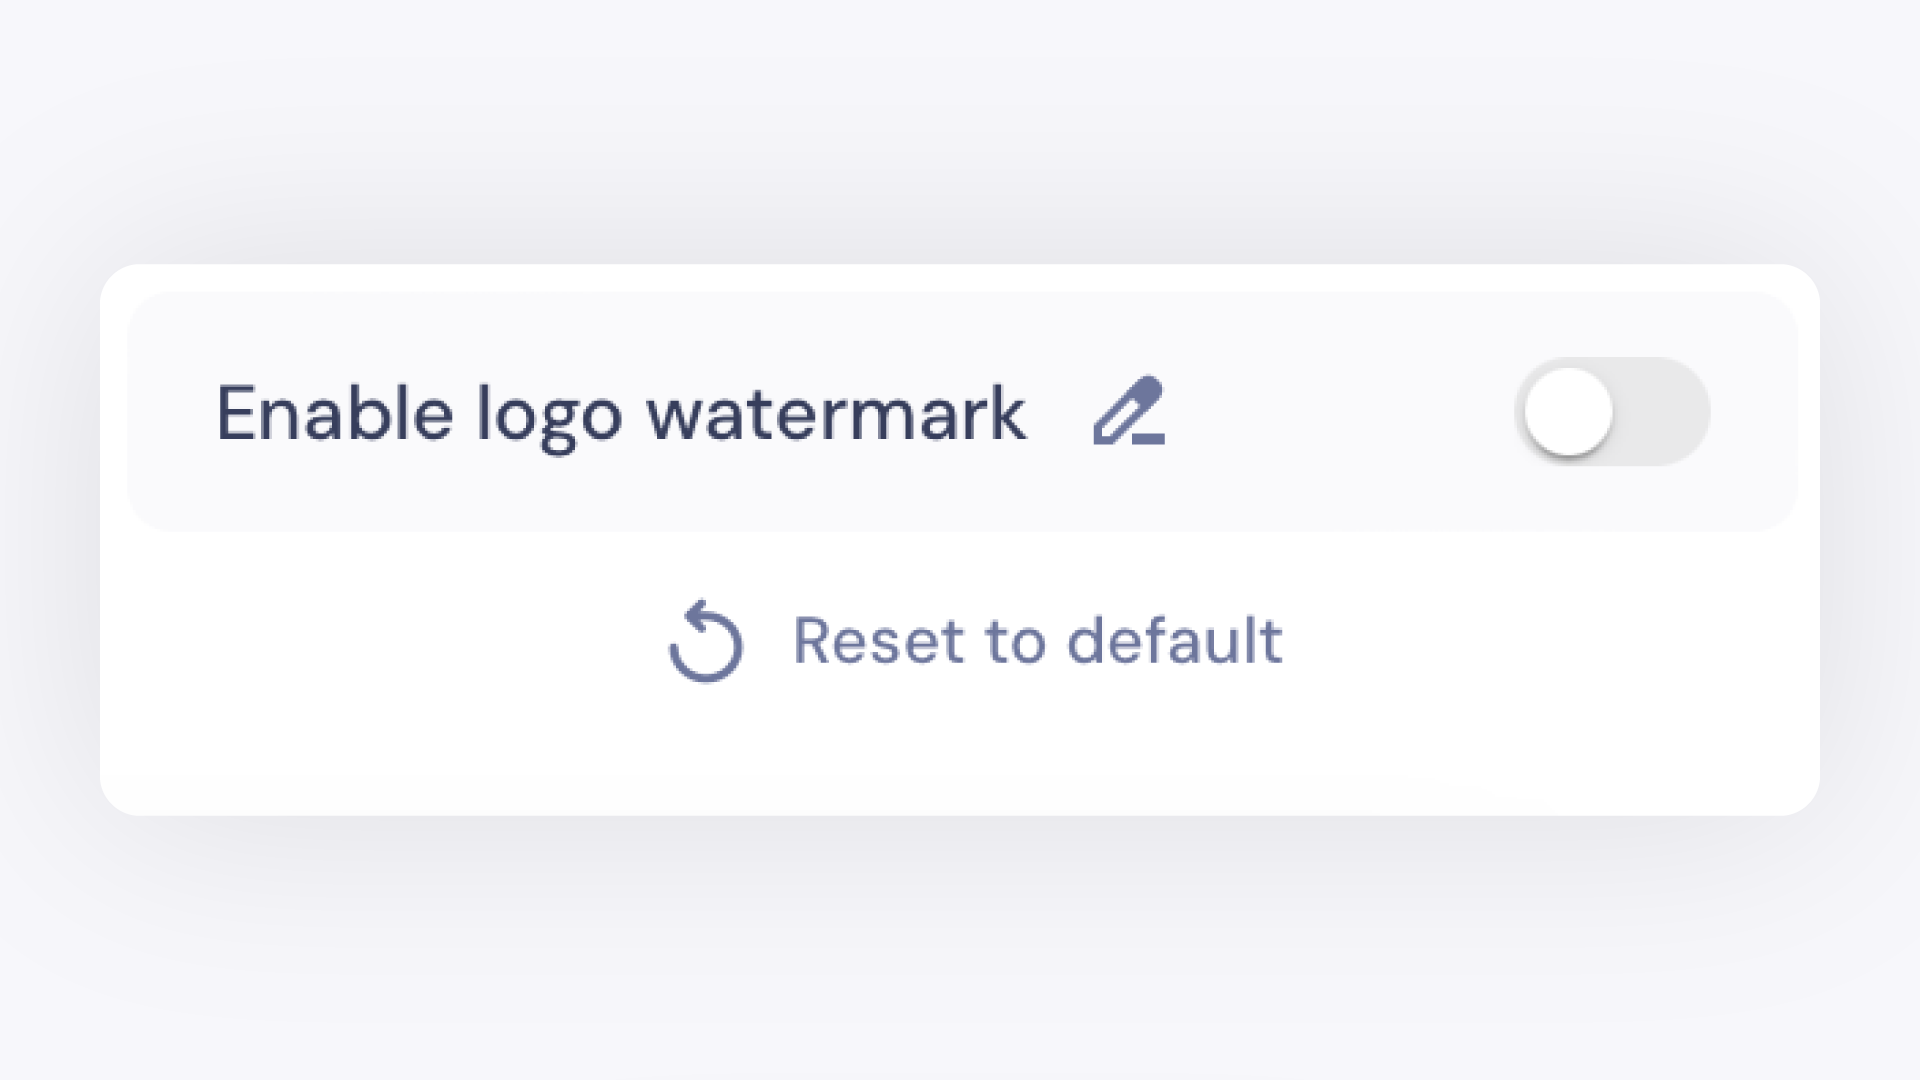
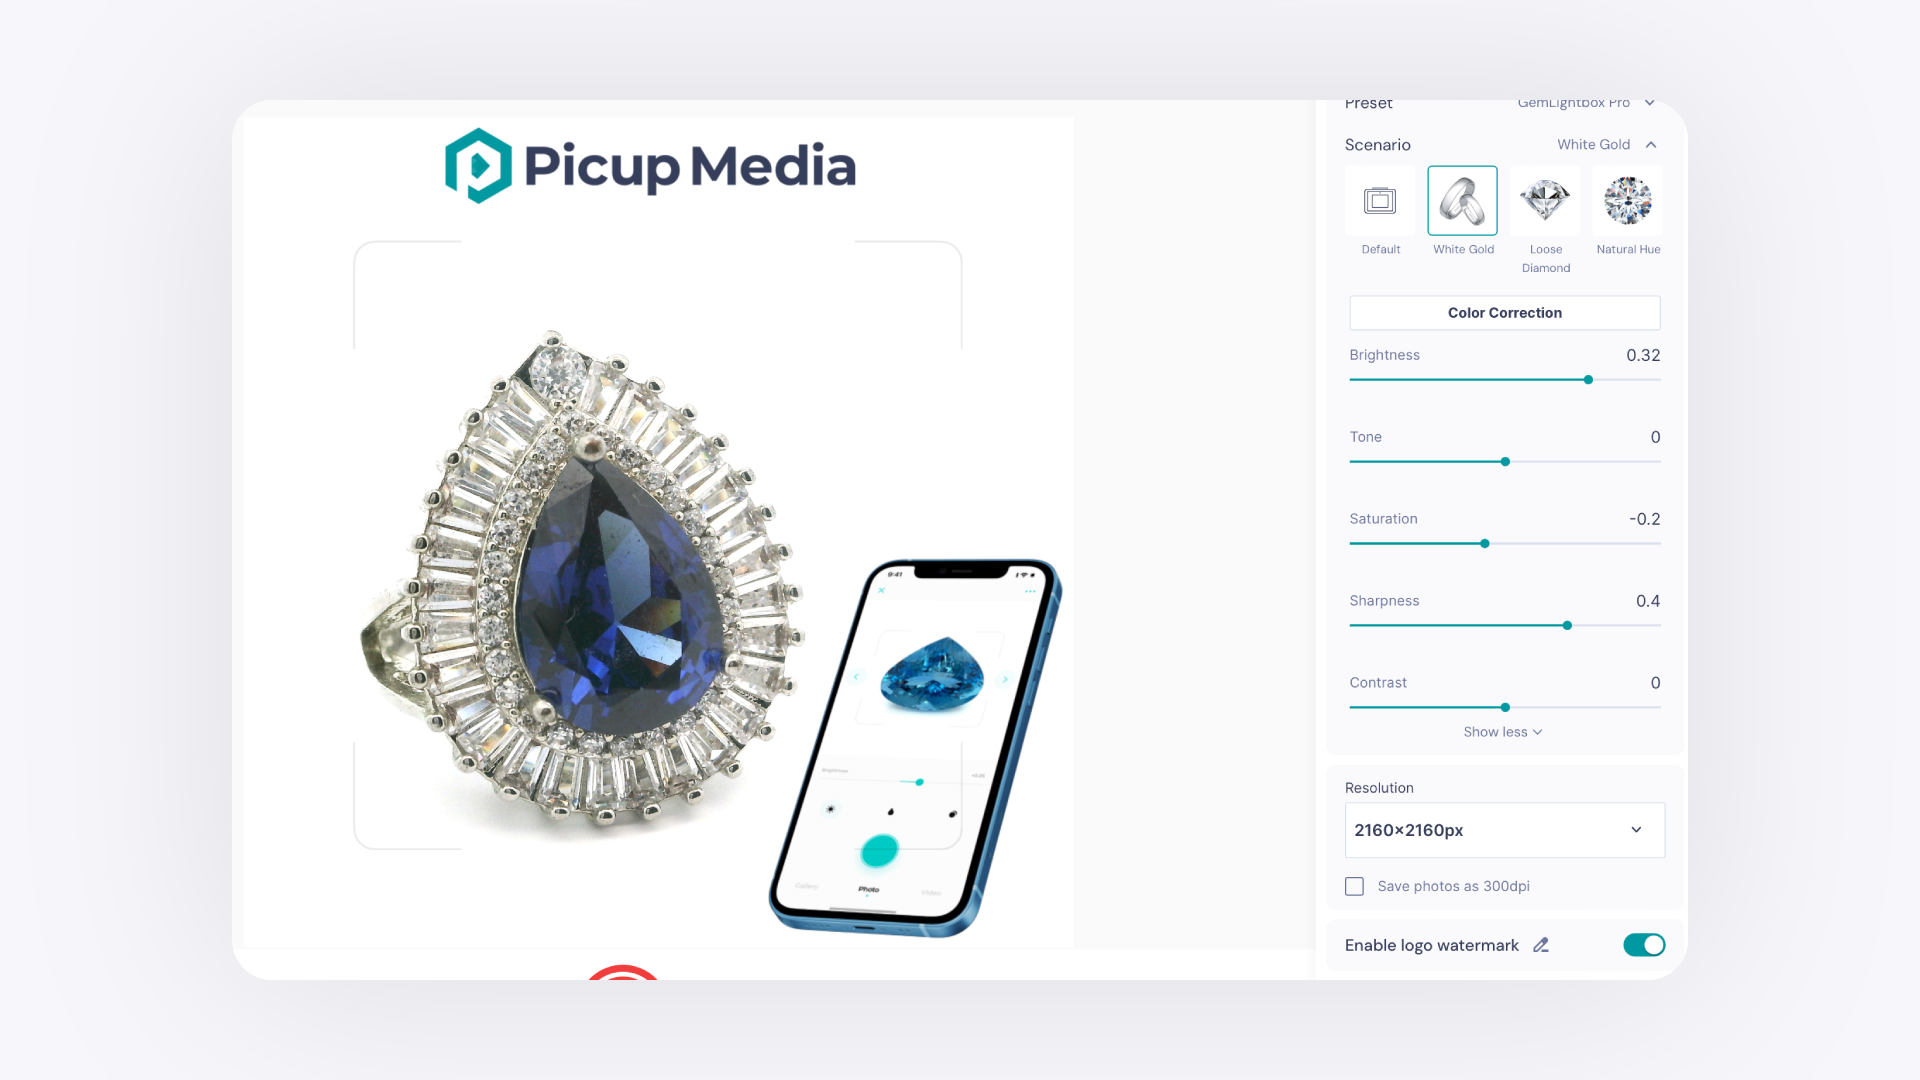
Add your brand logo as a watermark to every image captured with GemCam.
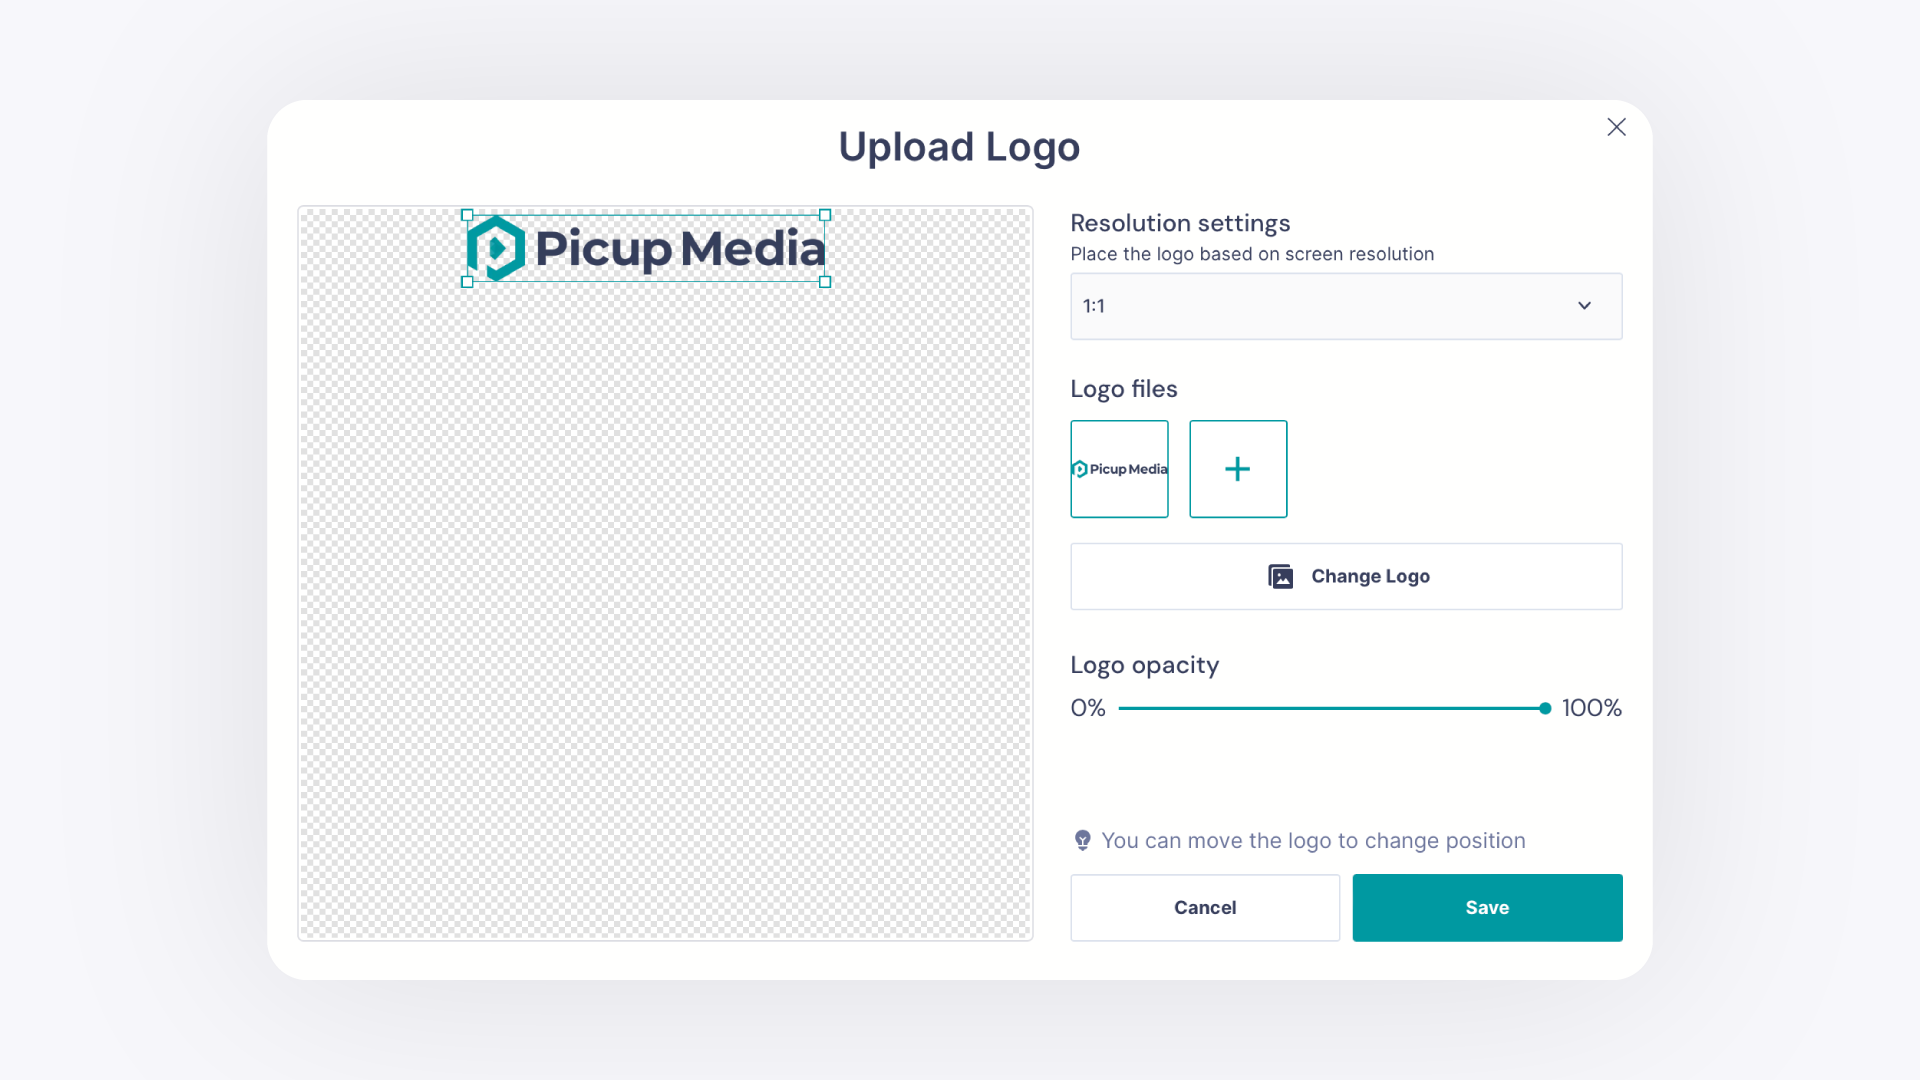
Toggle on Enable Logo Watermark. An upload window will appear.
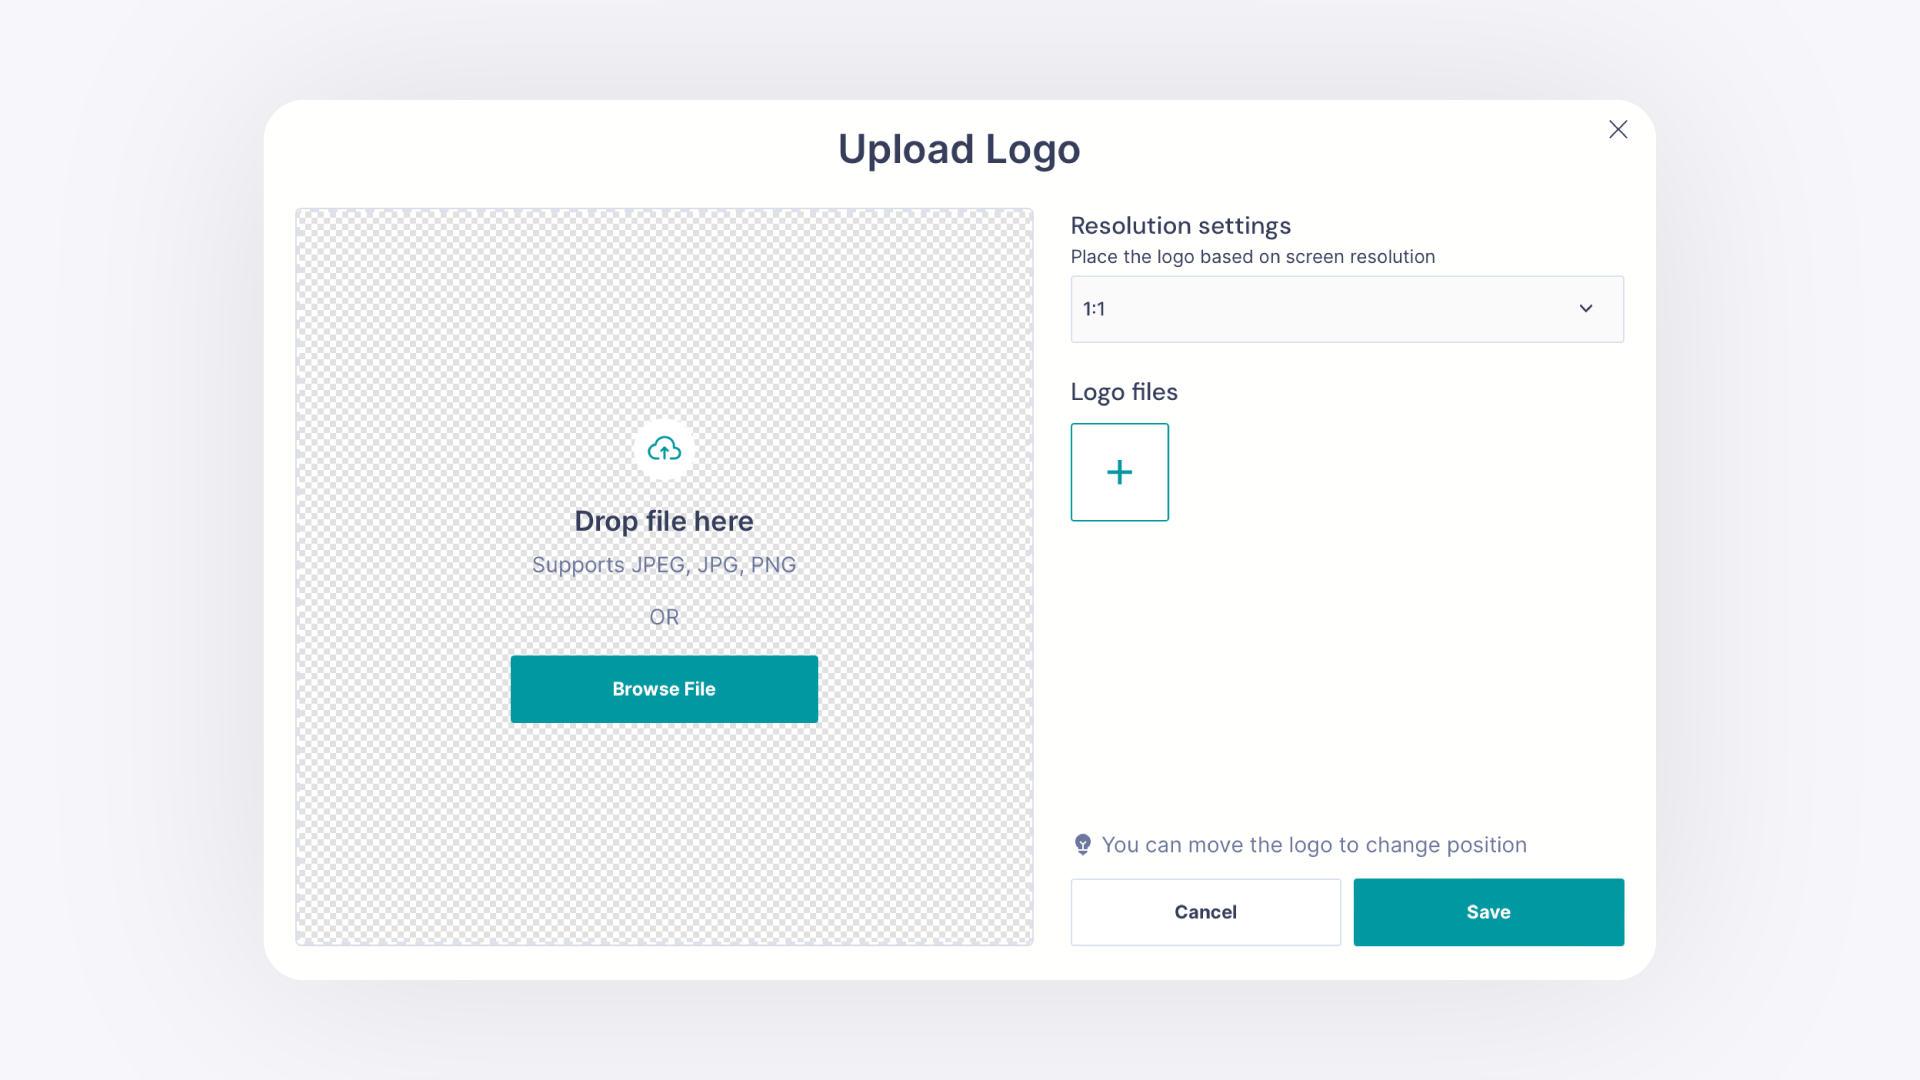
Select your resolution setting before uploading to minimize adjustments after the logo loads.
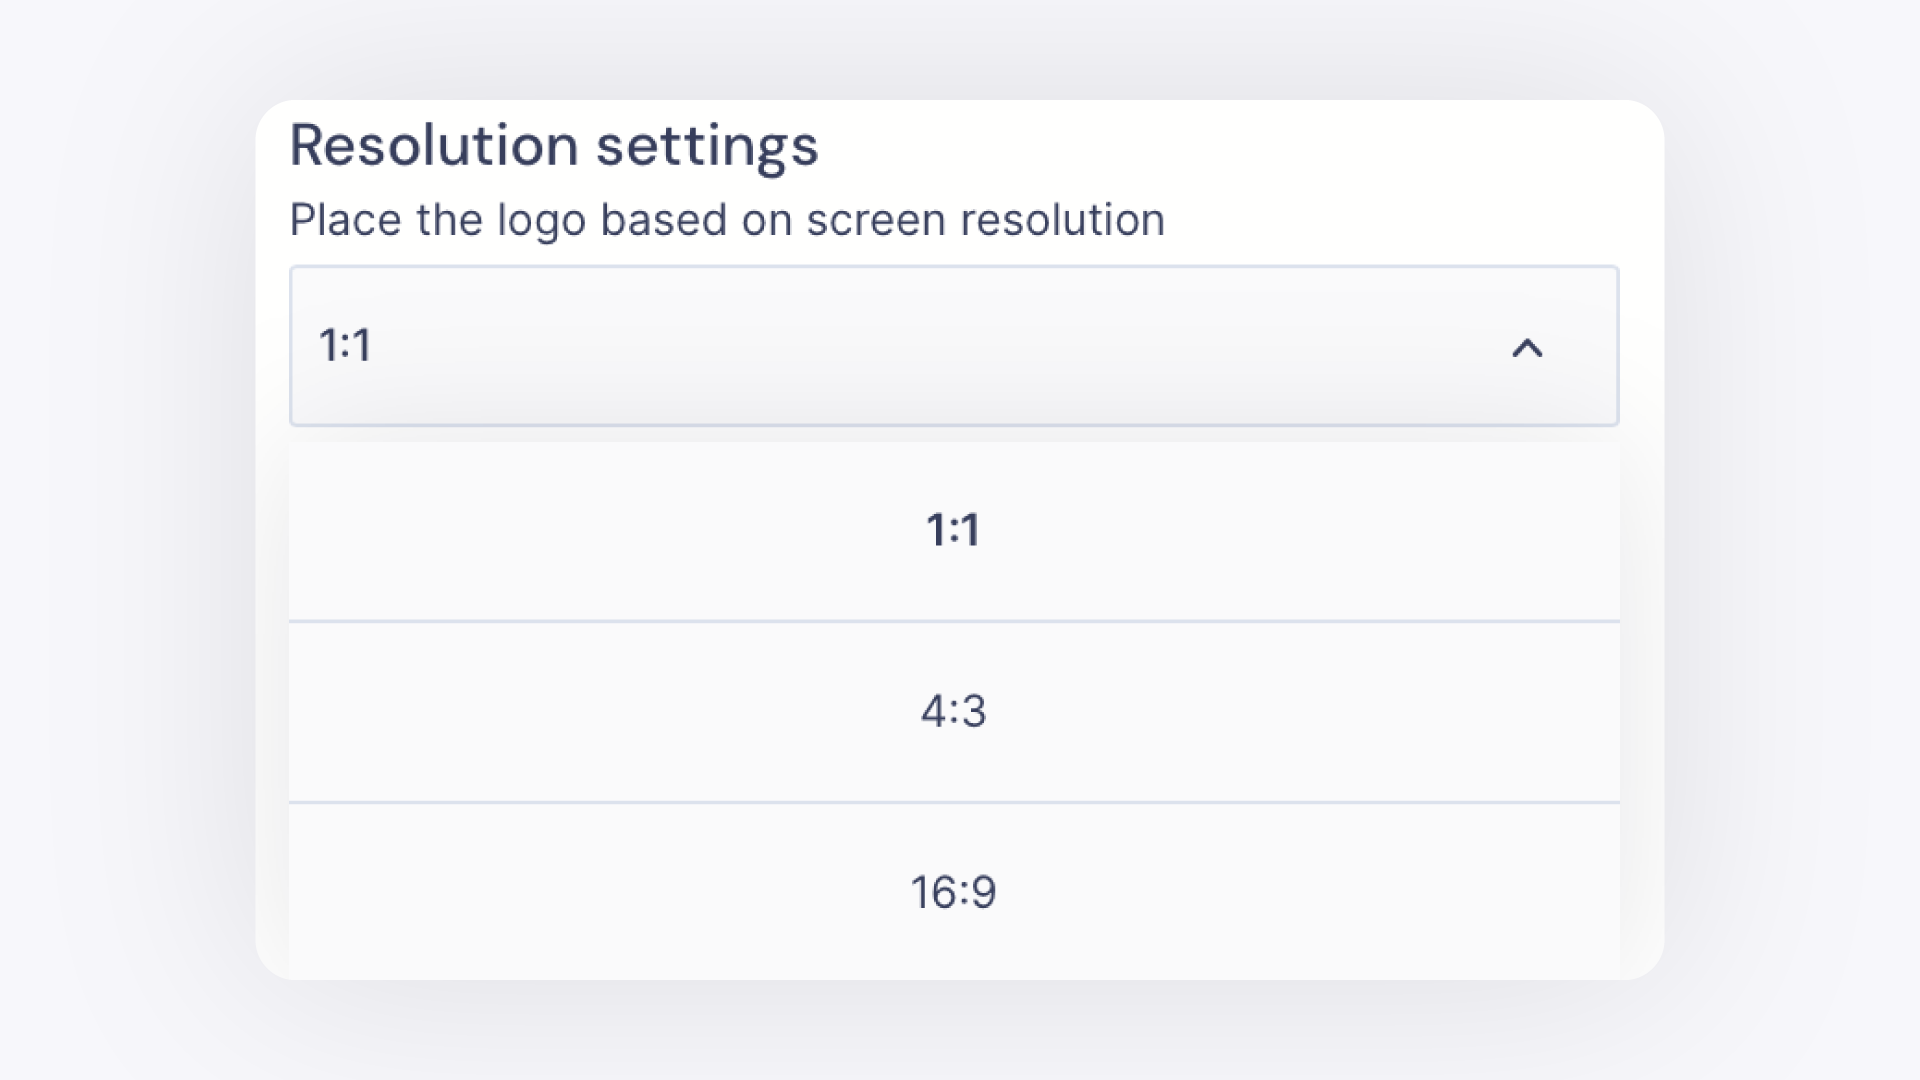
Drag and drop your logo or click Browse File to upload. Accepted formats: JPEG, JPG, PNG. PNG files load with transparent backgrounds.
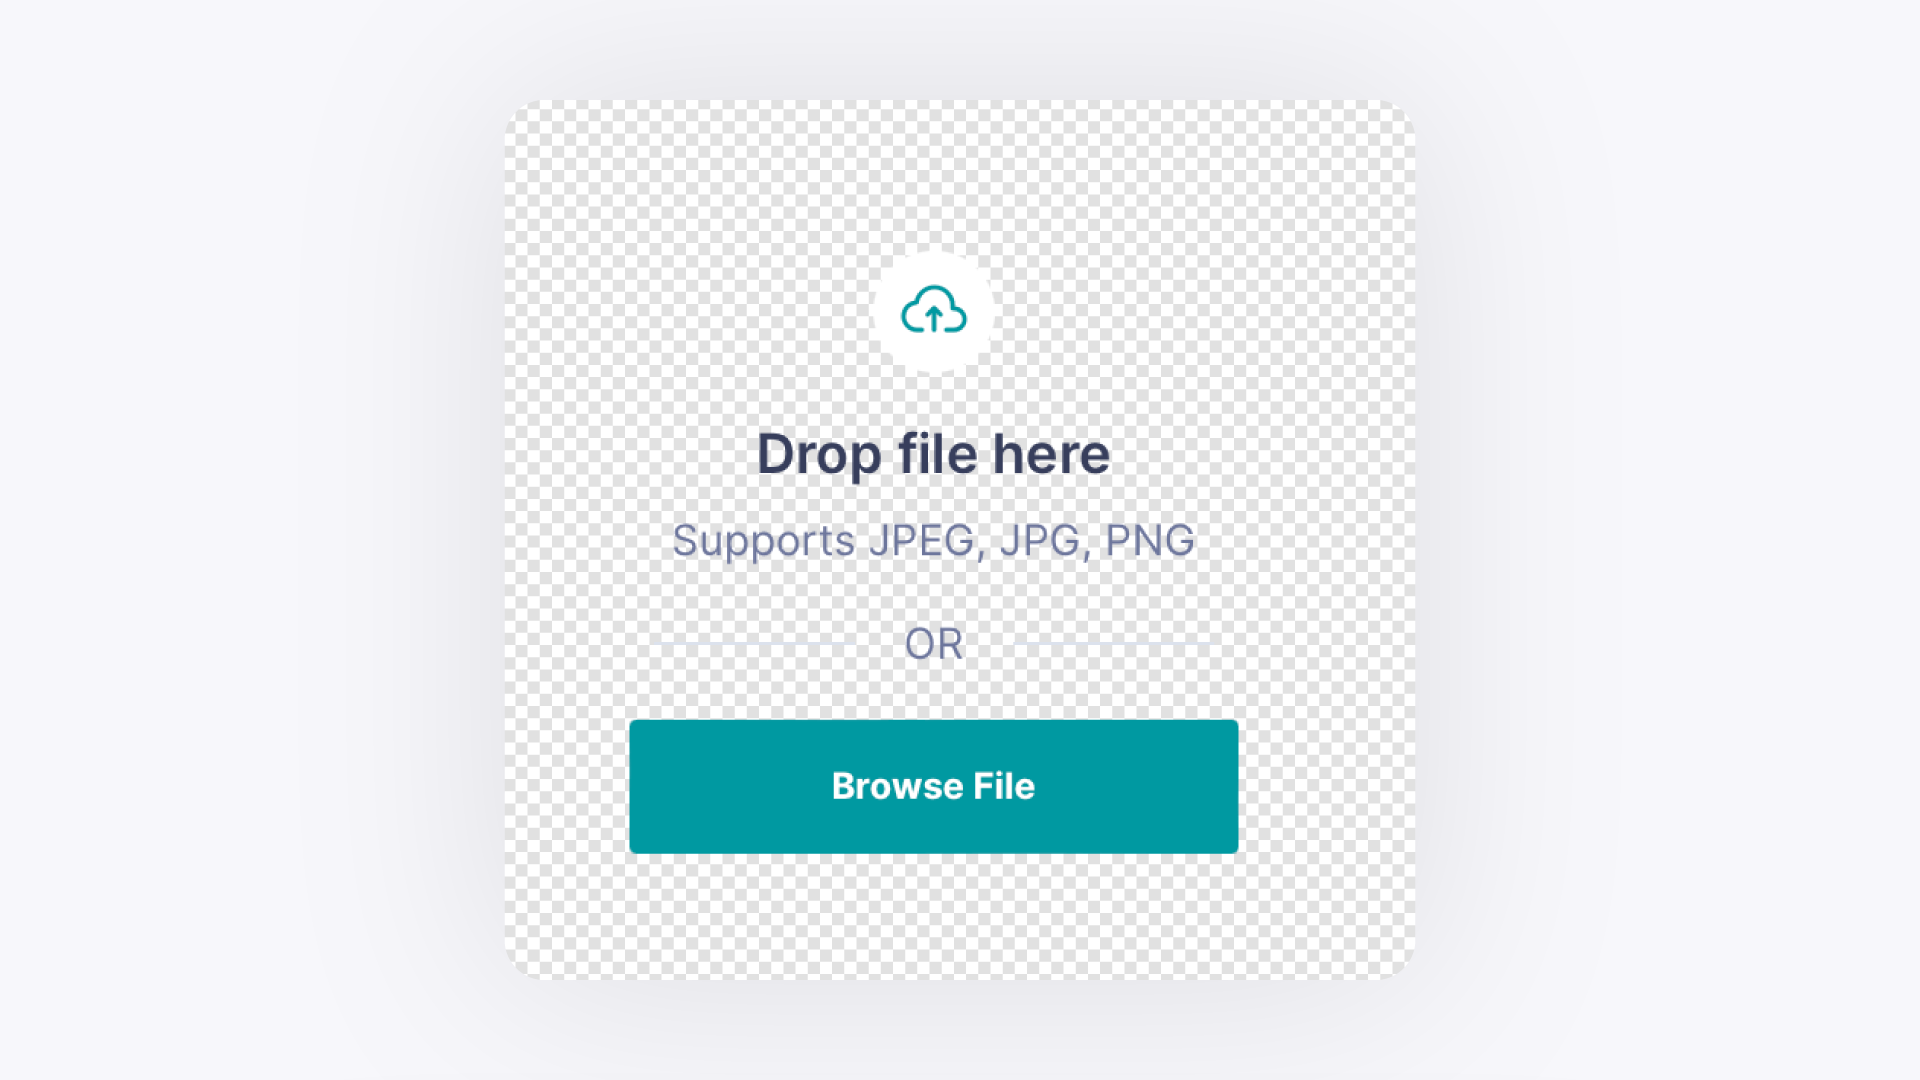
Your logo appears at the top of the preview. Click and drag to reposition it. Each image supports up to 2 logos.
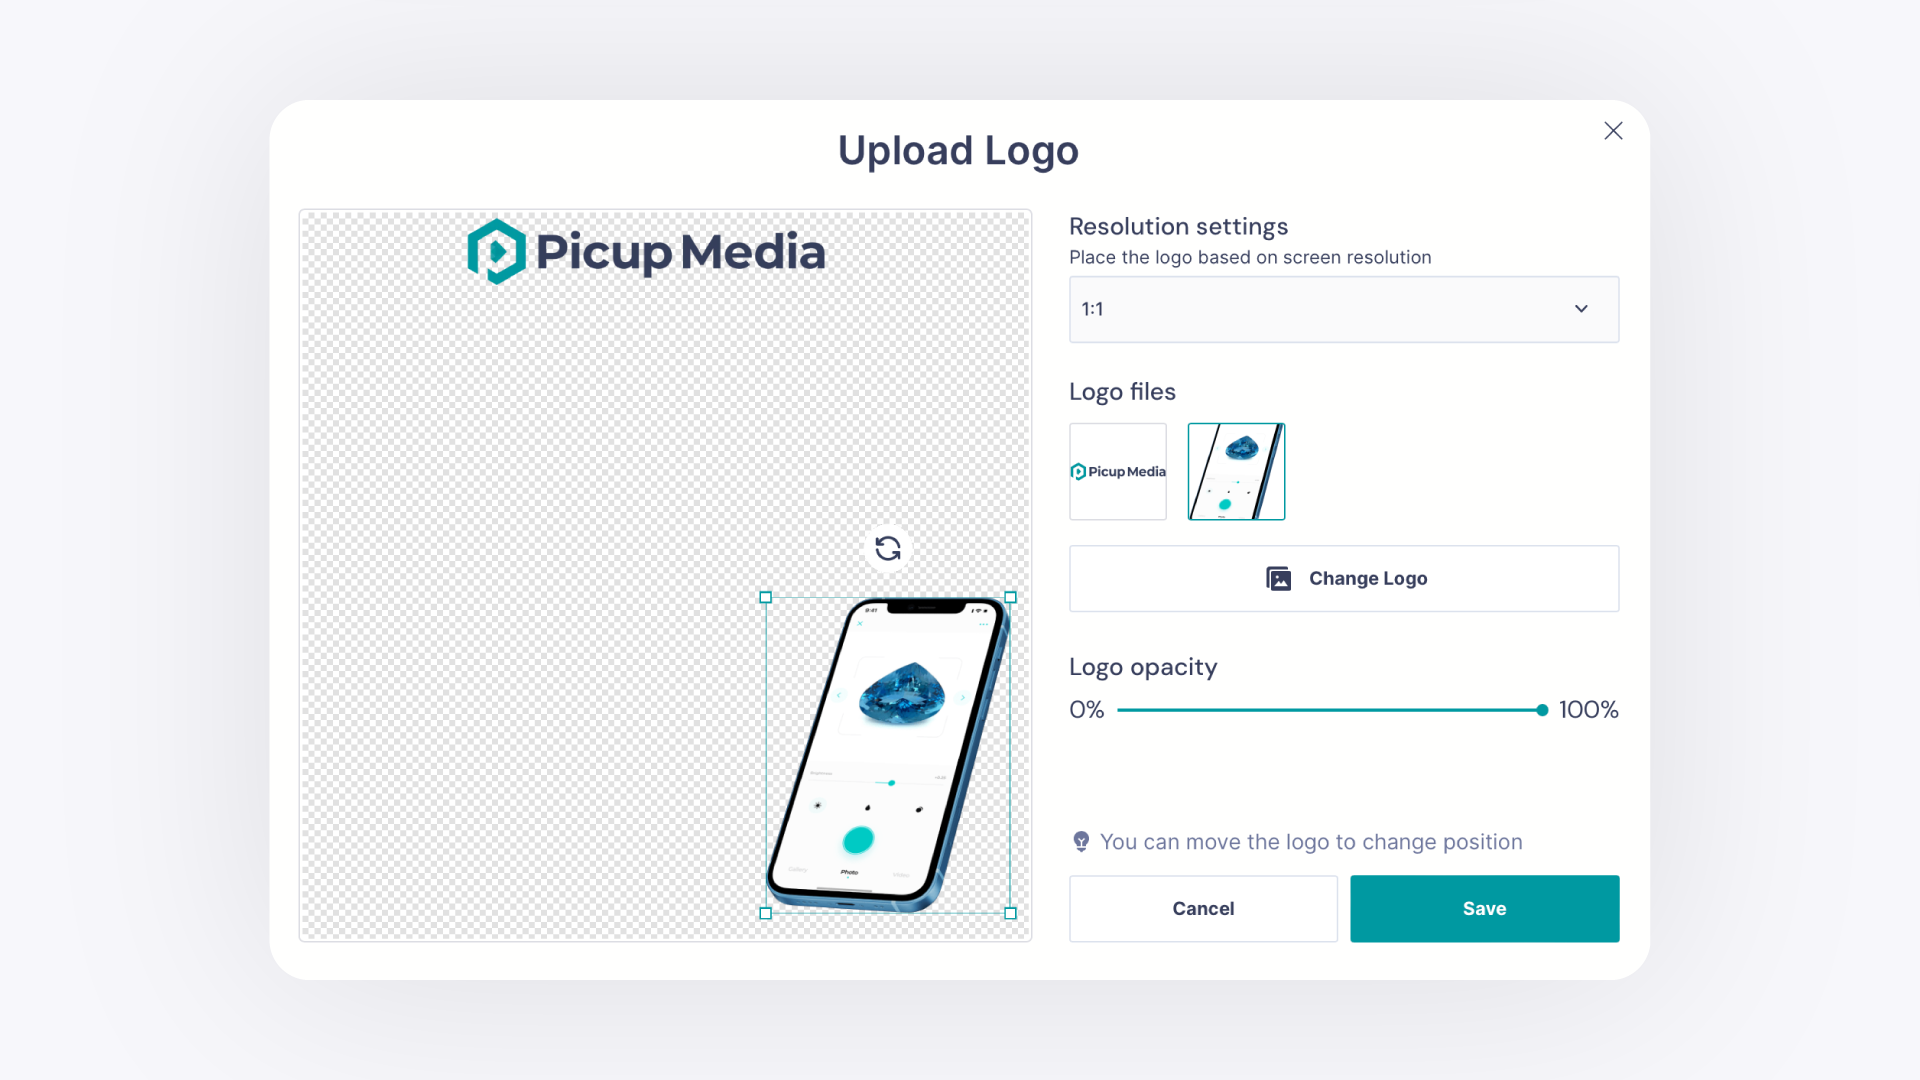
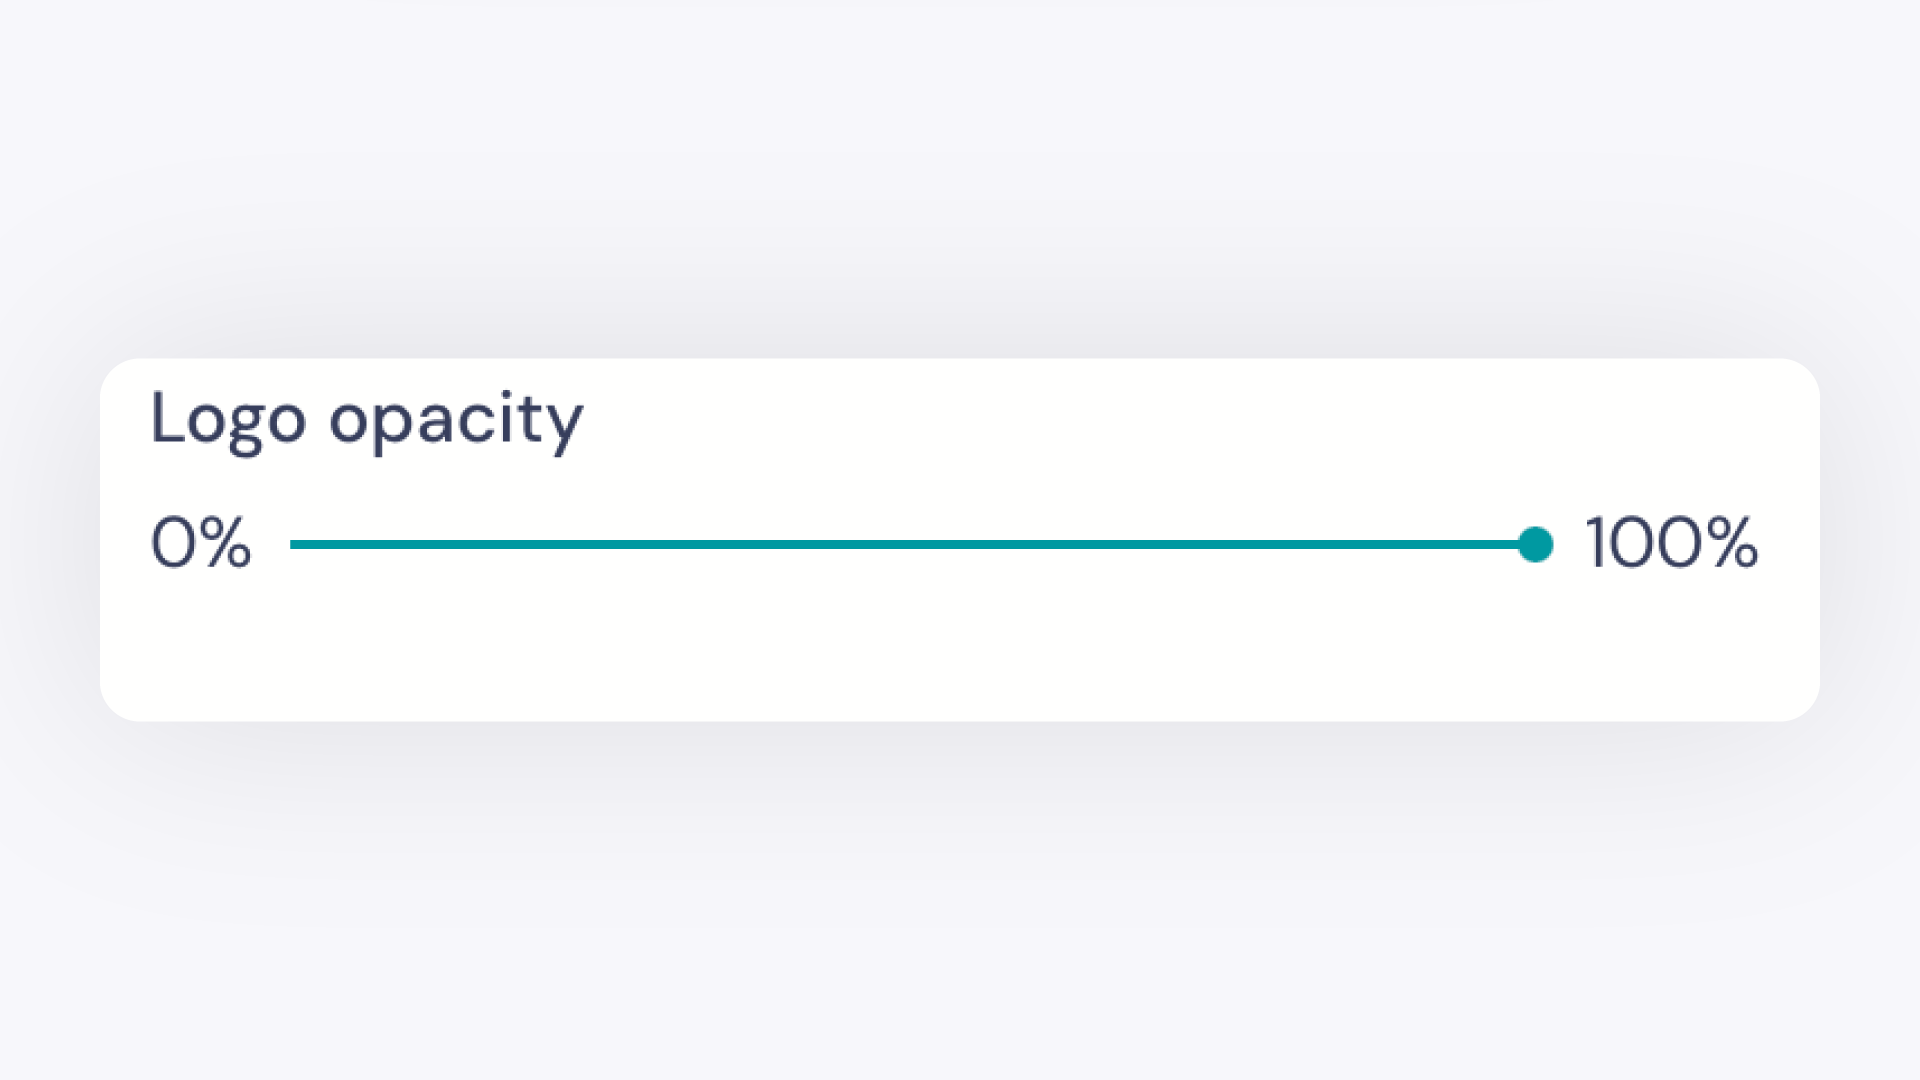
Select individual logos to remove or replace them, and use the opacity slider to adjust transparency.
Click Save to confirm the logo position. The watermark is now applied to all future captures.
Save Media to Local Disk#
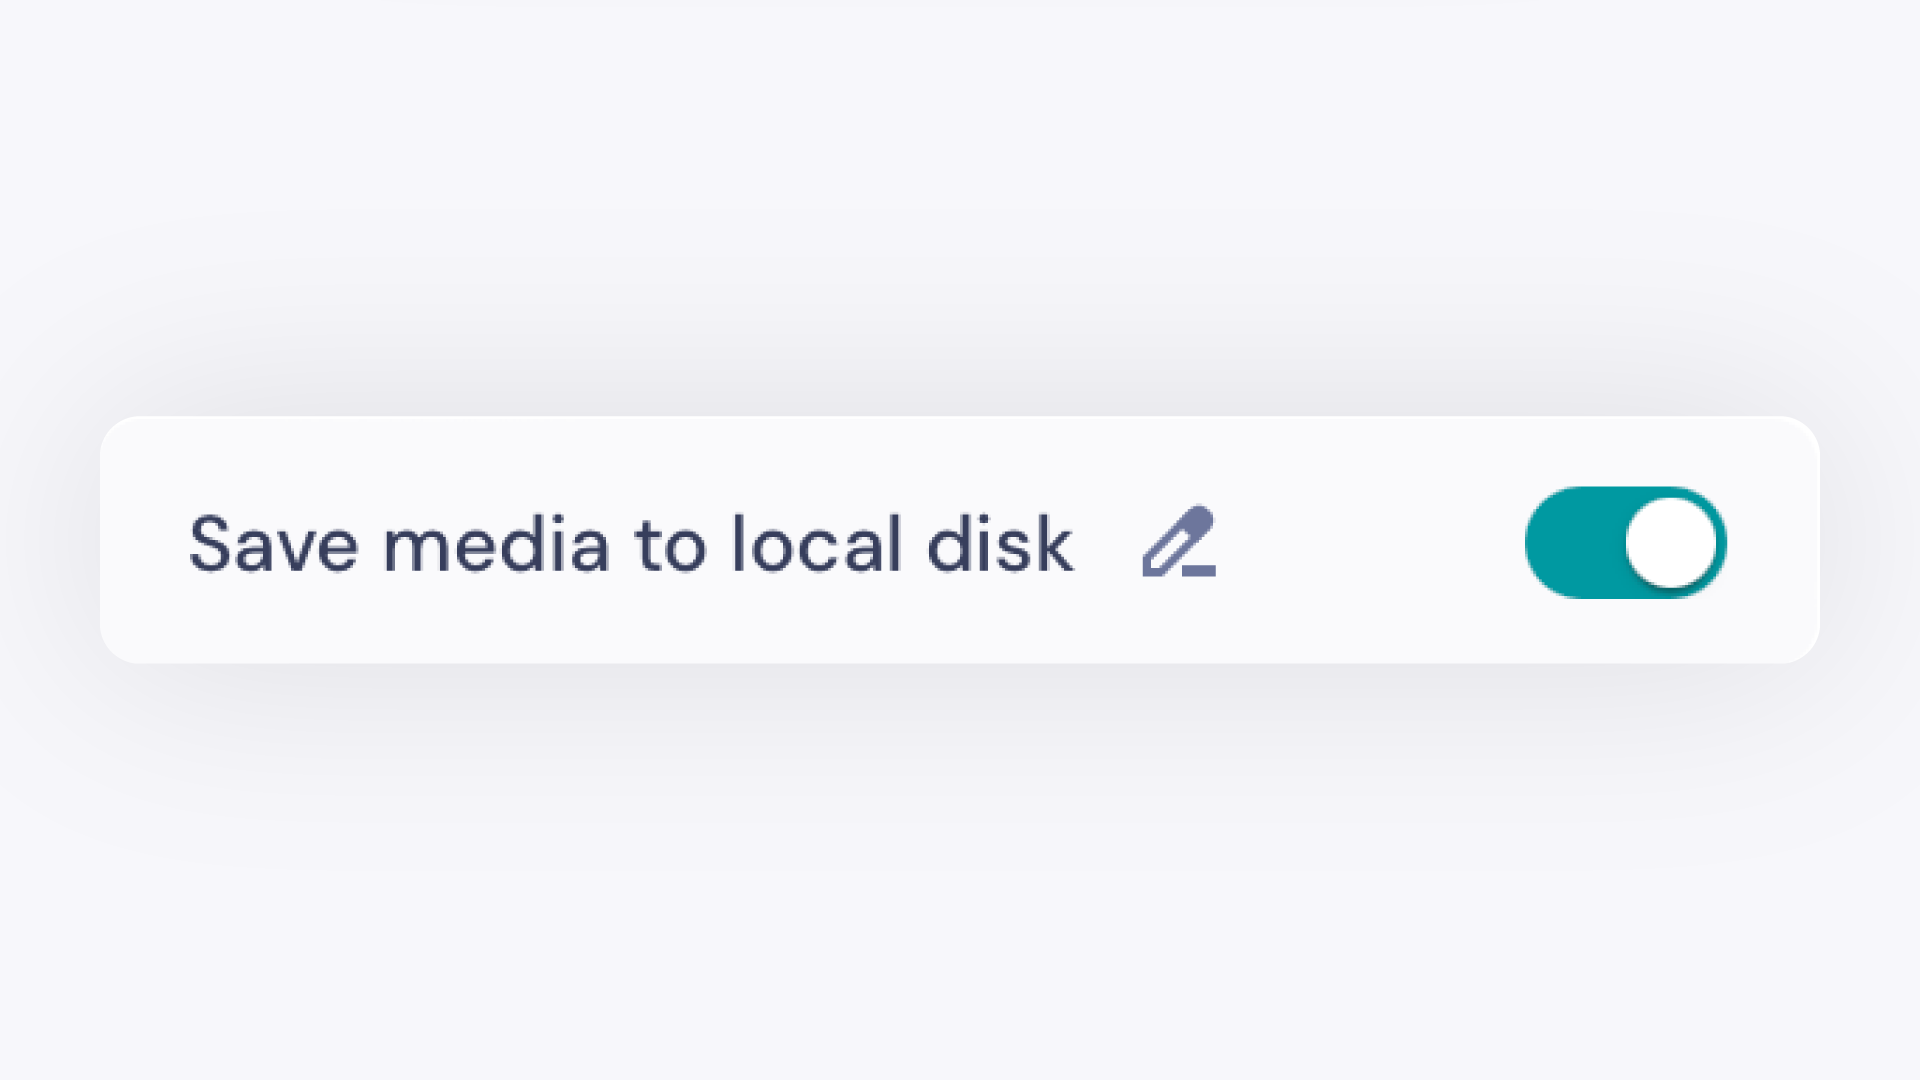
Save photos and videos directly to your computer as they are captured, in addition to saving to the GemIQ Gallery.
Toggle on Save Media to Local Disk. A prompt will appear asking you to choose a save destination.
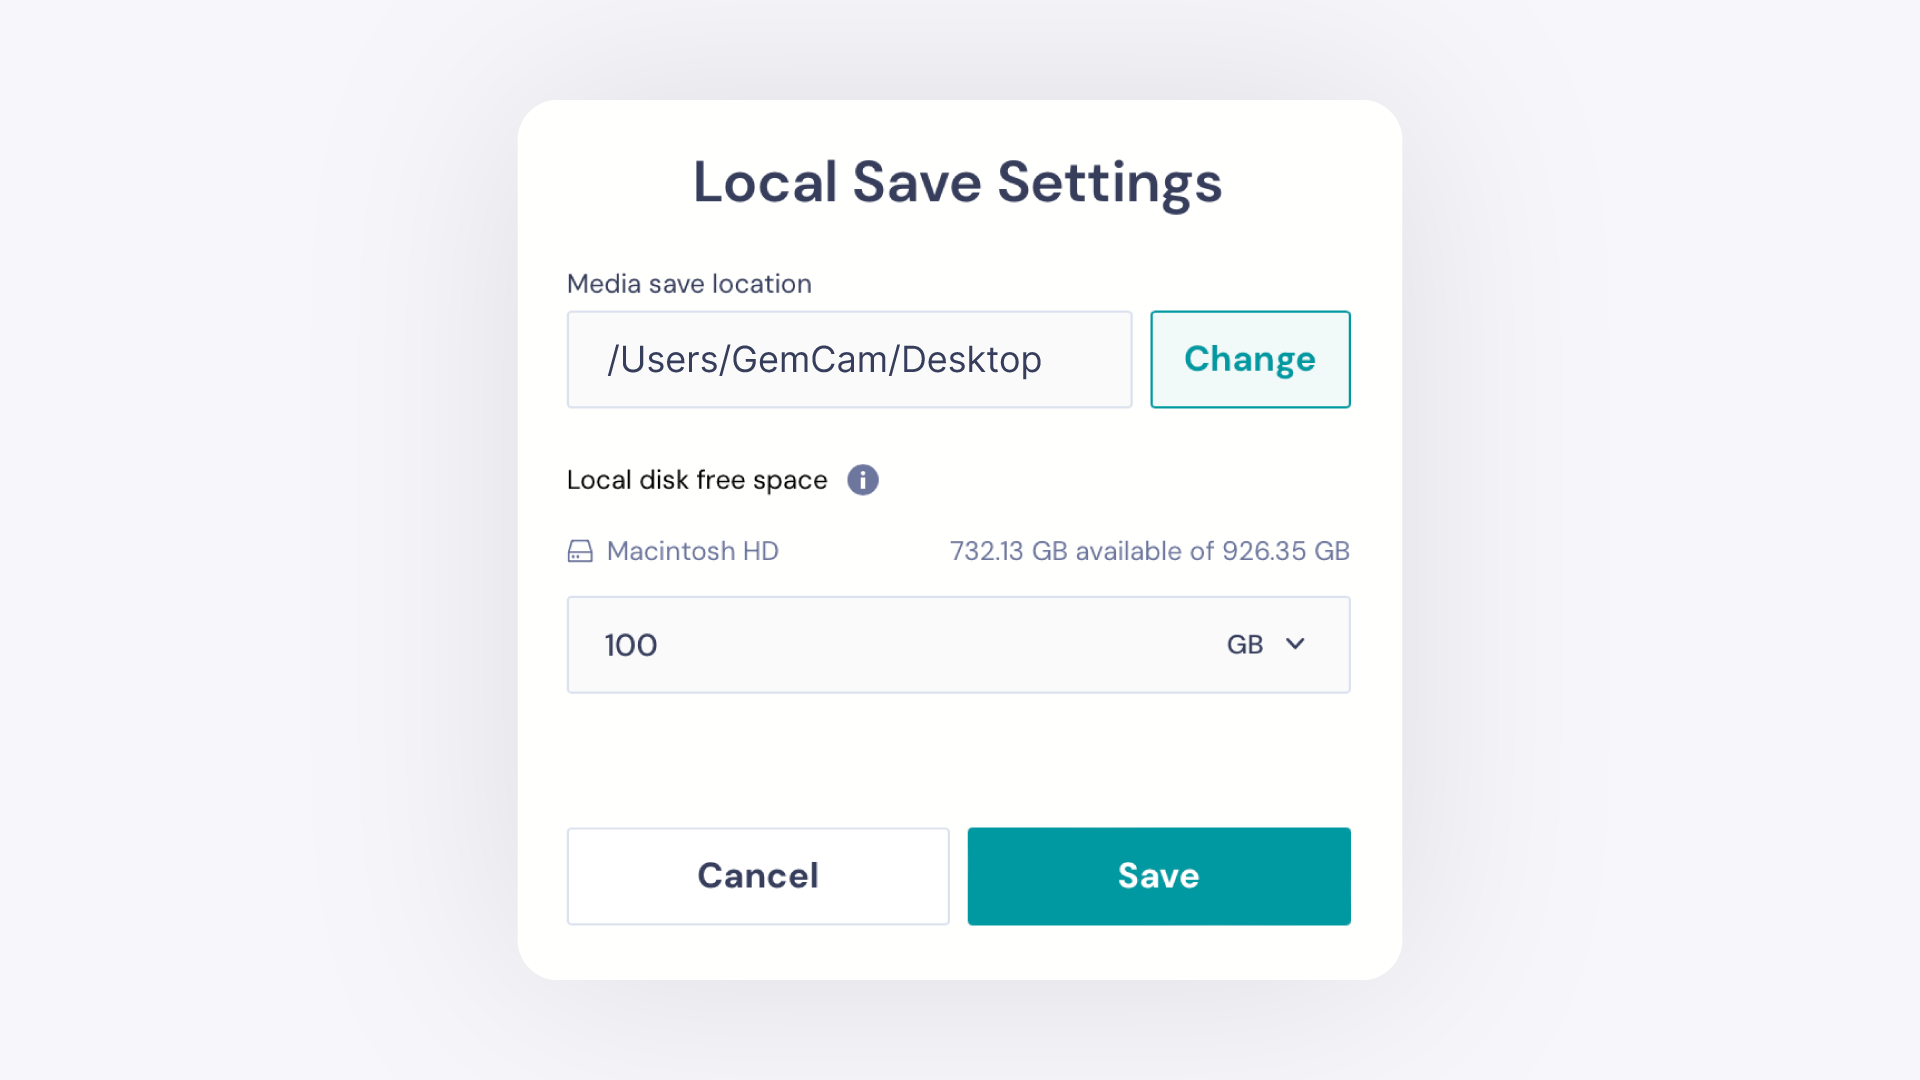
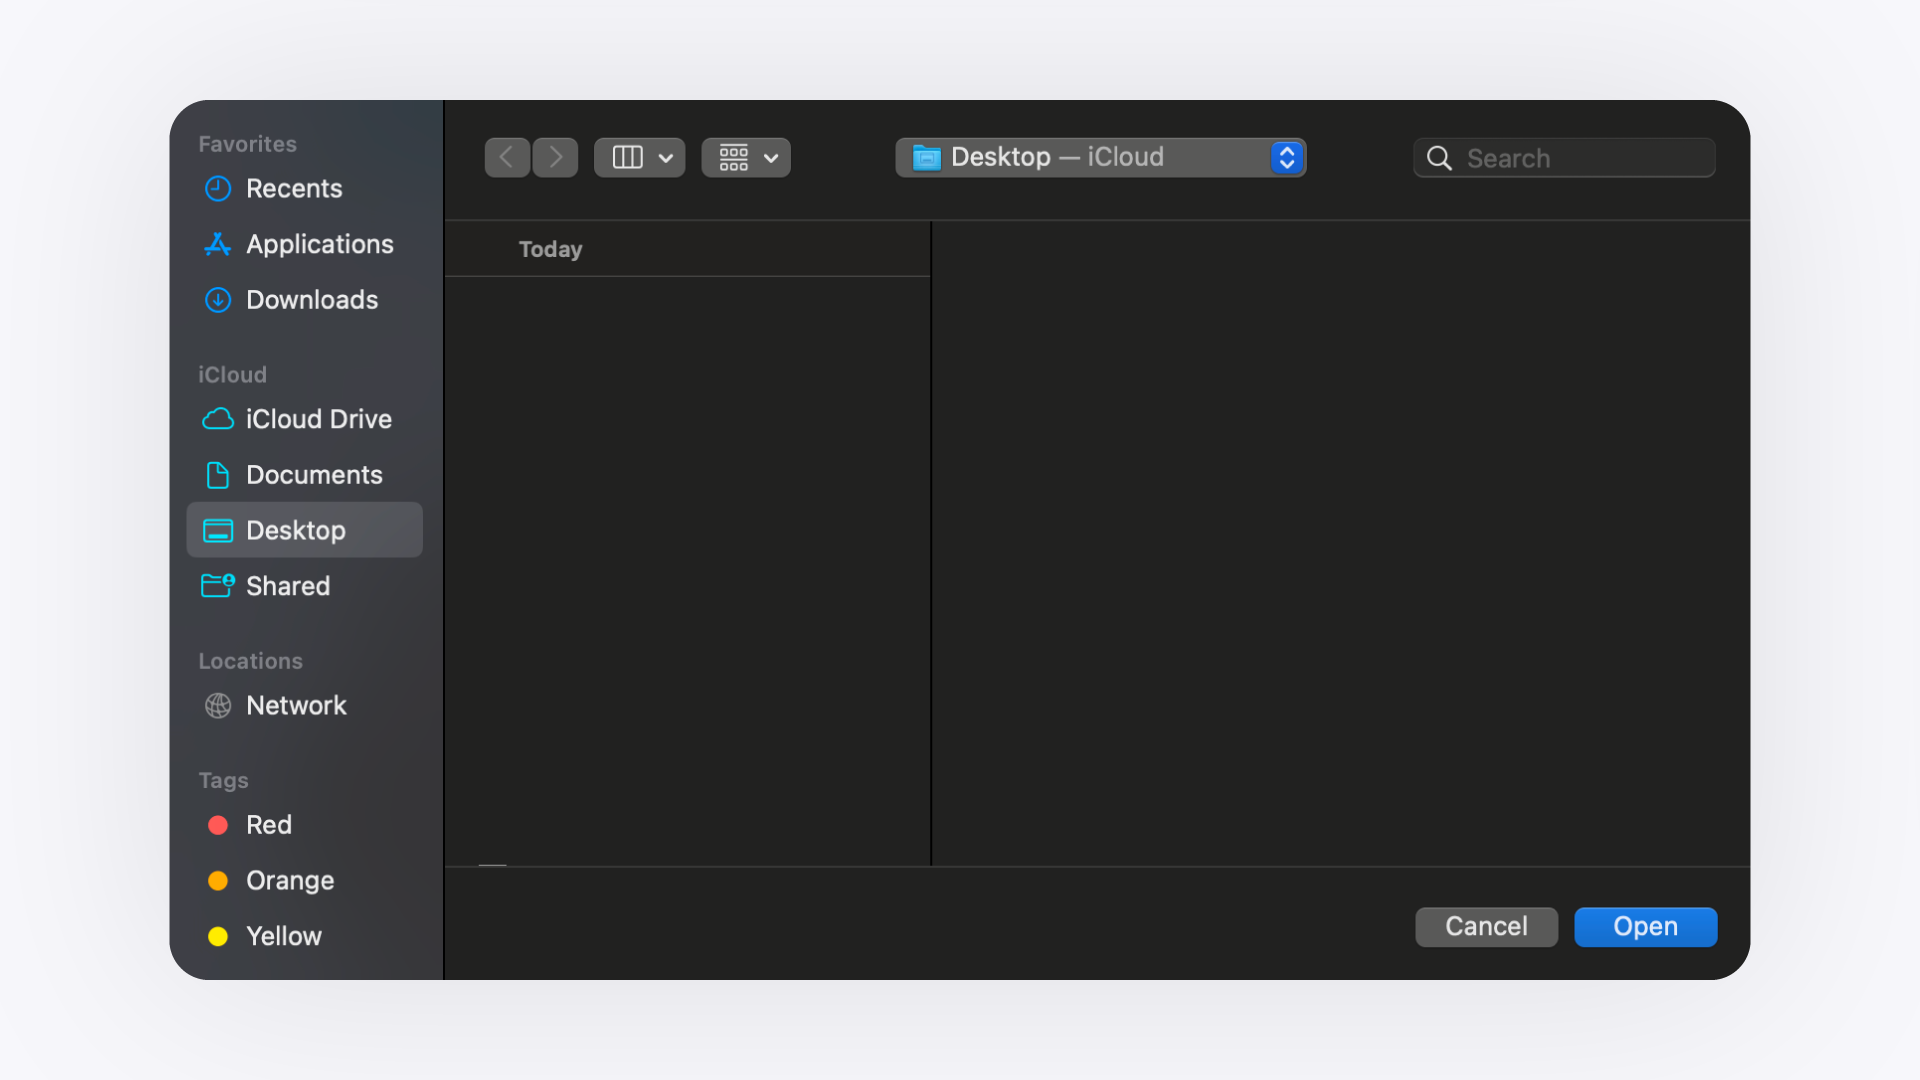
Click Change to select your preferred folder.
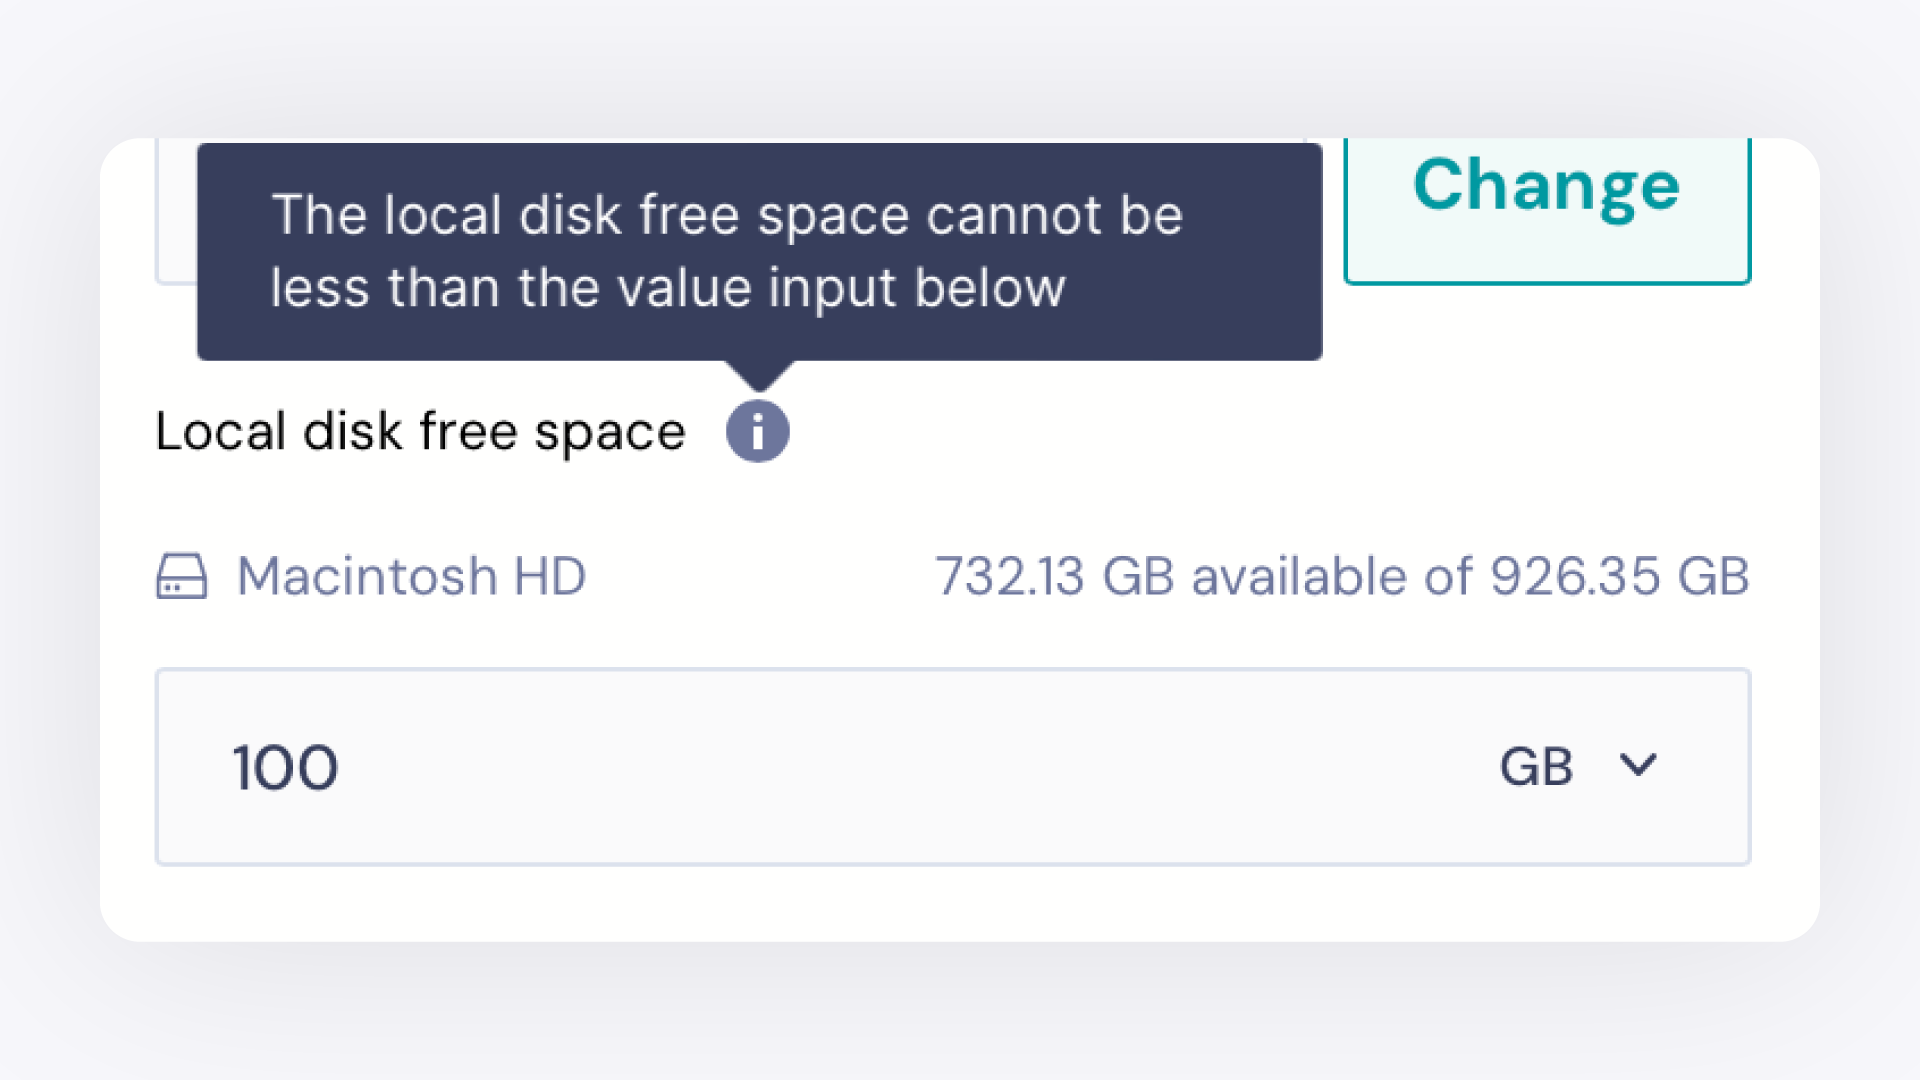
Ensure your drive has at least the minimum free space shown in the field (for example, 100 GB).
To update the save destination later, click the pencil icon next to the toggle.
Click Save to confirm your selection.
Product Information and Custom SKU#
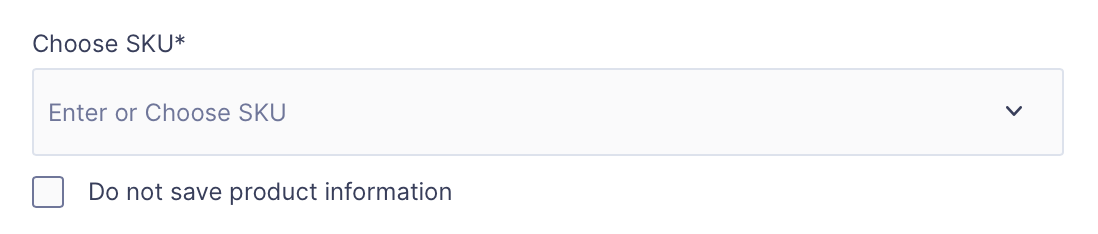
On the preview page before saving, check Do Not Save Product Information to skip auto-generated product data and assign your own custom SKU instead.
Reset to Default#
Resets all settings for the currently selected device to factory defaults. Settings for other connected devices are not affected.