

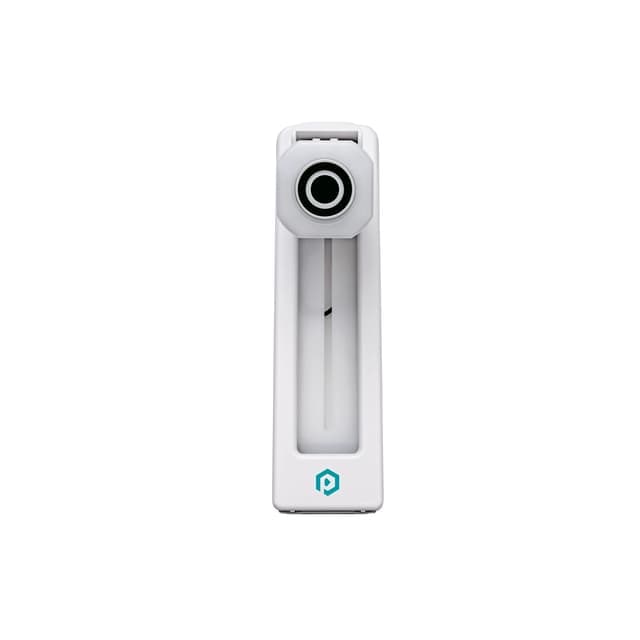
Quick Answer#
Download GemIQ, connect your GemCam via USB-C, and select it in the app to start shooting. The full setup takes under five minutes.
Before You Start#
Download and log in to GemIQ.
Have your USB-C data transfer cable ready (included in the box).
If your computer does not have a USB-C port, locate the included USB-A adapter.
If you are also connecting a GemLightbox or GemLightbox Pro, ensure your computer's Bluetooth (version 4.0 or above) is turned on.
Steps#
Part 1: Connect Your GemCam#
Open GemIQ and log in. Go to hub.gemlightbox.com and sign in to your account.

Connect the GemCam to your computer.
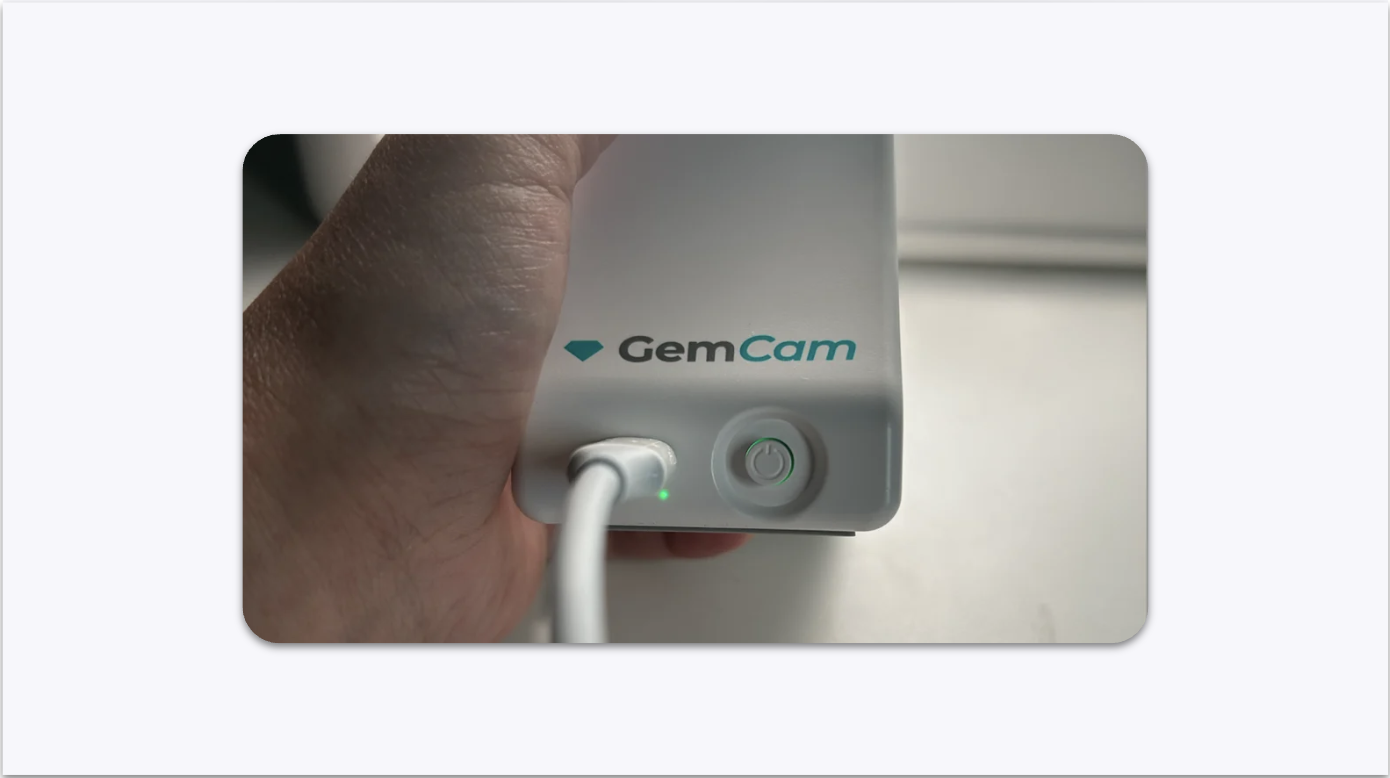
Plug the USB-C cable into the GemCam and your computer, then press the power button. If your computer does not have a USB-C port, use the included USB-A adapter.
A green indicator light on the GemCam confirms it is on and connected.
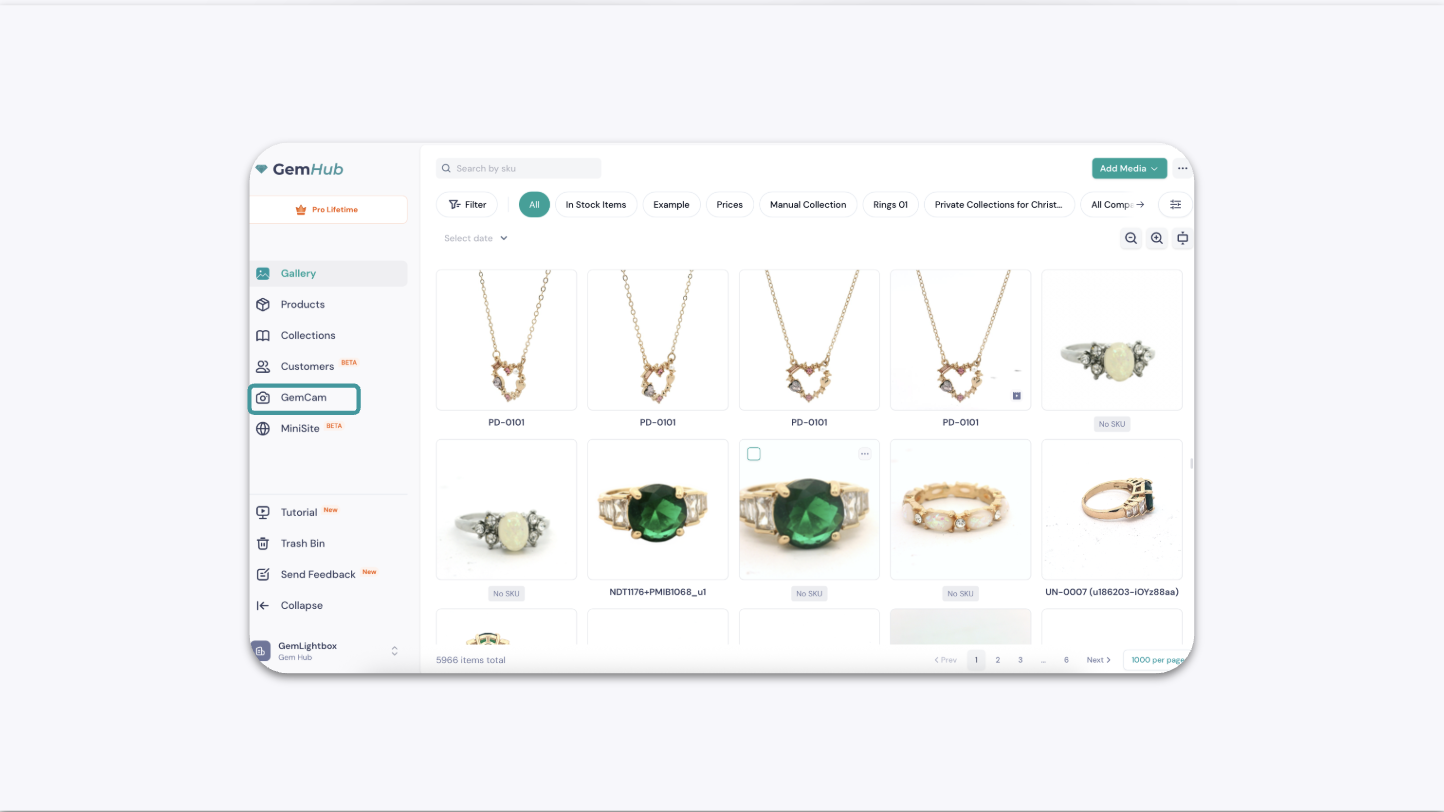
Select GemCam in the GemIQ
Click the GemCam button in the GemIQ control panel. You are now ready to start shooting.
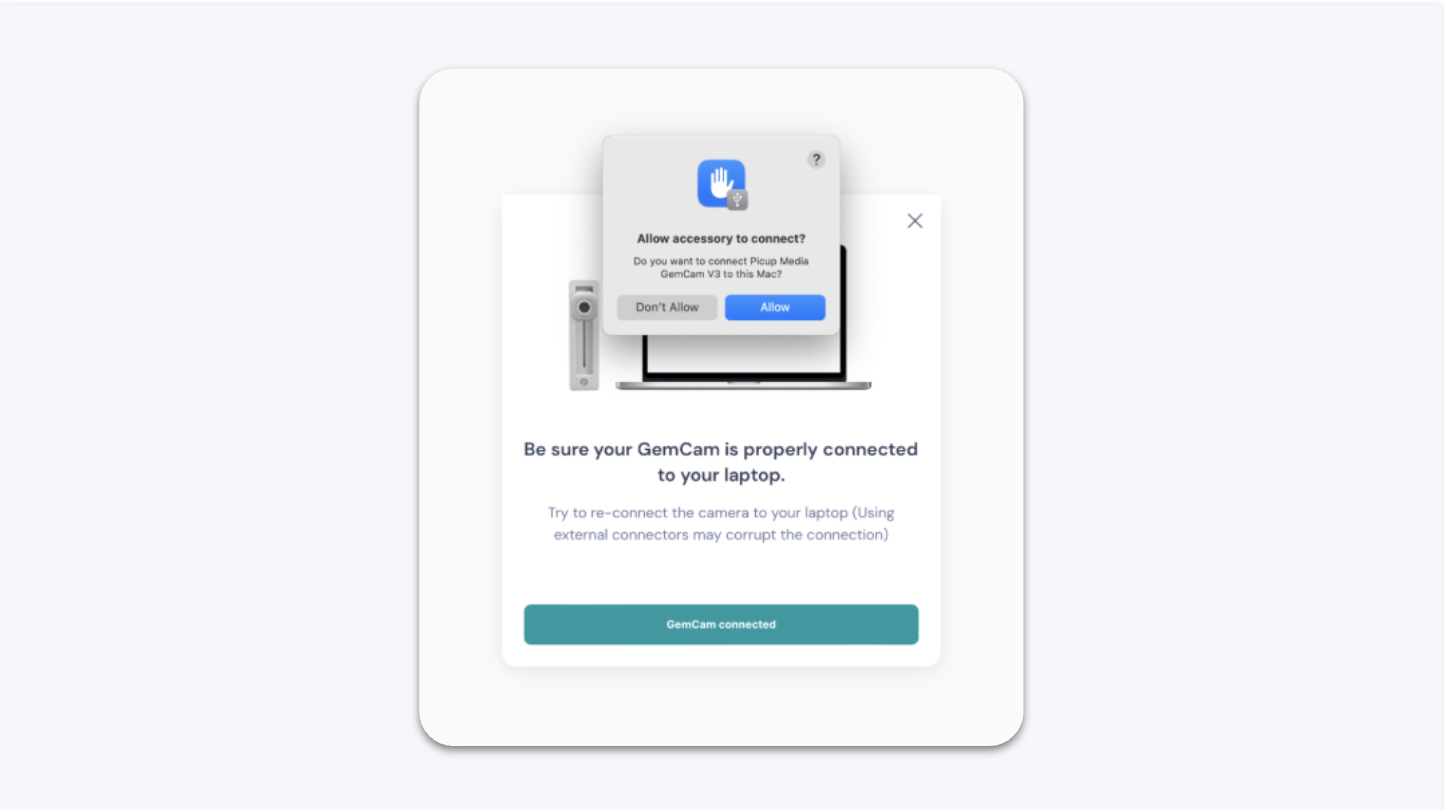
Allow GemCam access when prompted.
On first setup, your computer will display a permission prompt asking to connect the GemCam. Click Allow.
Confirm the GemCam is active
Once connected, the GemCam toggle switches on automatically. You are ready to capture your first image.
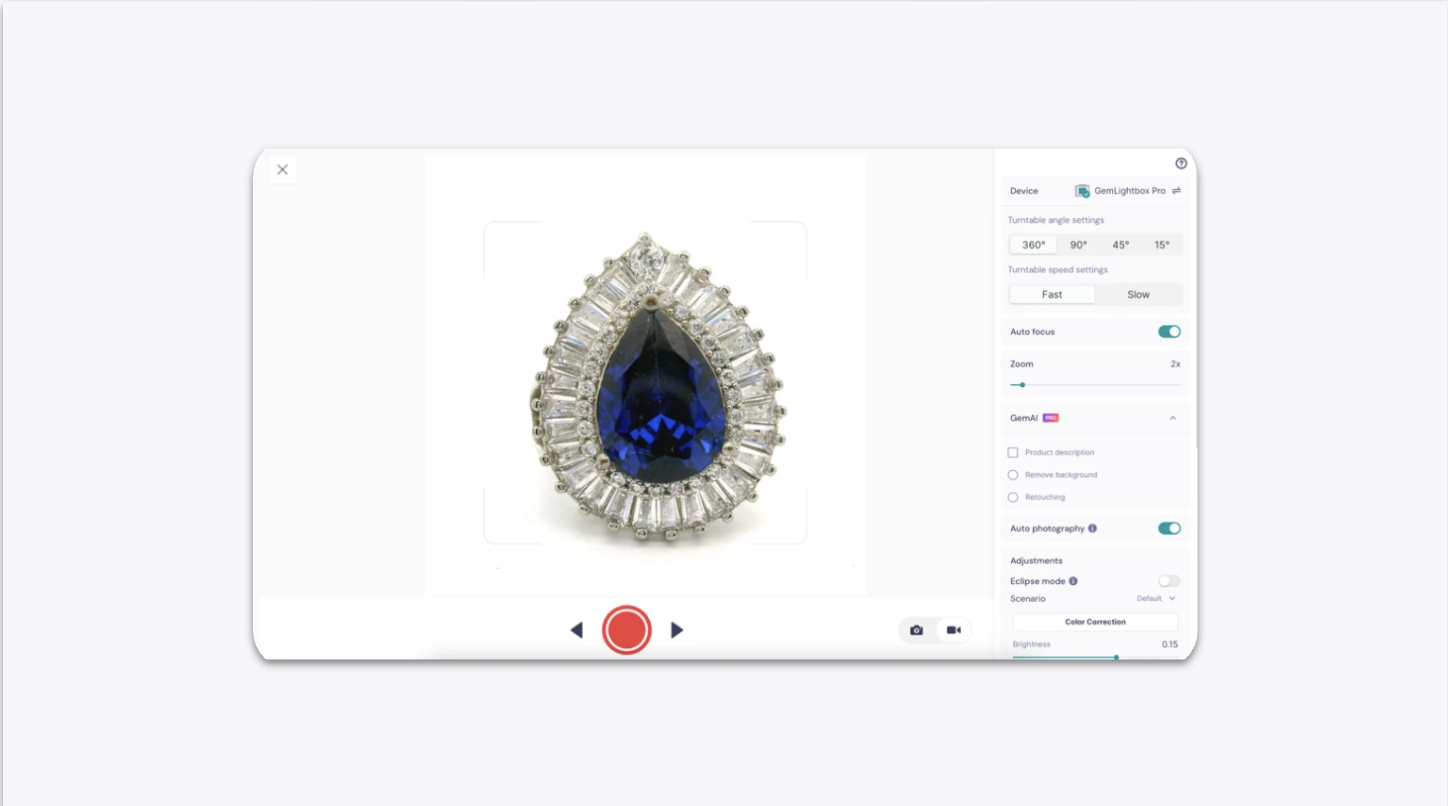
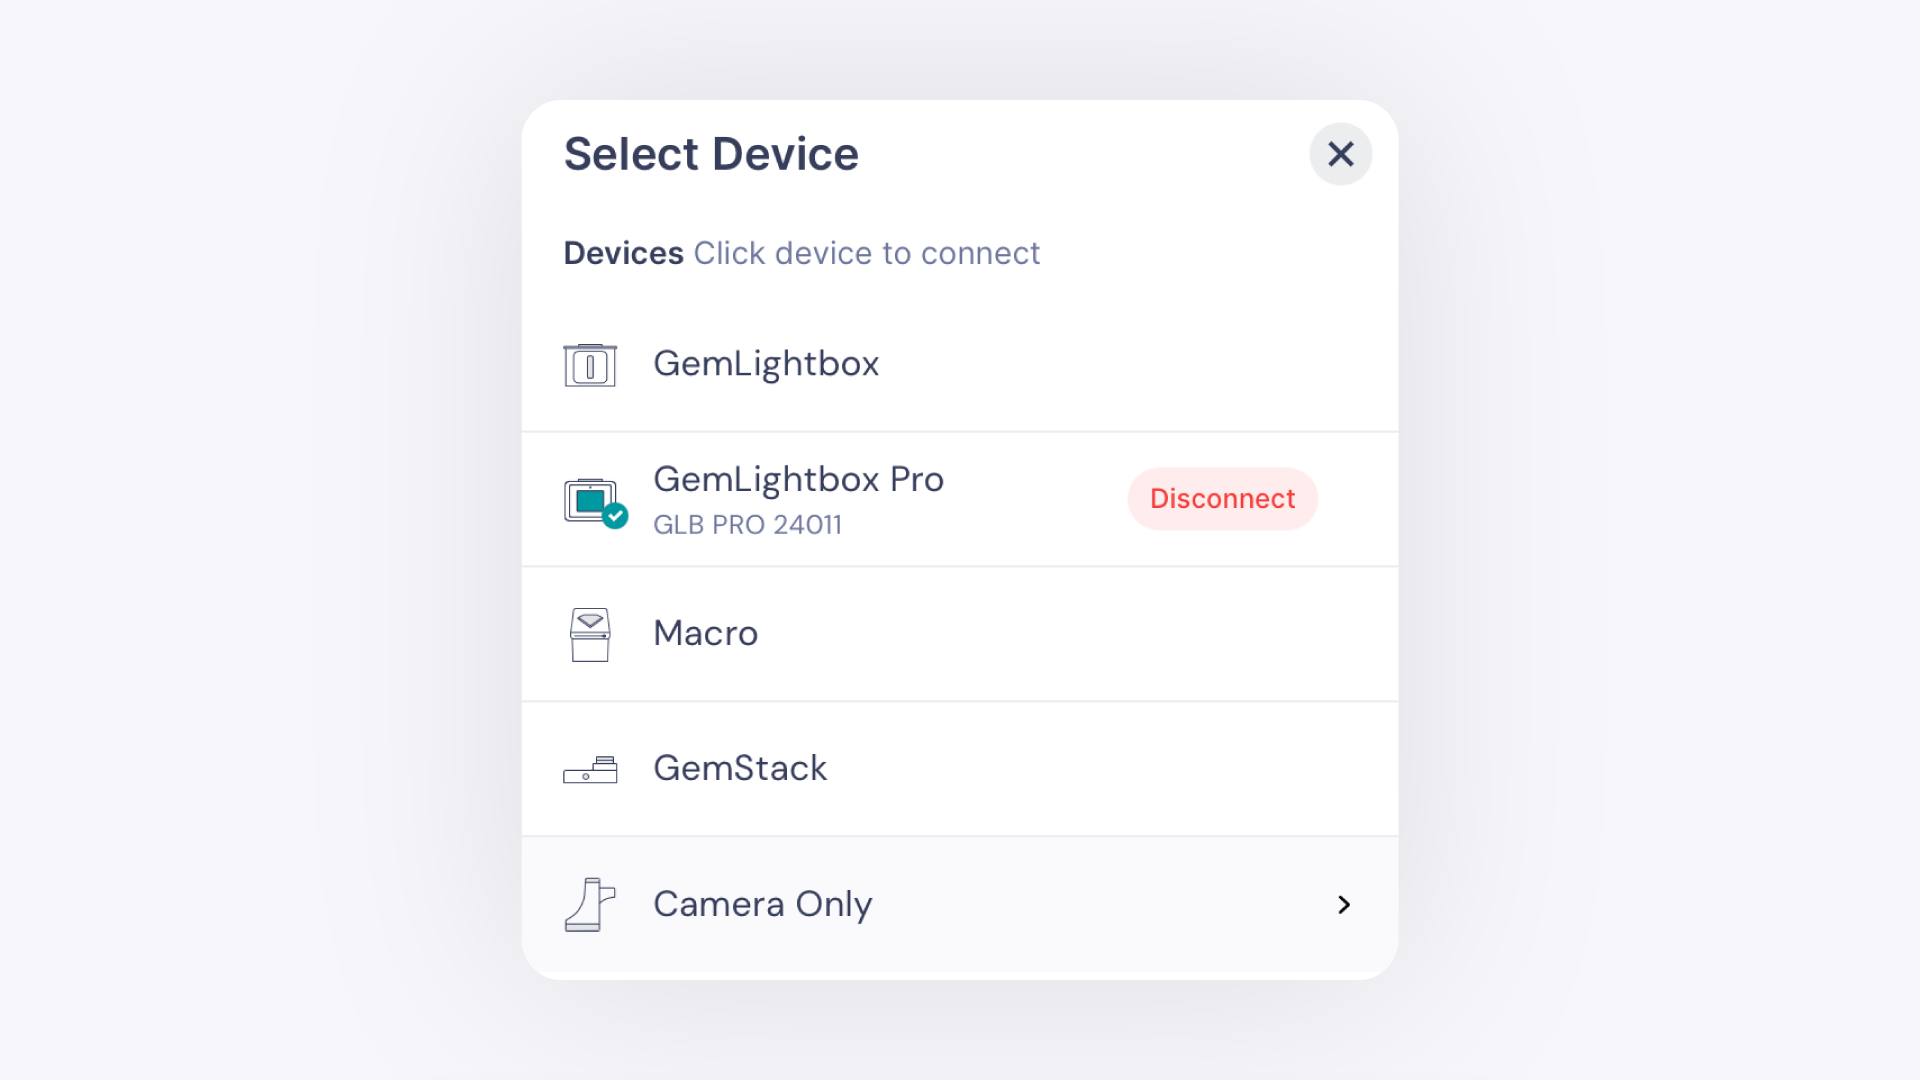
Open the Device panel. In GemIQ control panel, click the Device button to select which device you are using.
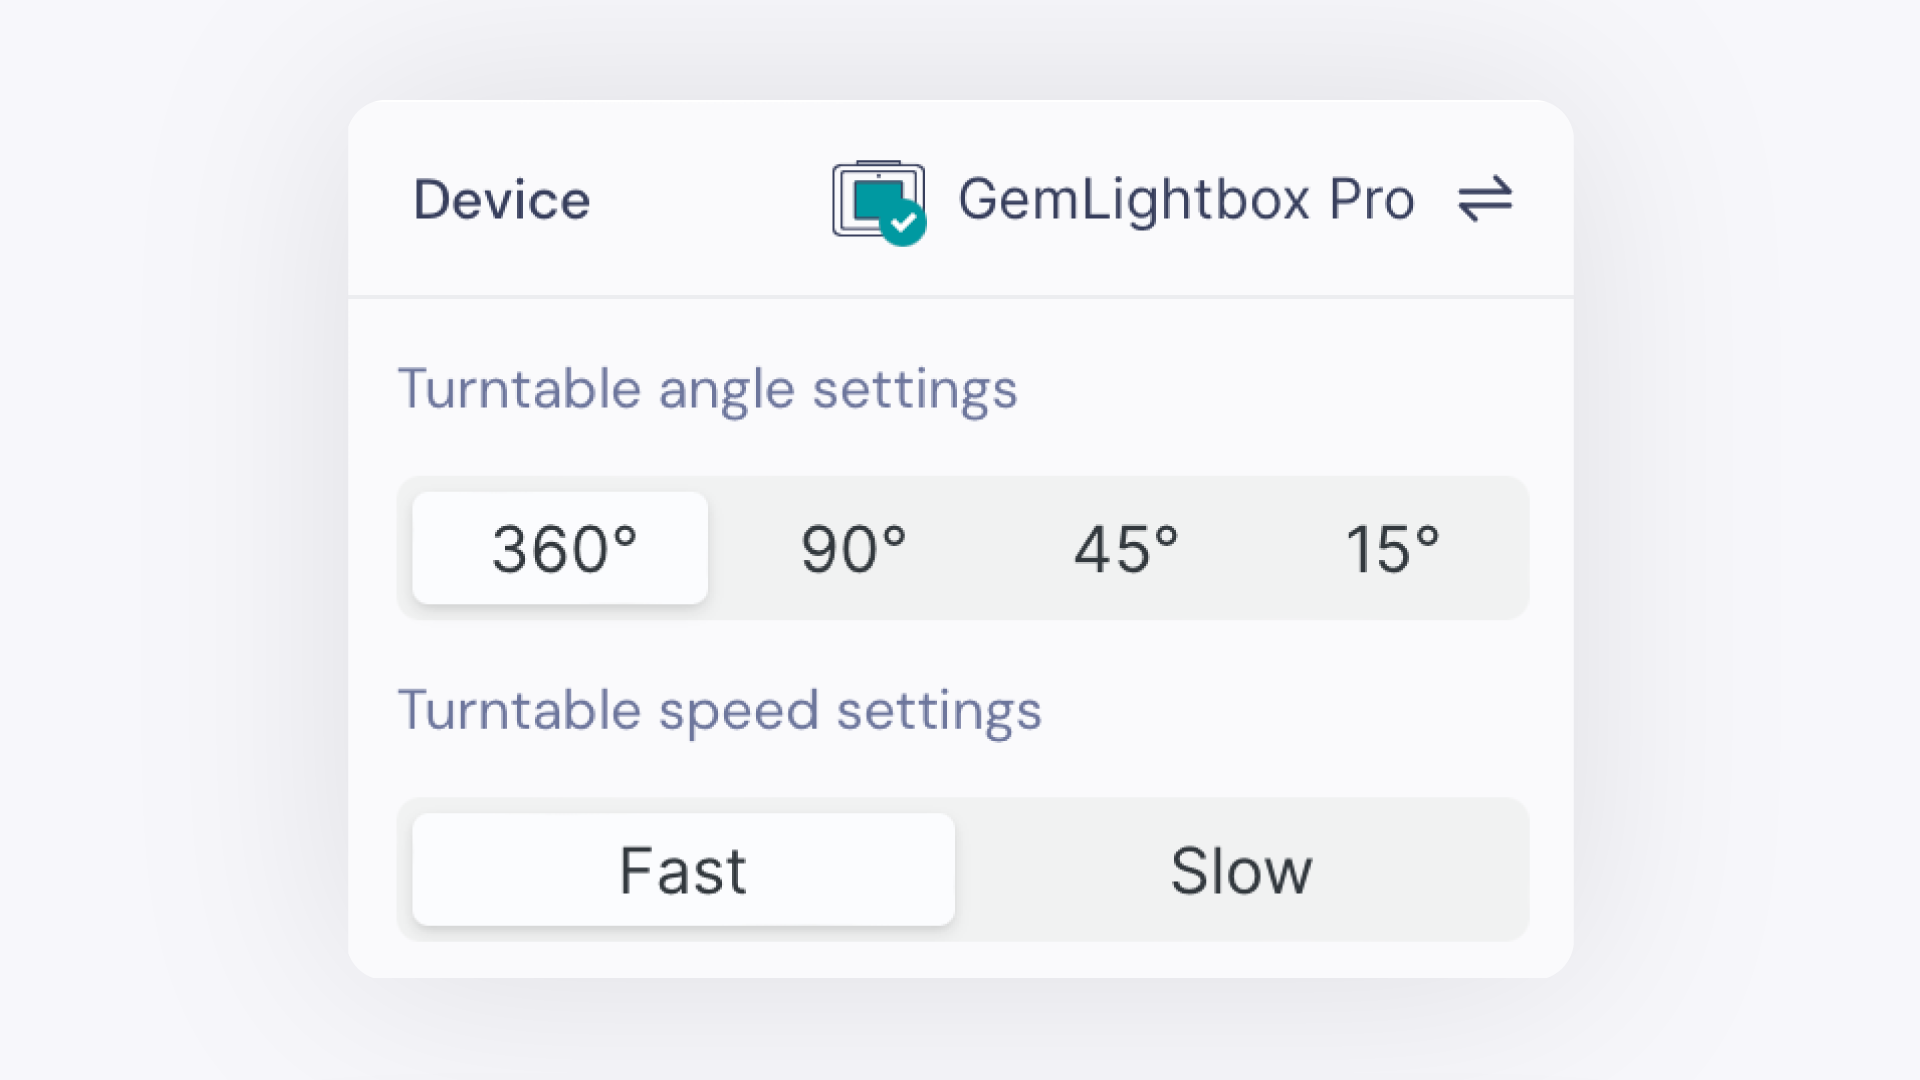
Select your device
If you have multiple GemLightbox products, or want to use the GemCam on its own, choose the correct device from the Device section. GemIQ will automatically reconnect to the last device you used.
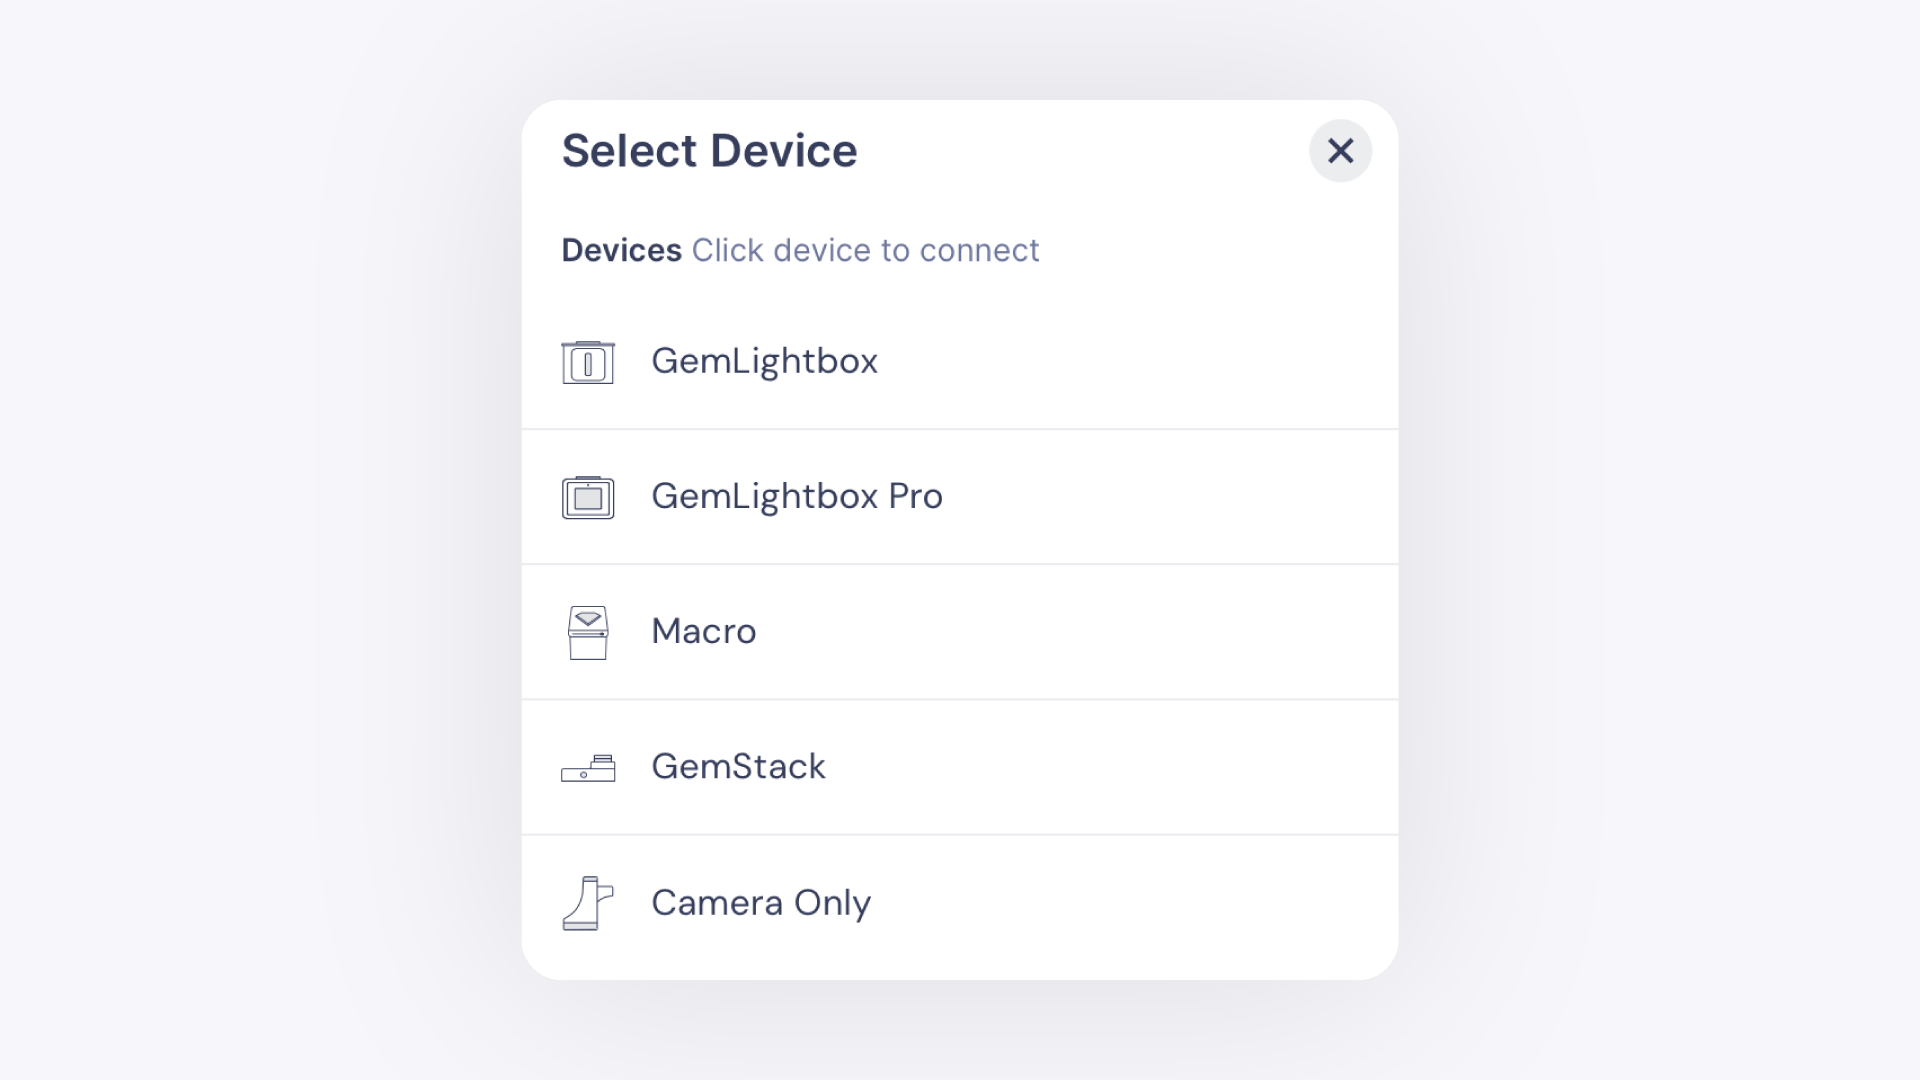
Bluetooth note: To connect a GemLightbox product via Bluetooth, make sure your computer's Bluetooth (version 4.0 or above) is enabled, and that Bluetooth is turned off on any other devices that were previously paired.
Select the device type and serial number.
Choose the correct device type, then select your specific device by its serial number.
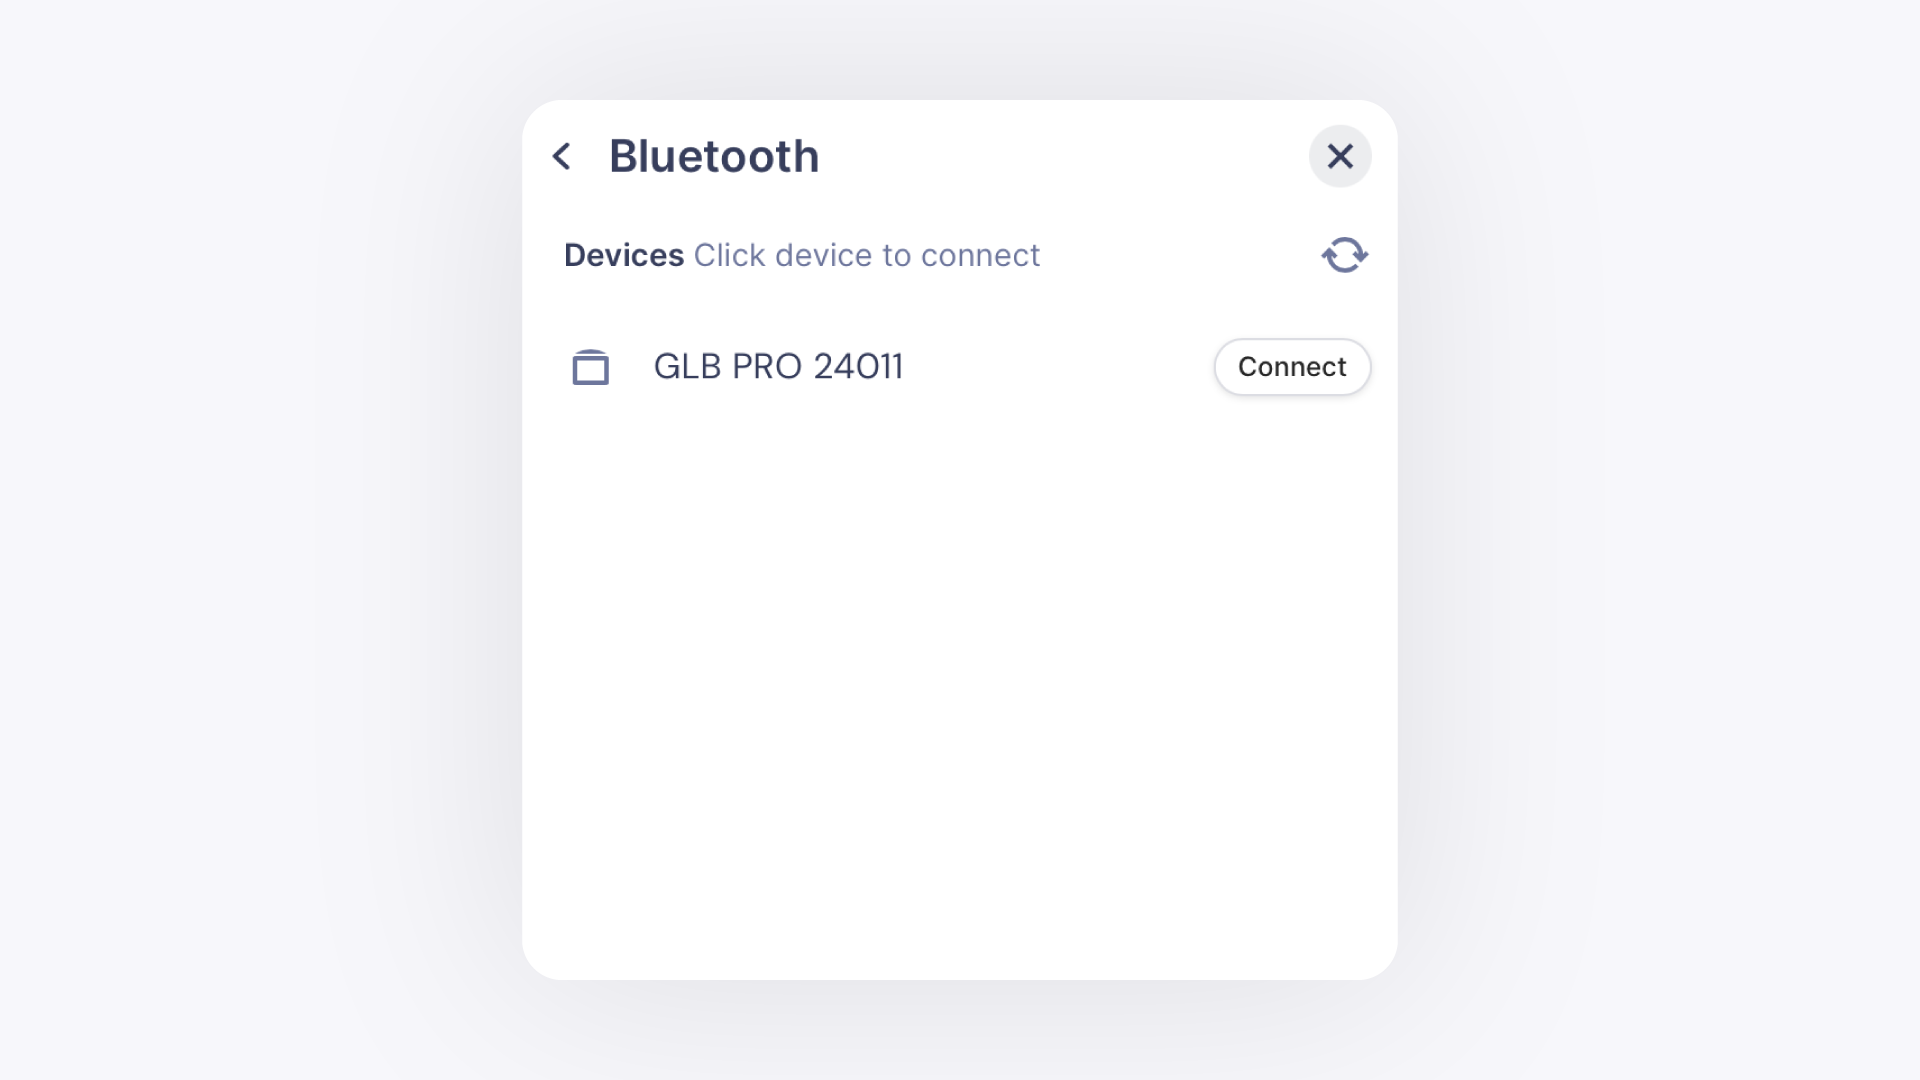
Confirm the connection. After connecting, your device's serial number will appear in the GemIQ control panel.
Expected Result#
Your GemCam is connected and active in GemIQ. The GemCam toggle is on, the green indicator light is visible on the device, and your serial number appears in the control panel. You are ready to shoot.
If This Does Not Work#
GemCam not detected by GemIQ: Try a different USB-C cable or port. Make sure you are using a high-speed data transfer cable — charging-only cables will not work.
No green indicator light: Check that the GemCam is powered on and the cable is firmly connected on both ends.
GemCam button not visible in the GemIQ: Refresh your browser, then disconnect and reconnect the GemCam. Power on the GemCam before loading GemIQ.
Bluetooth device not found: Confirm your computer's Bluetooth is on (version 4.0 or above). Turn off Bluetooth on any previously paired devices to avoid conflicts.
Permission prompt did not appear: Disconnect the GemCam, close GemIQ, reconnect the GemCam, then reopen GemIQ.
Common Mistakes#
Using a USB charging cable instead of a USB-C data transfer cable — the GemCam will not be detected.
Opening GemIQ before powering on the GemCam — always connect and power on the GemCam first.
Leaving Bluetooth active on previously paired devices, which causes GemLightbox pairing conflicts.
Selecting the wrong device type or serial number in the Device settings.