

This guide walks you through everything — from powering on your GemLightbox Pro to capturing stunning images of every piece in your collection. No photography experience required.
What's in the Box#
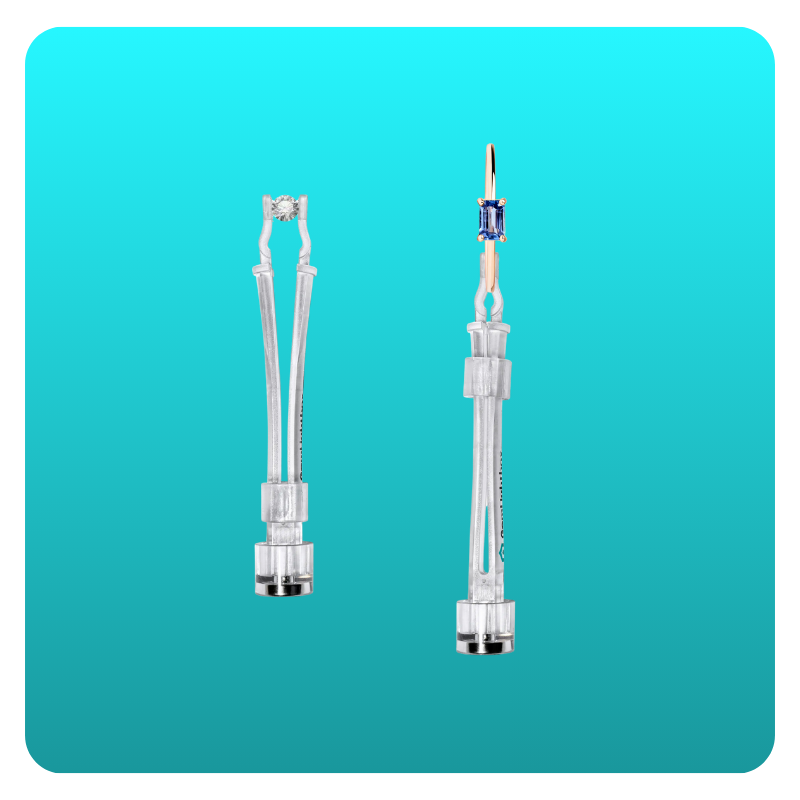
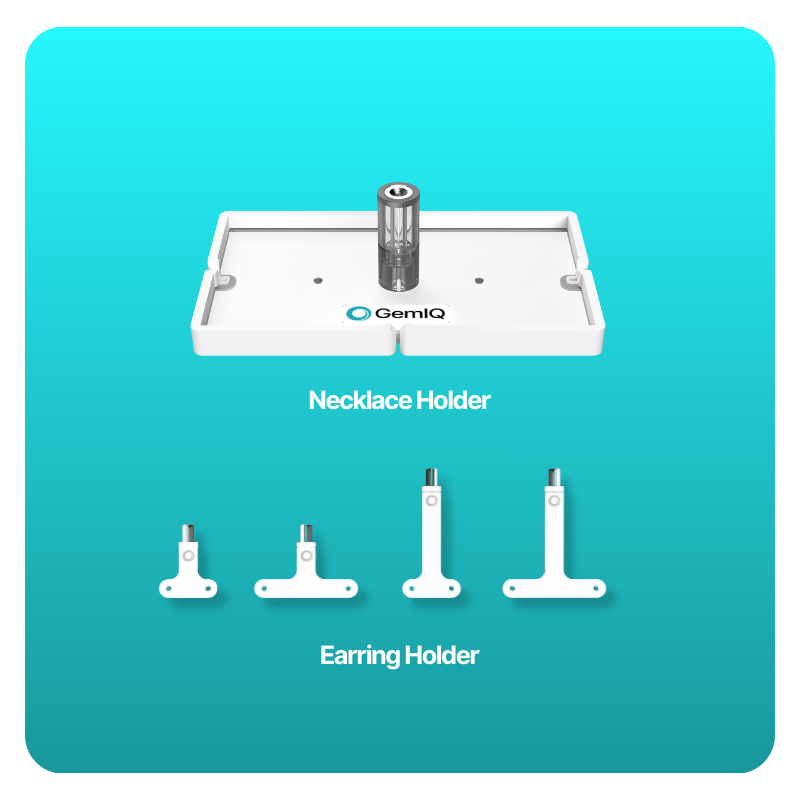
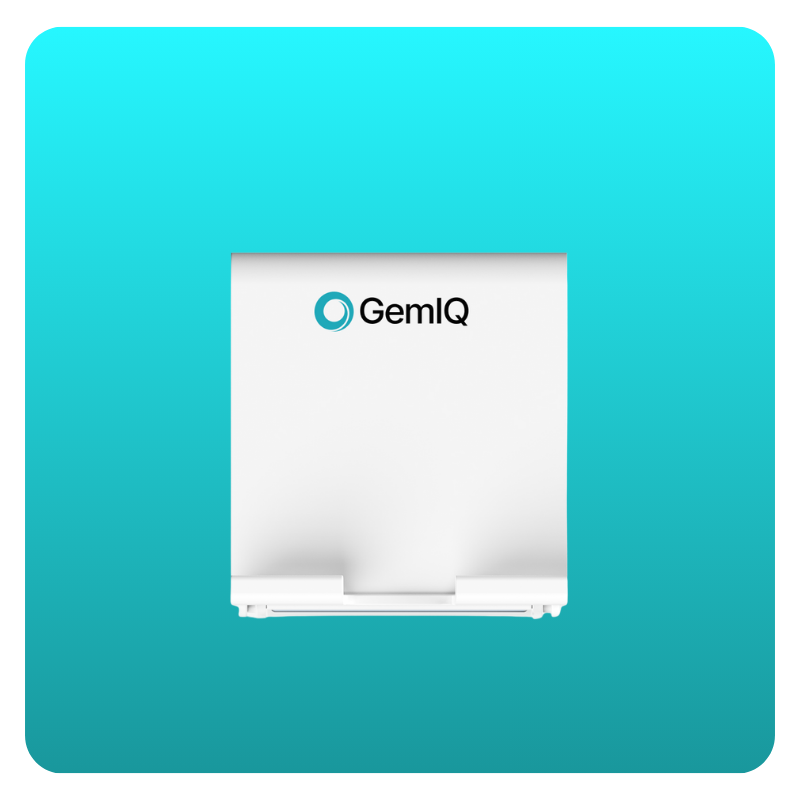
GemLightbox Pro is a modular setup with multiple included accessories — mix, match, and use them the way that works best for you.
GemLightbox Pro
White and Yellow Sparkle Lights
Pro Eclipse
Gem Clip
Necklace Holder
Earring Holders
Watch Holders
Phone Stand


Power on Your GemLightbox Pro#
Plug the USB-C power adapter into the port on the back.
Plug it into a wall outlet.
Press the power button on the side of the box.
Your GemLightbox Pro is now powered on and ready to use.
How to Use the GemLightbox Pro Eclipse#
1. Set Up the Eclipse#
Place the Eclipse accessory inside your GemLightbox Pro to create a pure-black background.
2. Position Your Jewelry#
Centre your jewelry on the Eclipse surface or use the appropriate holder.
3. Capture#
Open GemIQ and capture a photo or video.
Pro tip: keep your Eclipse clean with a microfibre duster or sticky tape — no cleaning sprays needed.
Download GemIQ#
Everything runs through GemIQ — our app that connects to your GemLightbox Pro.
Connect via Bluetooth#
Your GemLightbox Pro connects to GemIQ via Bluetooth. Make sure your device's Bluetooth is on (Bluetooth 4.0 or above is required).
Pro tip: switch between photo and 360° video directly inside the GemIQ app — no extra equipment or editing needed.

GemLightbox Pro in Action#
Next Steps#
Your hardware is ready. Here's where most jewelers go from here:
Open GemIQ and capture your first piece — most users get there in under 5 minutes.
Try GemStudio to turn your captures into model and lifestyle imagery without reshooting.
Join the Digital Jewelers Community to swap tips with 20,000+ jewelers worldwide.
Need a Hand?#
Book a one-on-one onboarding session with our team, or email us anytime.