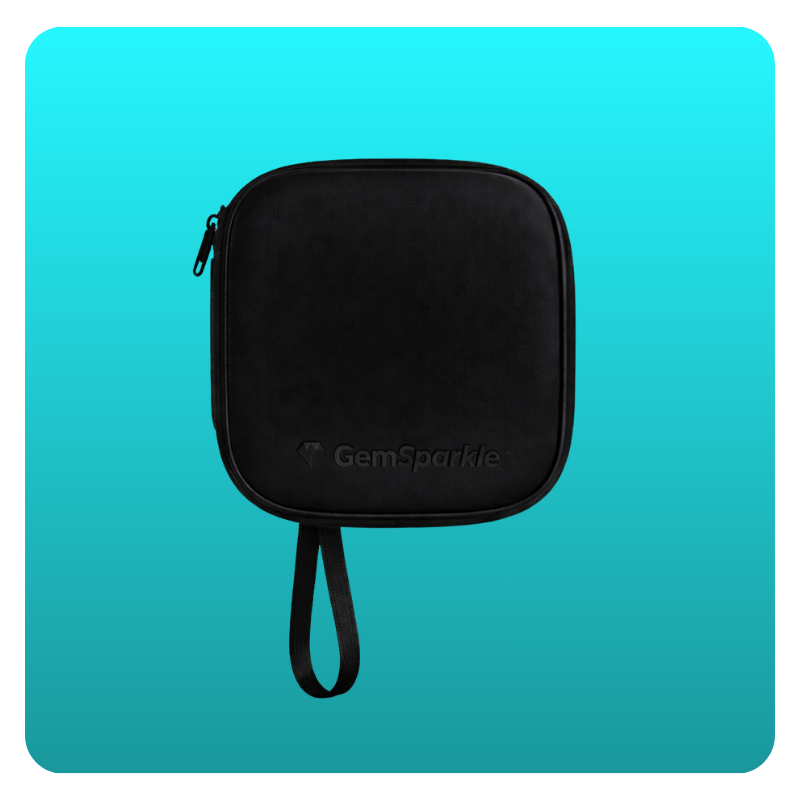

GemSparkle is designed to attach to your smartphone and work with the GemIQ mobile app, allowing you to capture stunning close-up photos and videos of jewelry.
If you're new to GemSparkle, following these best practices will help you achieve the best image quality and avoid the most common setup mistakes.
Align GemSparkle with One Camera Lens
One of the most common misconceptions is that GemSparkle should cover all of the cameras on your smartphone.
It should not.
GemSparkle is designed to align with one camera lens only.
Attempting to position it over multiple lenses may result in:
Blurry images
Difficulty focusing
Dark corners (vignetting)
Reduced image quality
Before capturing, make sure the active camera lens is centered within the GemSparkle attachment.
Position Your Jewelry Close to GemSparkle
GemSparkle is designed for close-up photography.
For the sharpest images and videos:
Position the jewelry close ( 5 - 10 cm) to the GemSparkle.
Allow the camera or slightly move the camera backwards to focus before capturing.
Fill as much of the frame as possible without cropping the jewelry.
If the jewelry is positioned too far away, you may notice:
Reduced detail
Smaller-looking jewelry
Difficulty achieving sharp focus
Position the Jewelry Correctly
How you position the jewelry has a significant impact on the final result.
For the best images:
The jewelry is placed about 5 - 10 cm from the GemSparkle.
Ensure the main feature (such as the gemstone or watch face) faces the camera.
Keep the jewelry stable while capturing.
Check the live preview before taking the photo or video.
For rings specifically:
Position the ring upright.
Keep the gemstone facing the camera.
Make sure the entire ring is sharp and in focus.
Choose the Right Lighting Mode
GemSparkle offers three lighting modes, each designed for different types of jewelry and content.
Sparkle Mode
Creates dynamic sparkle effects that enhance the brilliance of faceted gemstones.
Best for:
Diamonds
Faceted gemstones
Sparkle videos
Jewelry on the Black Eclipse Cloth
Constant Mode
Provides continuous, even lighting for accurate color and detail.
Best for:
Product photography
White or black backgrounds
Pearls
Cabochon gemstones
Natural hand shots
Glow Mode
Gradually changes the lighting intensity to create a softer lighting effect.
Best for:
Creative videos
Lifestyle content
Gentle lighting transitions
Adjust the Light Intensity
GemSparkle allows you to increase or decrease the brightness of the LEDs.
For the best results:
Increase the intensity if the jewelry appears too dark.
Reduce the intensity if reflections become too strong.
Make small adjustments until the jewelry looks natural and evenly illuminated.
Different jewelry may require different brightness levels depending on the metal, gemstone, and background being used.
Review Your Image Before Capturing More
Before continuing your shoot:
Check that the jewelry is sharp.
Ensure the lighting is even.
Look for unwanted reflections.
Making small adjustments early will save time during editing.
Common Questions
Does GemSparkle cover all of my smartphone's cameras?
No. GemSparkle is designed to align with one camera lens only. This ensures proper focus and the best image quality.
How close should the jewelry be?
The jewelry should be positioned 5 - 10cm from the GemSparkle so the camera can capture fine details while maintaining sharp focus.
Which lighting mode should I use?
Sparkle Mode for diamonds and faceted gemstones.
Constant Mode for everyday product photography, pearls, and natural-looking images.
Glow Mode for creative lighting effects and videos.
Should I adjust the light intensity?
Yes. Every piece of jewelry is different. Adjust the brightness until the jewelry is evenly illuminated without creating harsh reflections or overexposed highlights.
Why does my jewelry look blurry?
This is usually caused by one of the following:
The jewelry is positioned too far from GemSparkle.
GemSparkle is not aligned with the correct camera lens.
The jewelry has not been centered or positioned correctly.
The camera has not finished focusing before the photo or video is captured.