
 Learning Center
This guide walks you through the basics of setting up your GemLightbox Mini and getting ready for your first capture.
Step 01 · What's in the Box
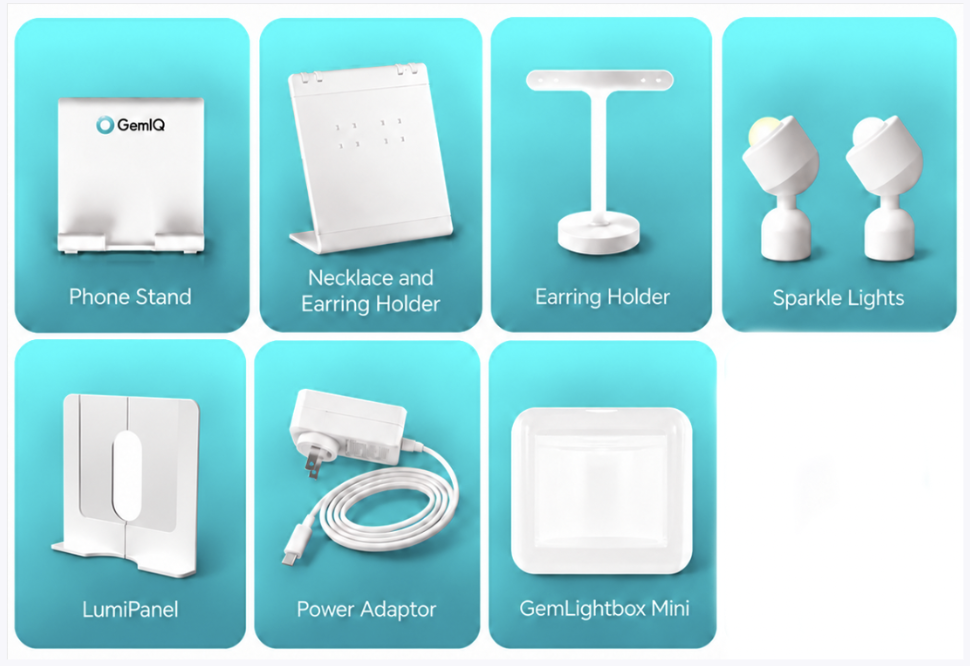
Your GemLightbox Mini comes with the essentials you need to start creating jewelry content. Tap each item below as you find it.
Pro tip: If an item is missing, contact the GemIQ Support Team with your order details and information about the missing item.
Step 02 · The App
Install the GemIQ app before powering on. Your hardware will appear there as soon as it's ready to connect.
Step 03 · Power On
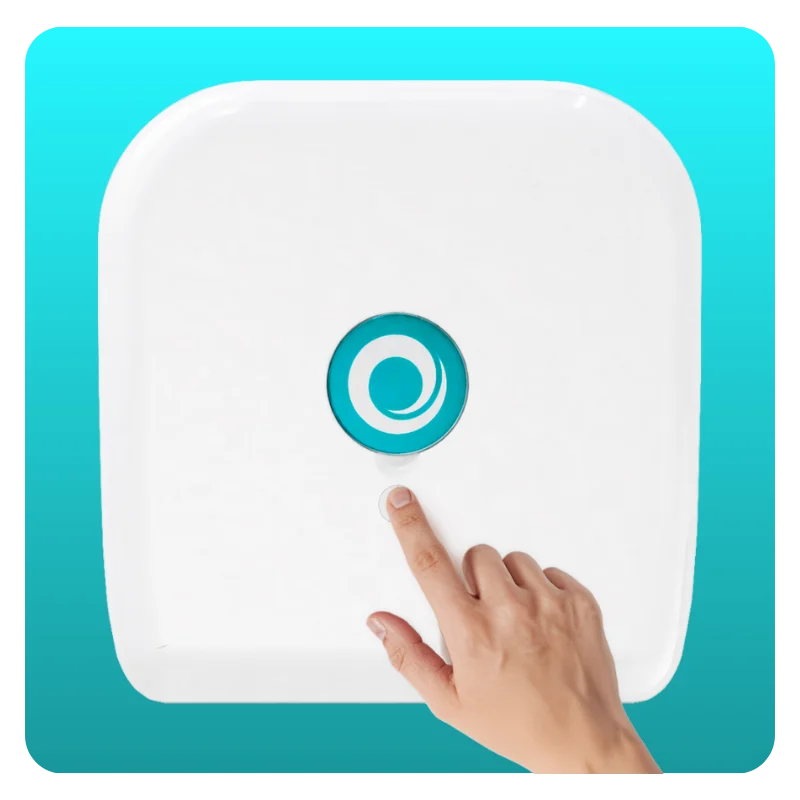
Once it's switched on, your Mini is ready to connect to GemIQ.
Step 04 · Connection
On your phone:
Pro tip: Don't skip the connection step. The turntable won't respond to app commands until the device is paired.
Step 05 · Framing
Place your phone on the included phone stand and position the camera in front of the GemLightbox Mini. Check the camera preview in GemIQ and adjust the phone position until your jewelry is framed the way you want.
Step 06 · Placement
Place your jewelry in the center of the turntable. Depending on the piece, you can:
Place rings and other suitable pieces directly on the turntable.
Pro tip: Keeping the jewelry centered will also help create a smoother 360° rotation.
Step 07 · Lighting
GemLightbox Mini includes additional lighting accessories to help you adjust the appearance of your jewelry.
Position the LumiPanels to control reflections and achieve even lighting across your jewelry. They provide soft, even illumination to reduce harsh shadows.
Pro tip: Try different lighting positions while checking the live preview in GemIQ.
Step 08 · First Capture
Once your jewelry is positioned:
Step 09 · 360° Video
To create a rotating jewelry video, make sure the switch at the back of your GemLightbox Mini is set to App (center position) and your Mini is connected to GemIQ.
Pro tip: If the jewelry appears to move from side to side during the video, check that it is positioned as close to the center of the turntable as possible.
Optional · A Different Look
Want a different look? The GemLightbox Mini Eclipse is an optional accessory that allows you to create jewelry photos and videos on a black background.
Now that your Mini is connected and ready, try capturing different types of jewelry, capture both photos and 360° videos, and review and edit your content in GemIQ.